
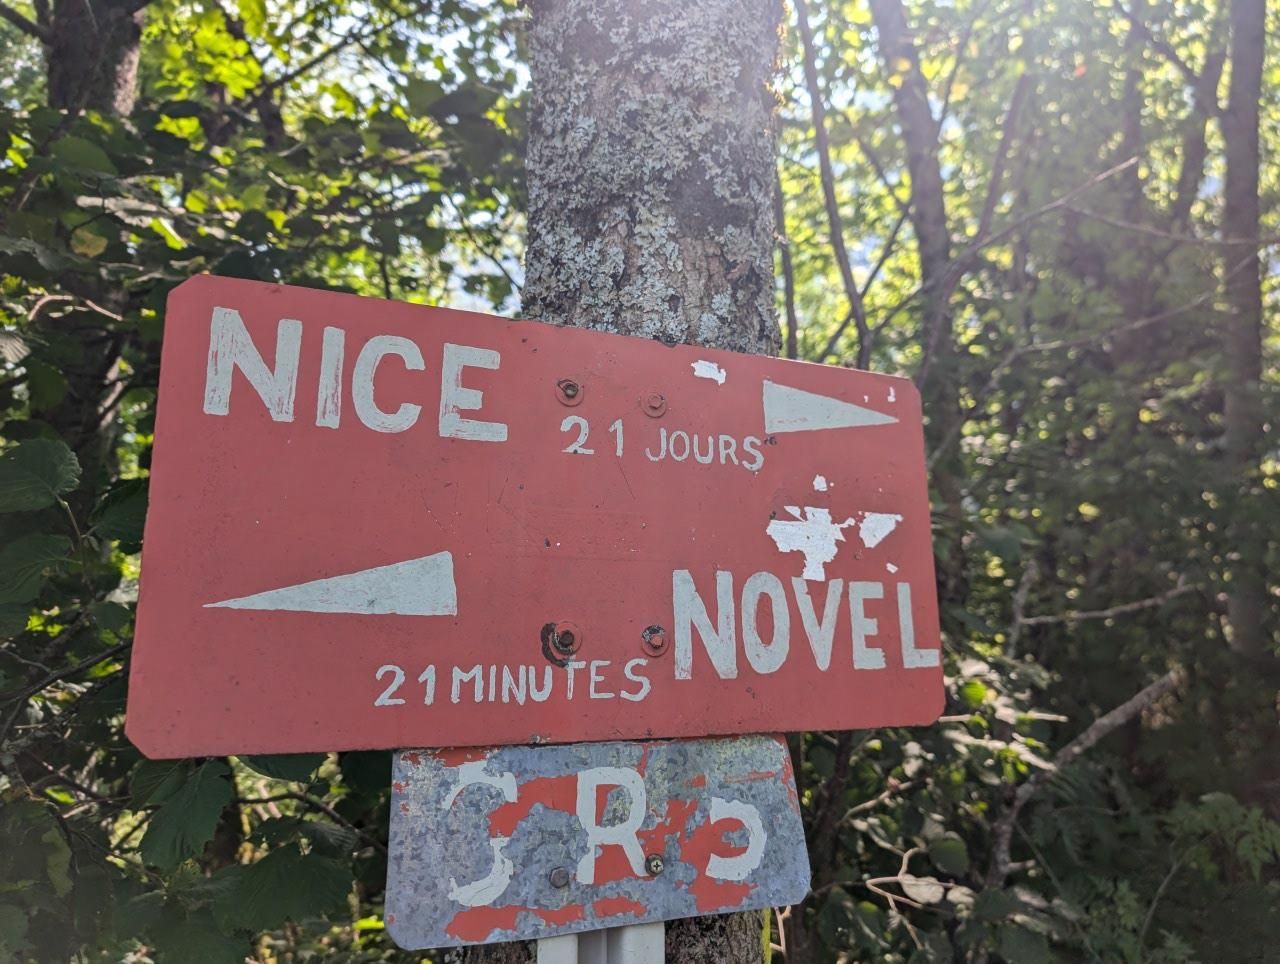
Saint-Gingolph to Landry on the GR5

Download GPX

The first section of our GR5 was an 11-day hut-to-hut stretch from Saint-Gingolph to Landry, with a rest and resupply stop in Chamonix along the way. It was a run of constant contrasts, covering 214.85 km with 14670.8 m of ascent.

Quick Summary

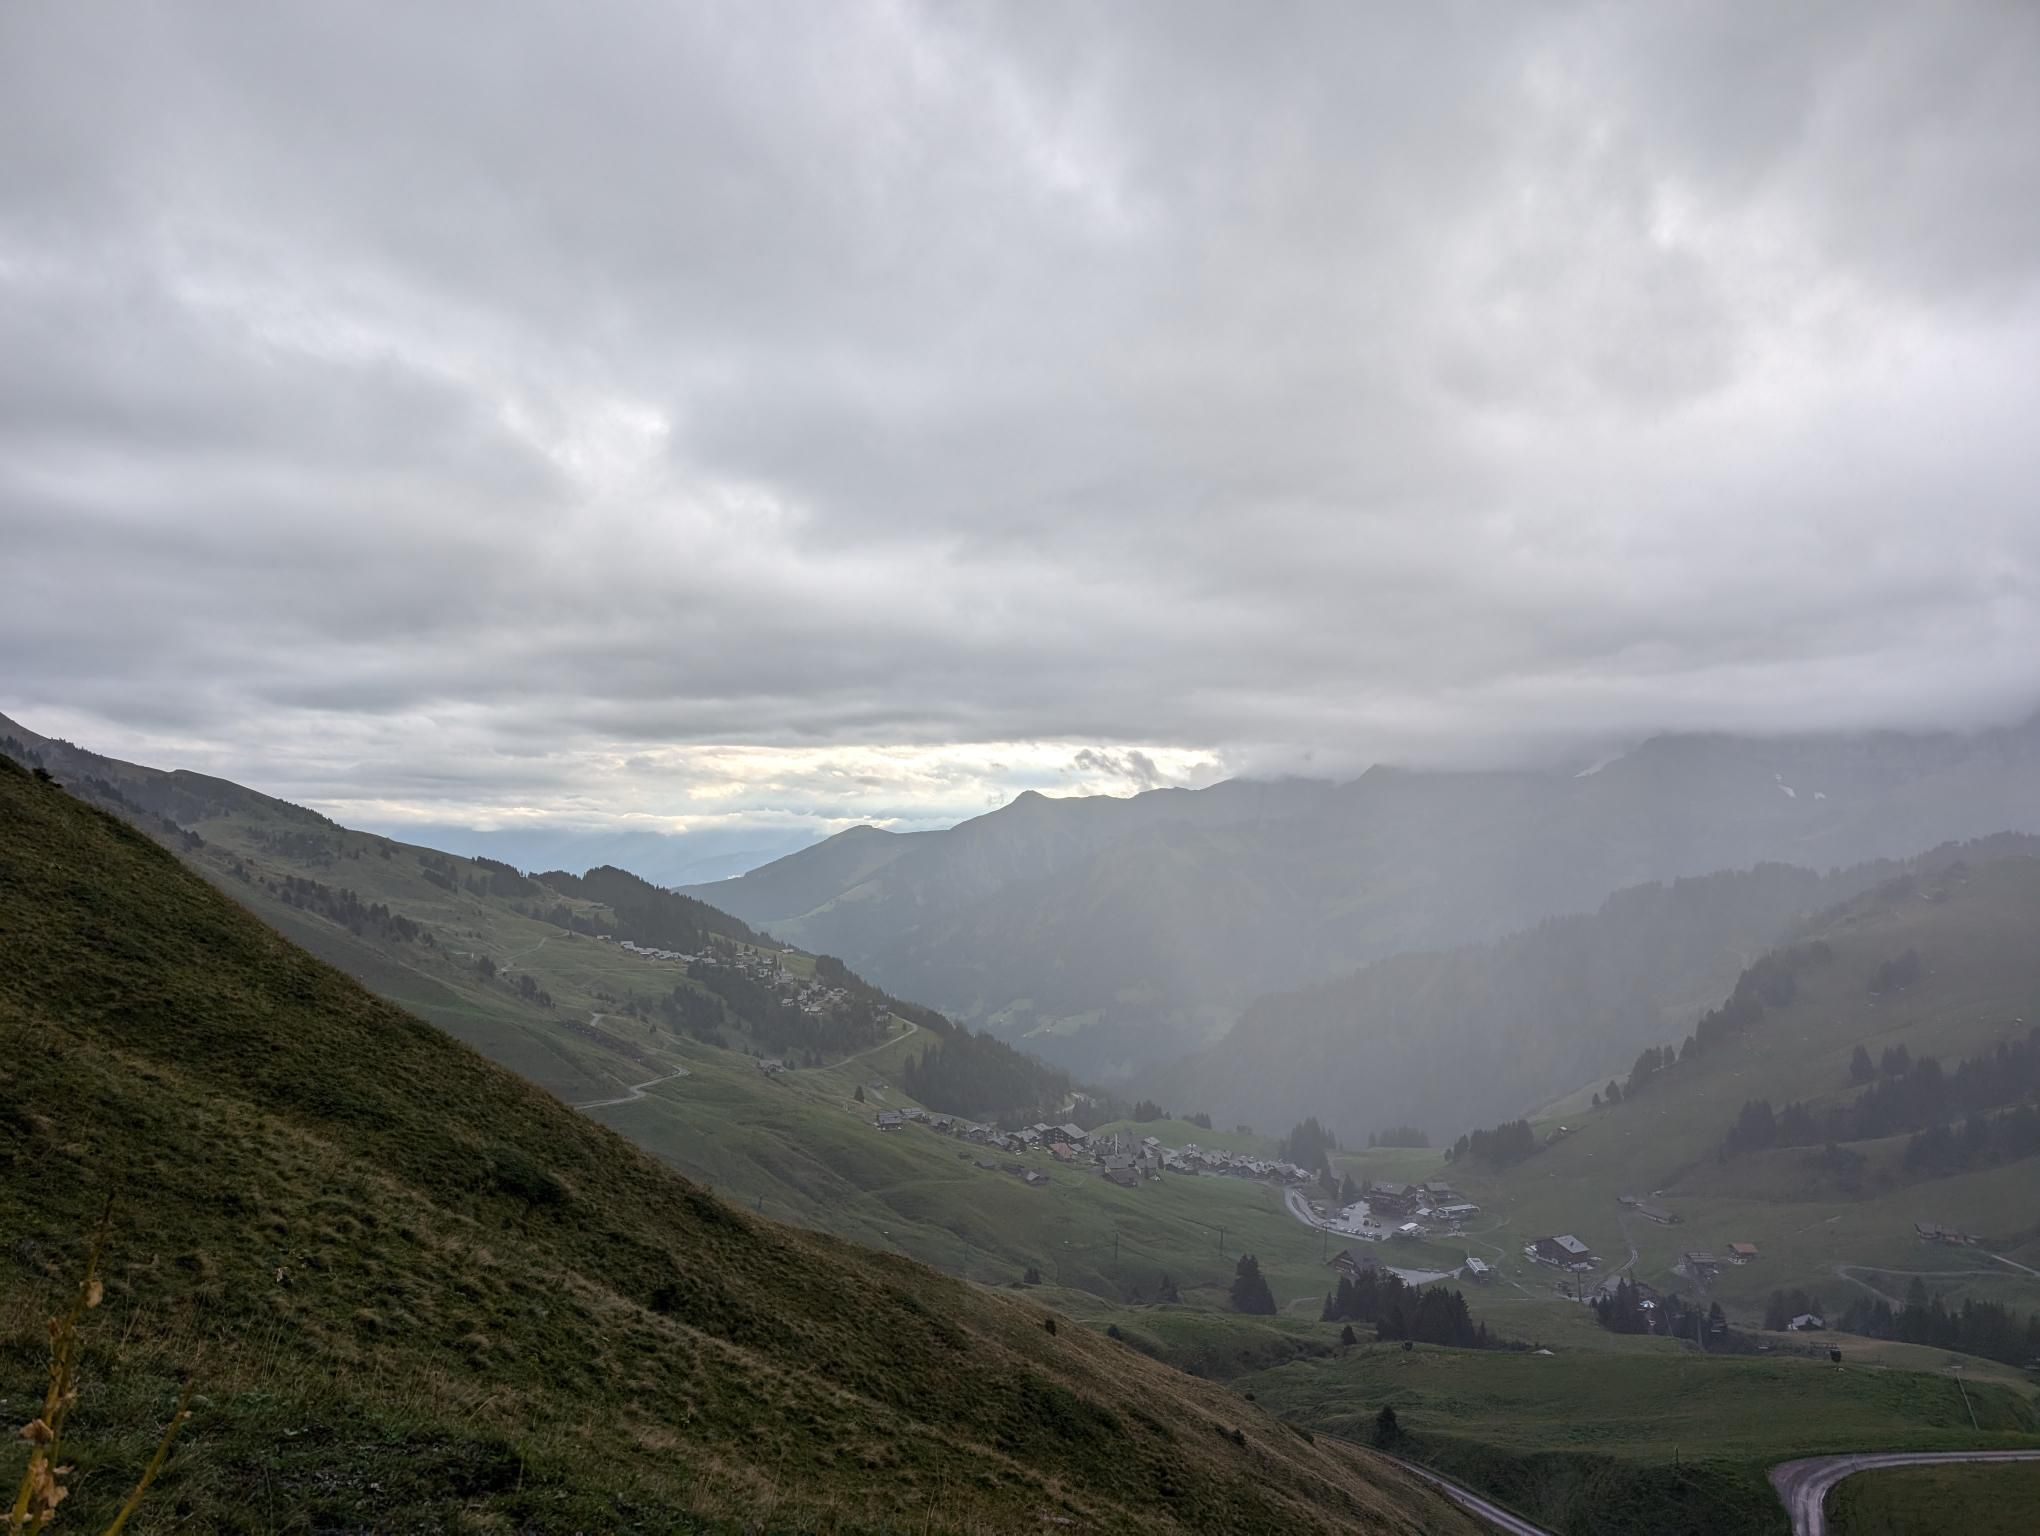
We started on the shore at Saint-Gingolph and moved south day by day to Landry, linking refuges, crossing into Switzerland for part of the route, and later joining the Tour du Mont Blanc for a noticeably busier stretch. The whole section felt varied from start to finish: heat, rain, cloud, big views, wildlife, and a steady rhythm of walking, eating, and arriving at the next refuge.

Day 1

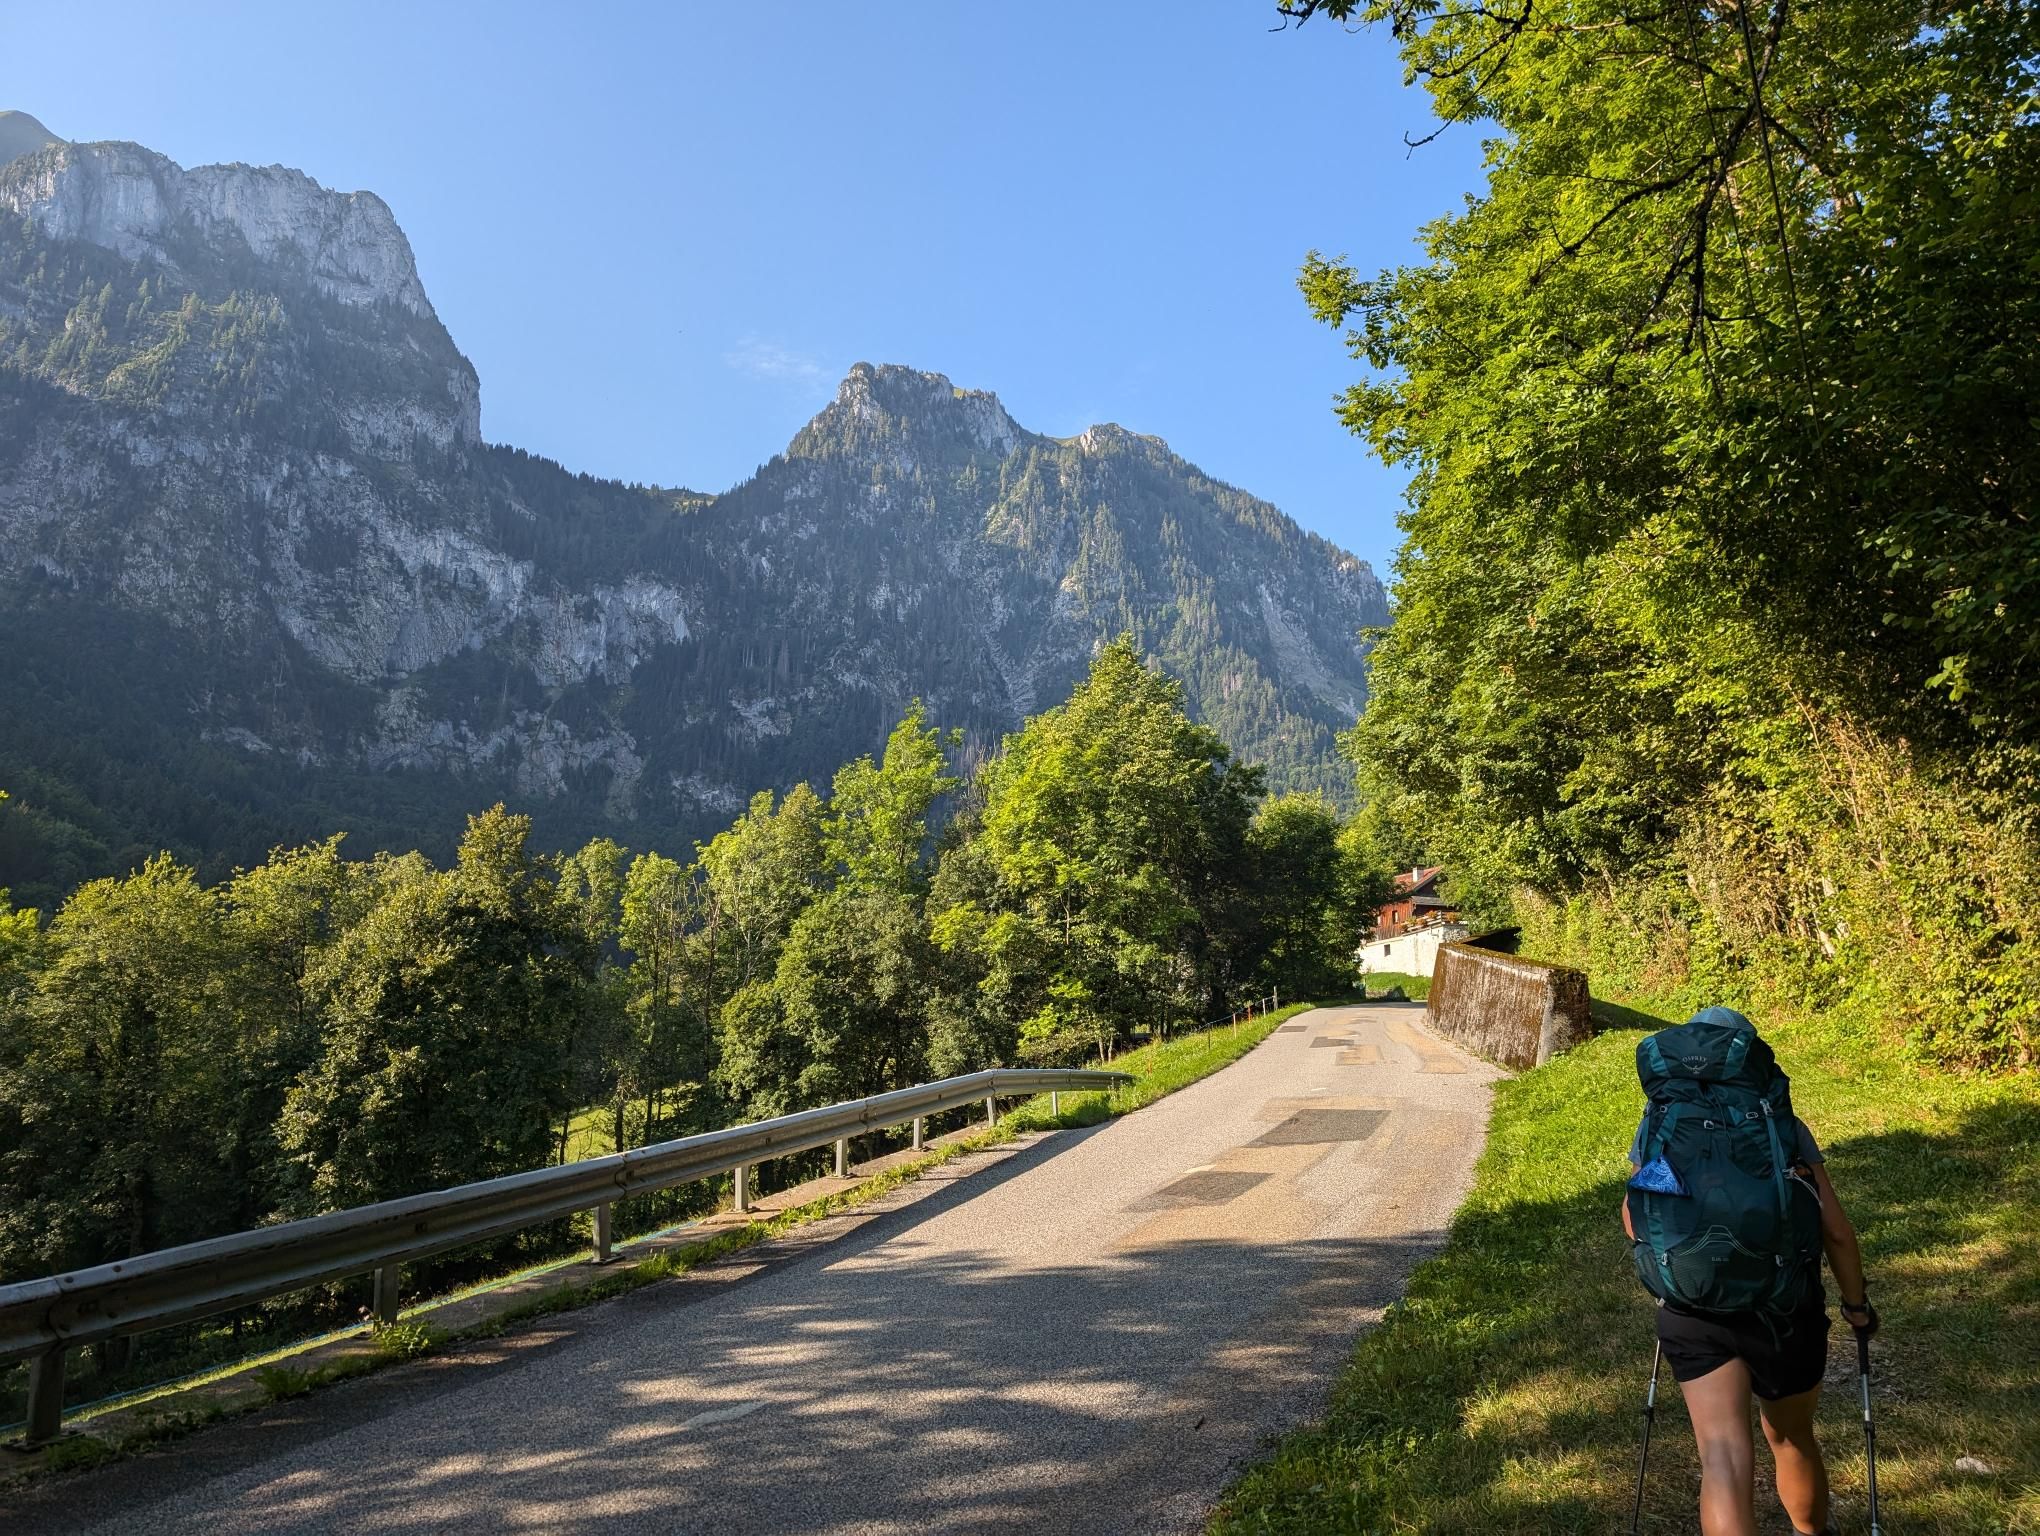
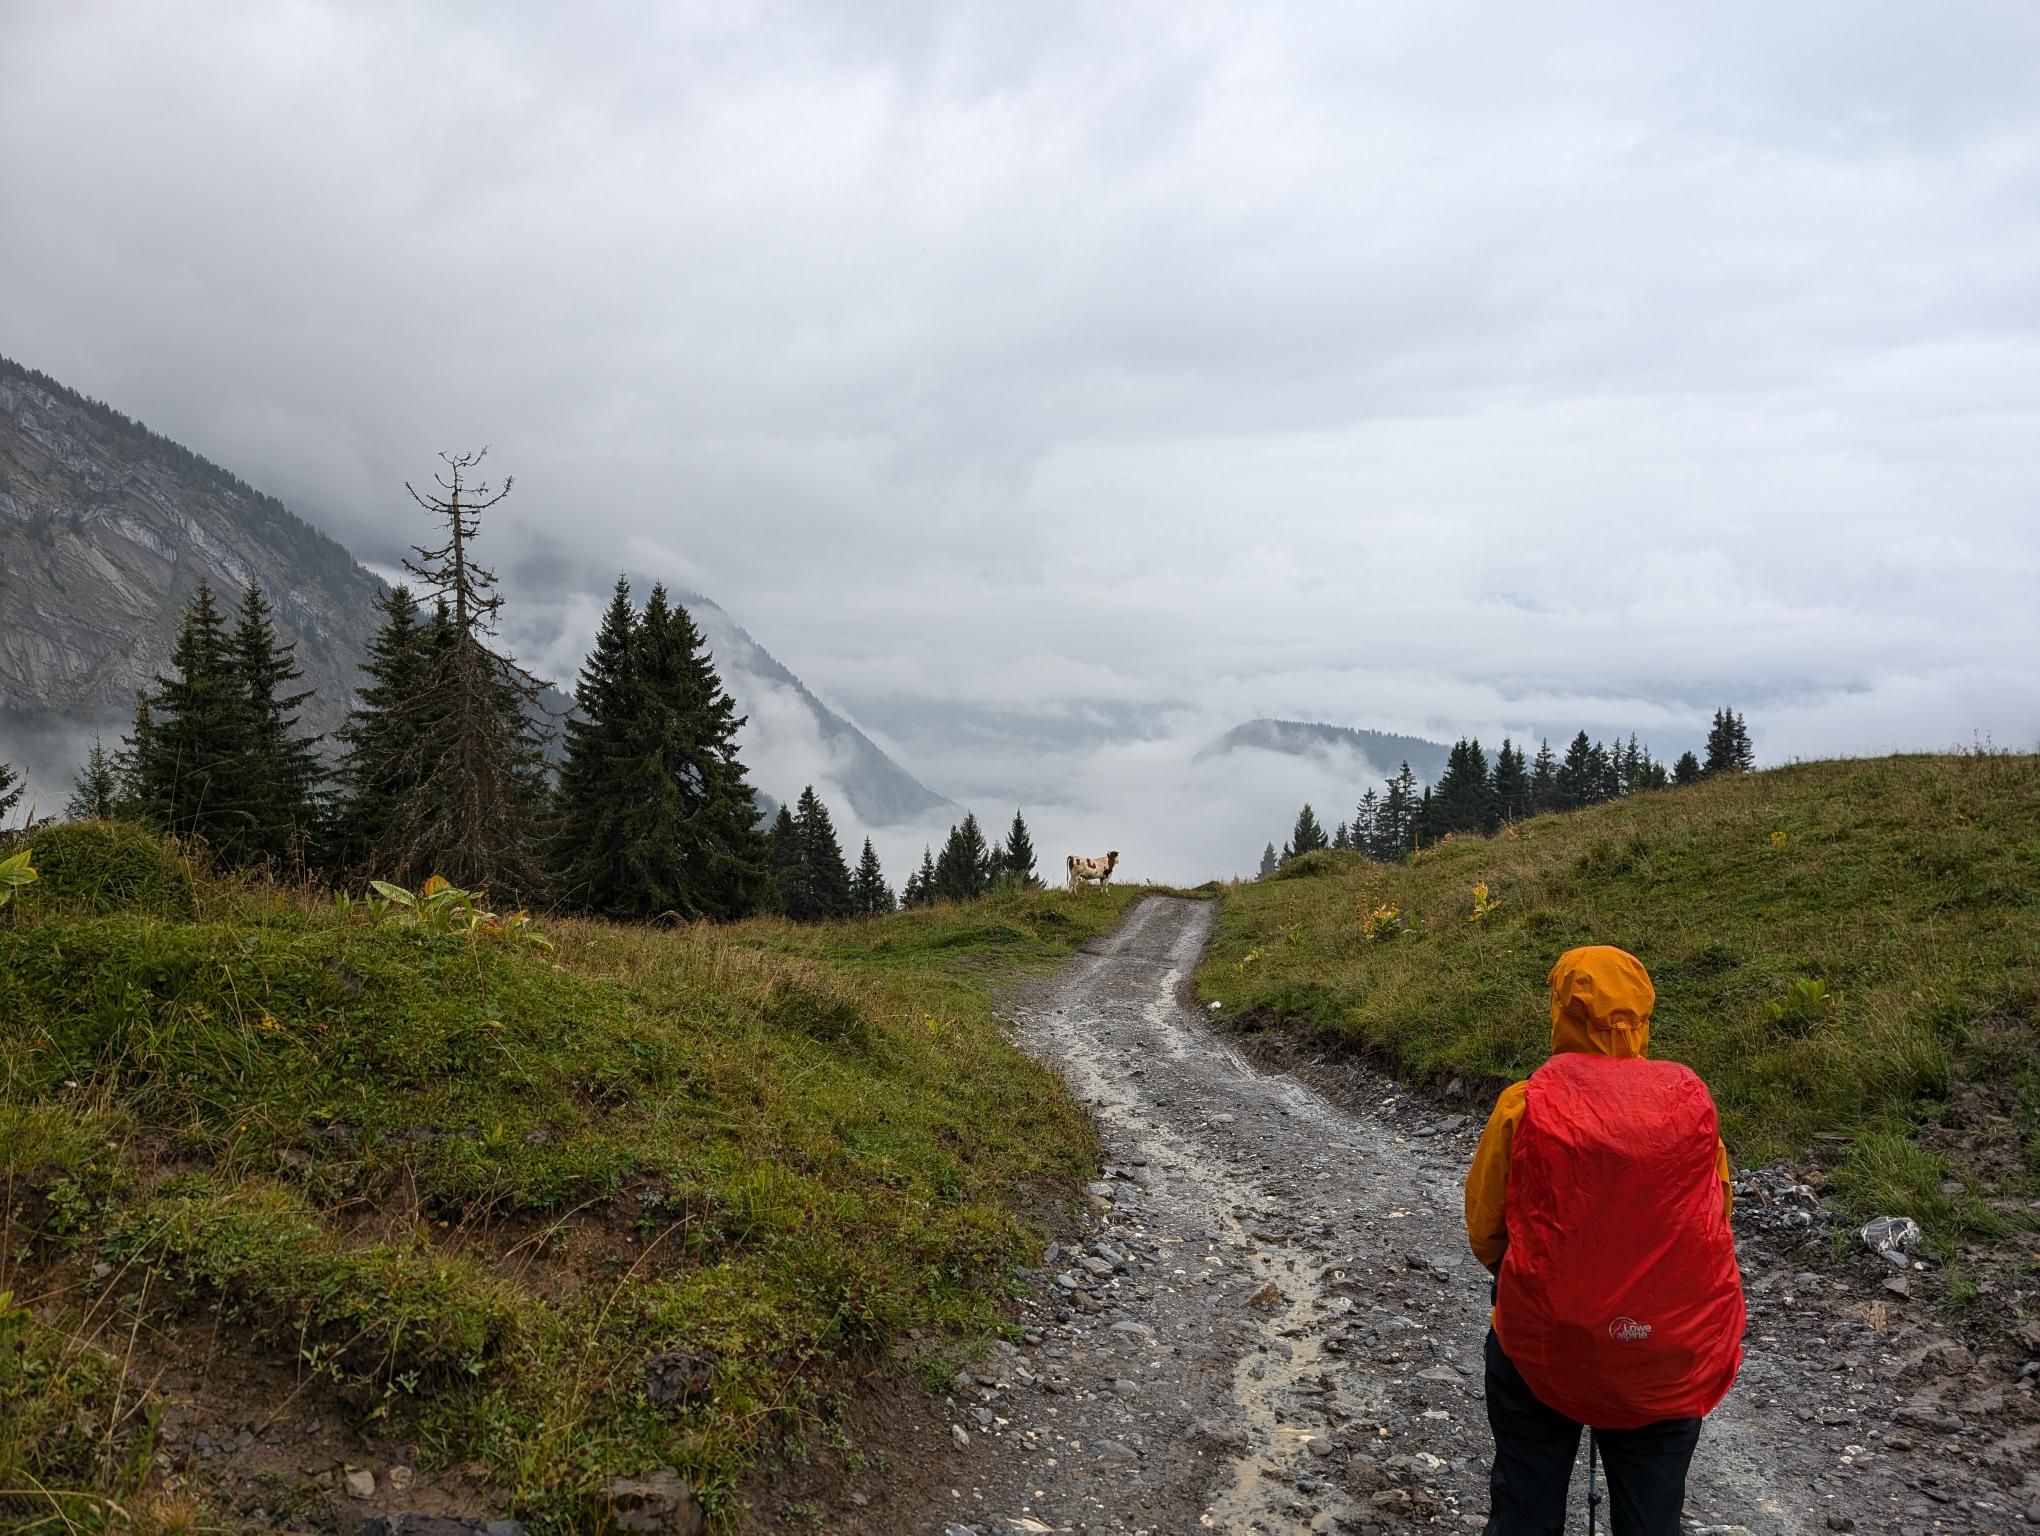
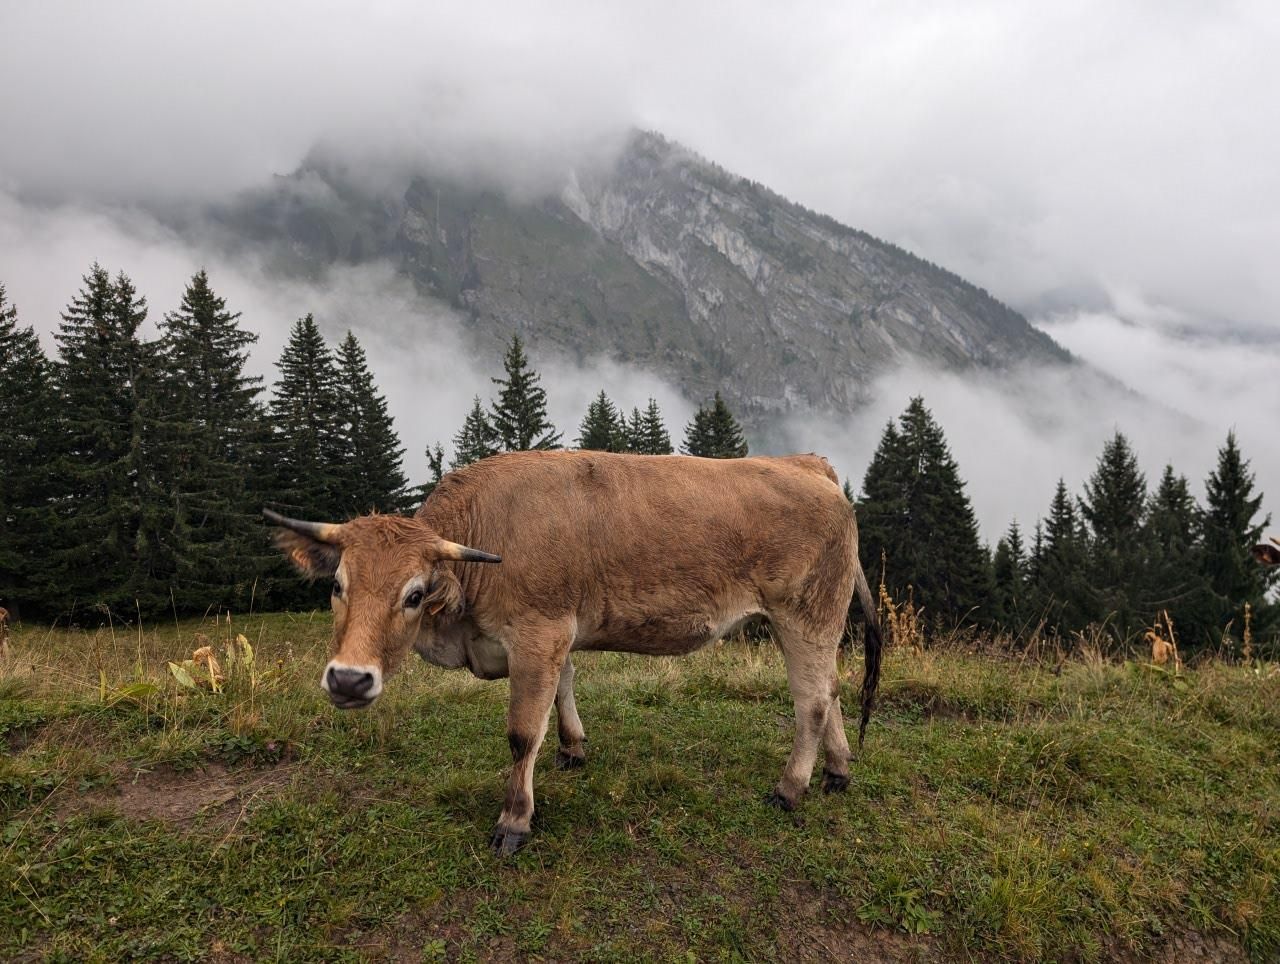
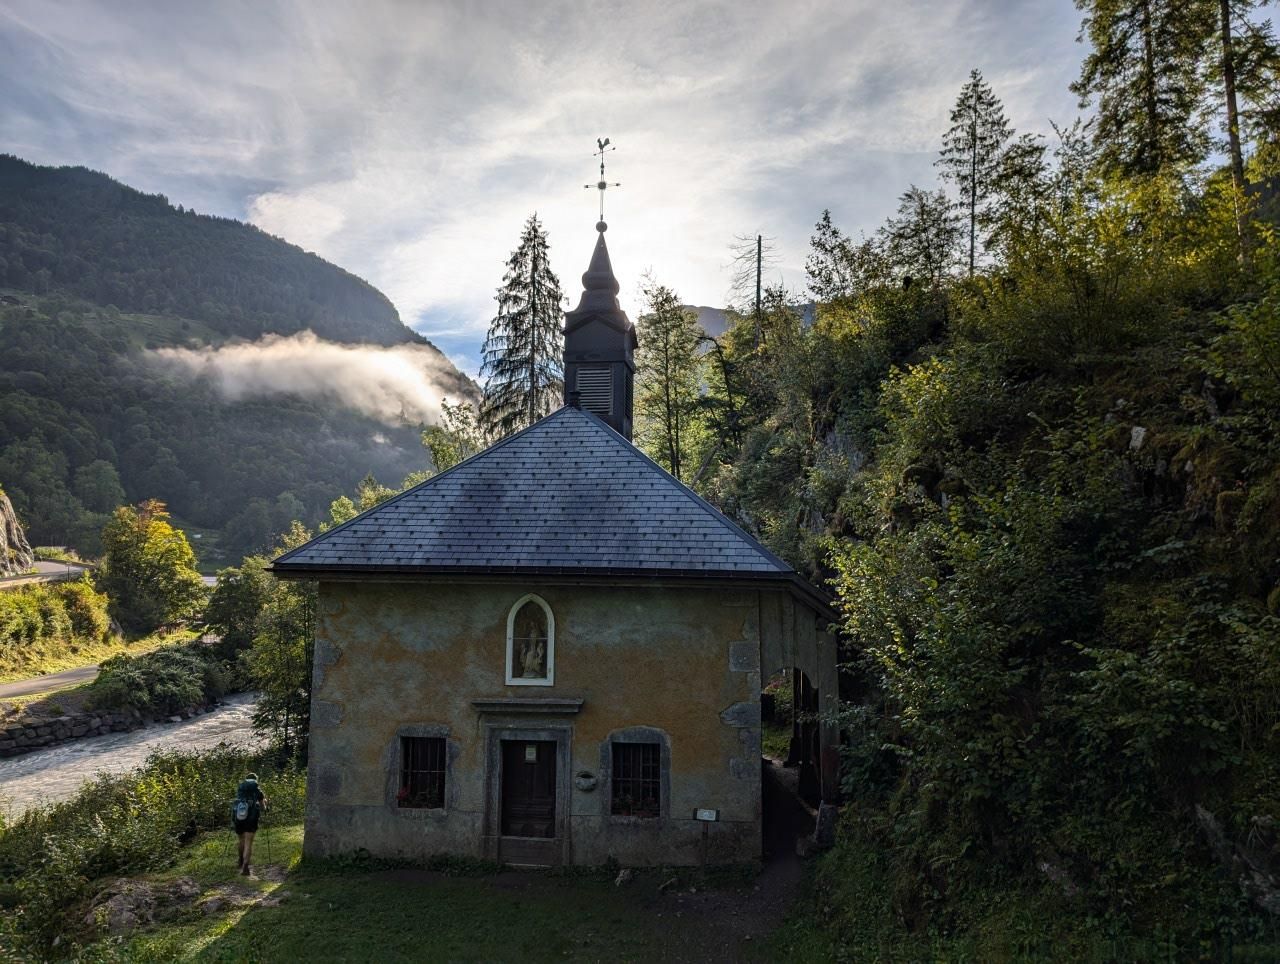
The trip began with a hot climb from Saint-Gingolph to Refuge de Bise, with cow bells around us for most of the day. It felt like a proper start straight away: long hours on foot, strong sun, and the sense that we were settling into a bigger journey rather than just a single walk.

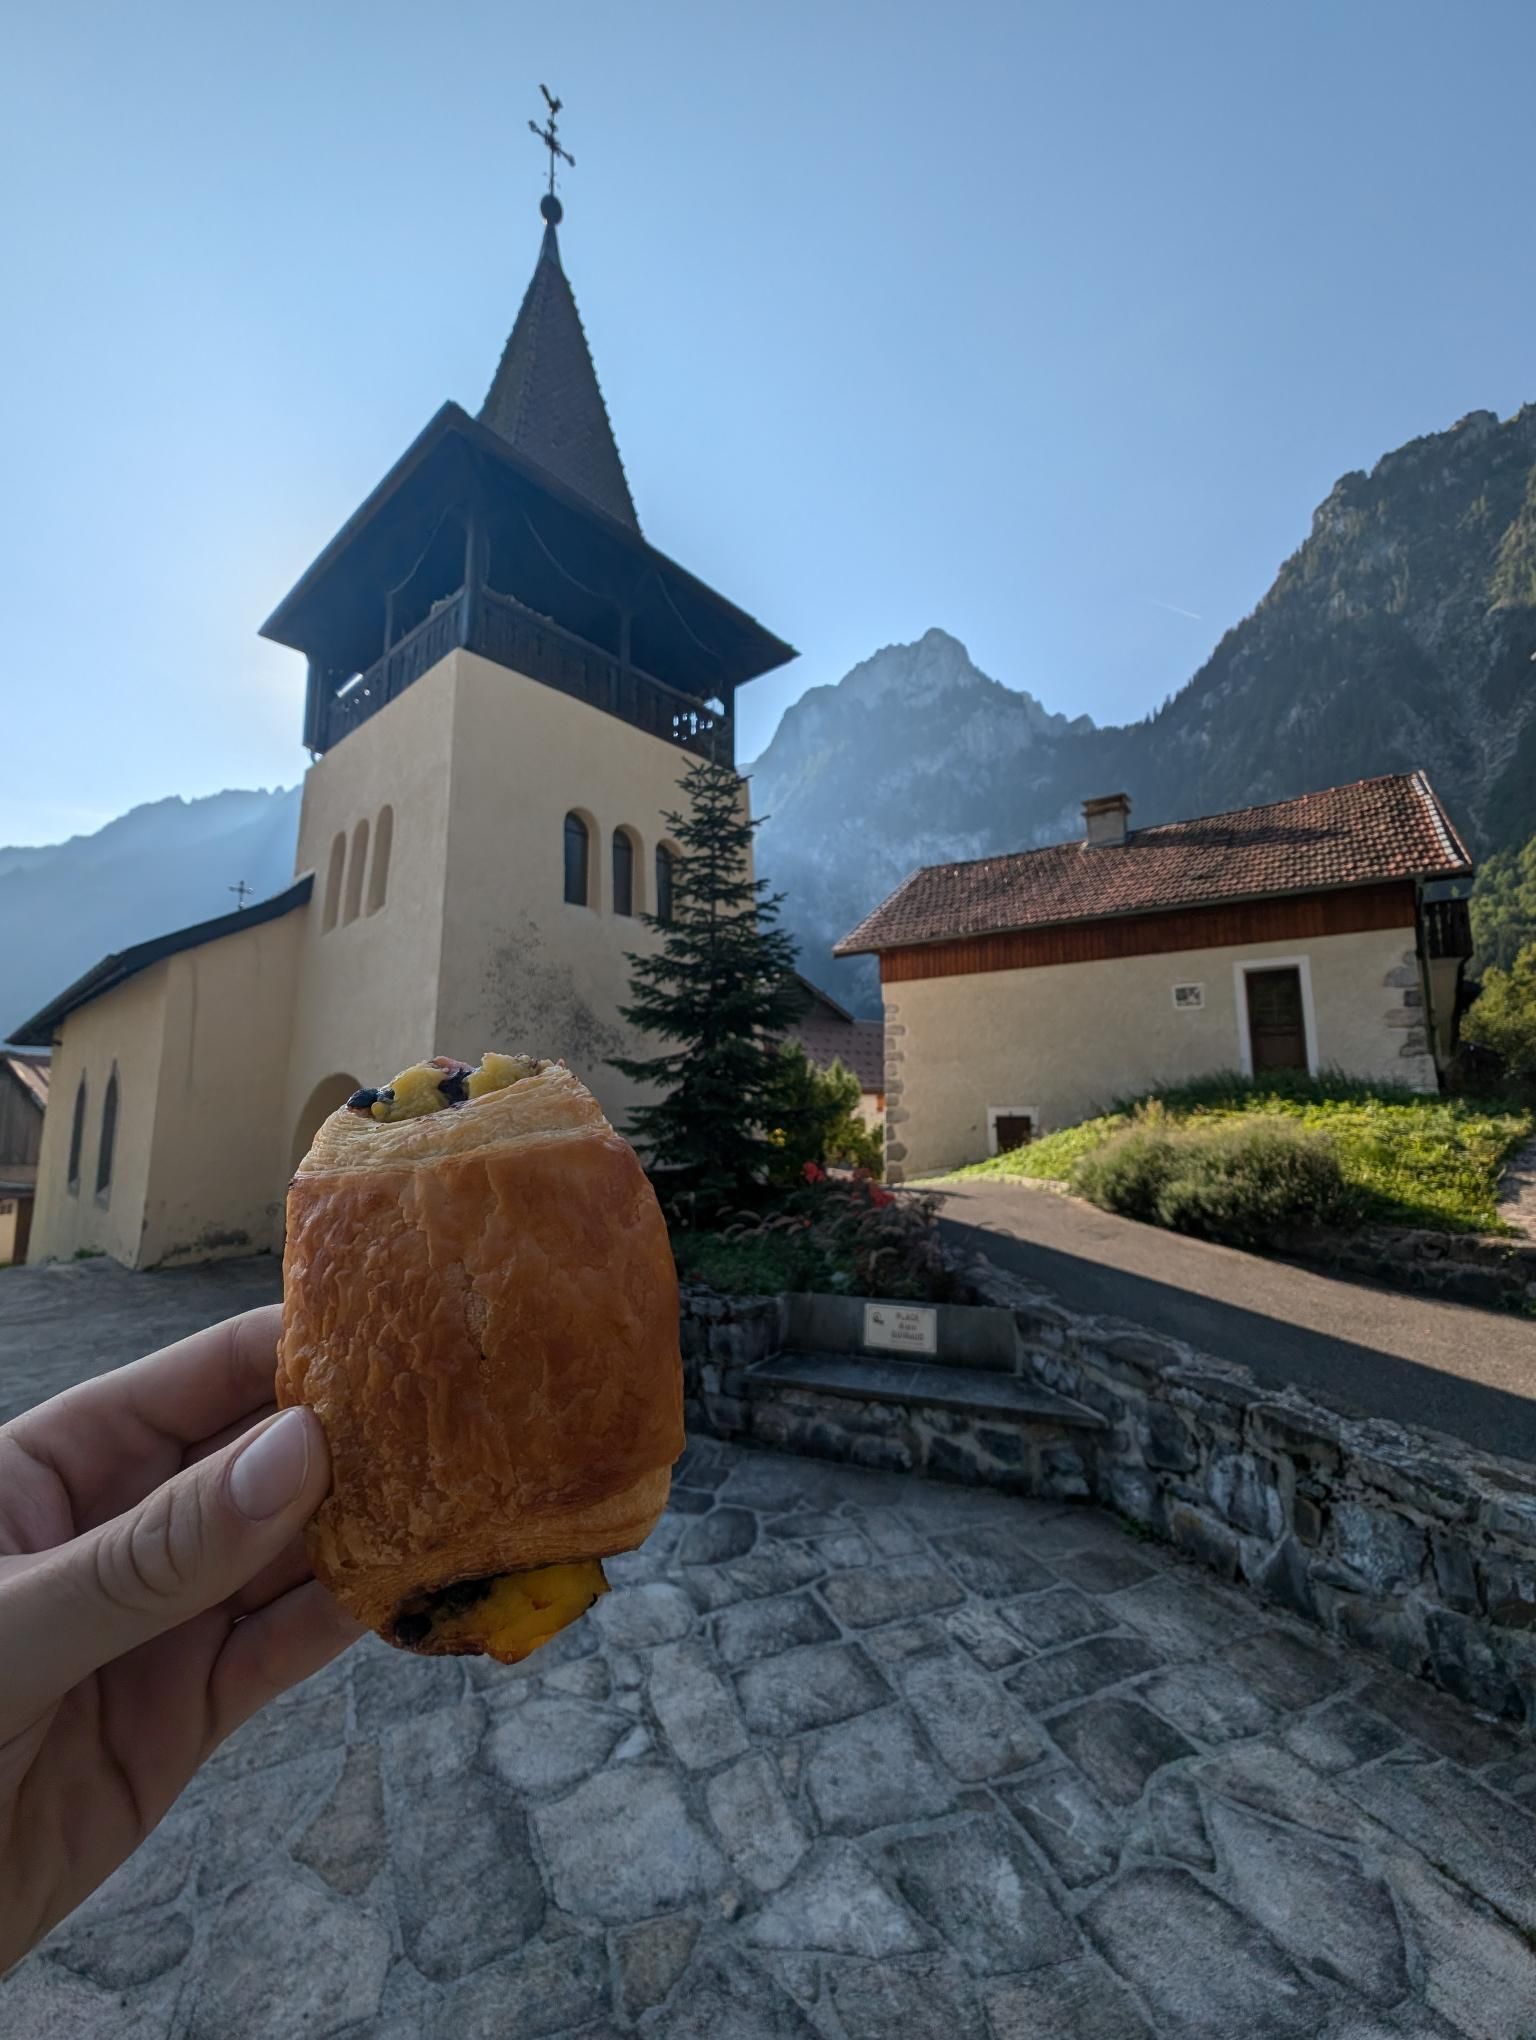
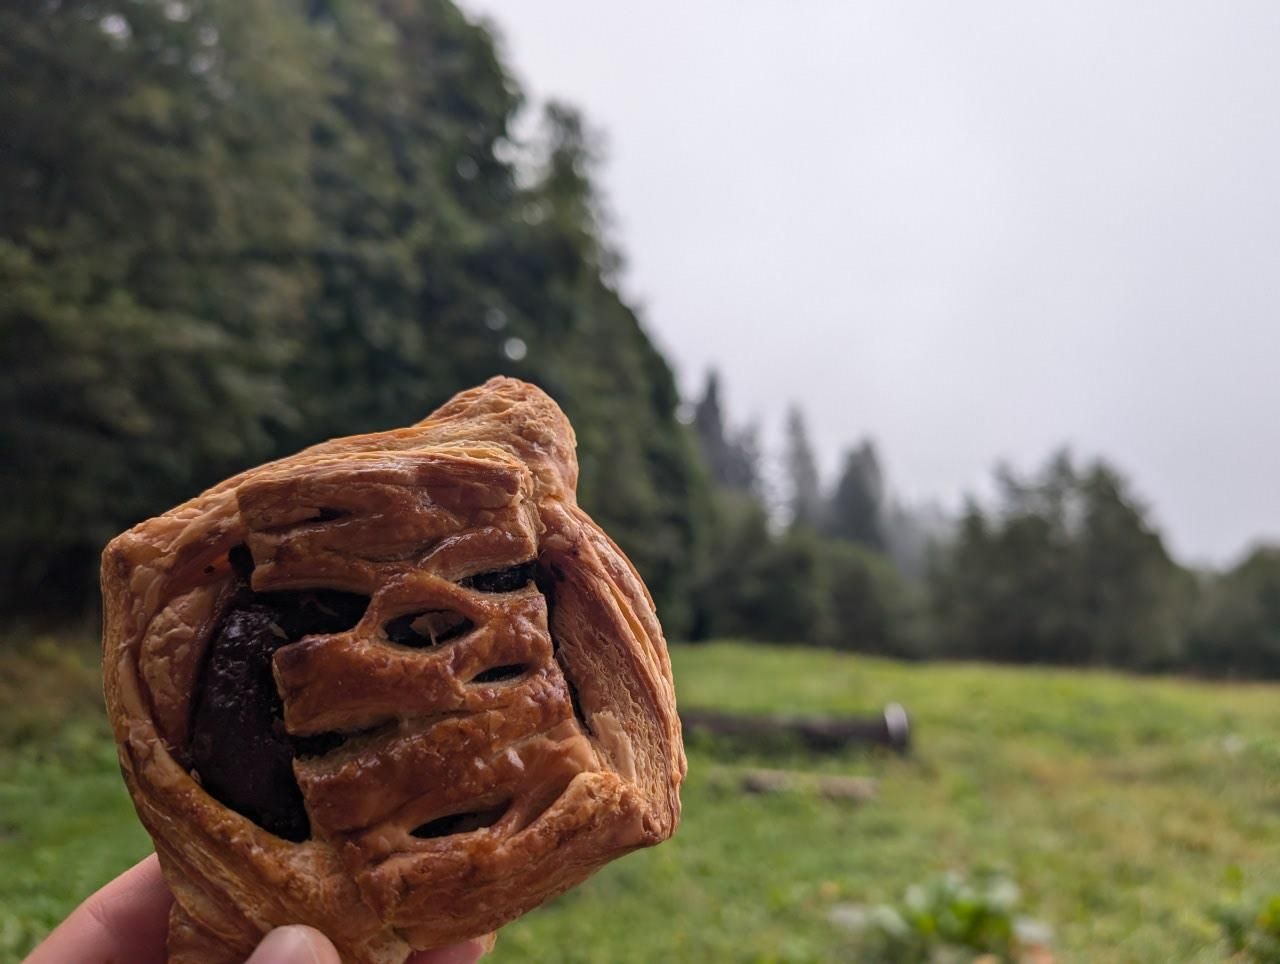
Lunch was improvised from apple on bread after we found the supermarket closed, which set the tone nicely. We had to be a bit flexible from the outset.

GR5 Part 1 - Day 1 photo 1
GR5 Part 1 - Day 1 photo 1 GR5 Part 1 - Day 1 photo 2 GR5 Part 1 - Day 1 photo 3 GR5 Part 1 - Day 1 photo 4 GR5 Part 1 - Day 1 photo 5 GR5 Part 1 - Day 1 photo 6 GR5 Part 1 - Day 1 photo 7 GR5 Part 1 - Day 1 photo 8 GR5 Part 1 - Day 1 photo 9 GR5 Part 1 - Day 1 photo 10 GR5 Part 1 - Day 1 photo 11 GR5 Part 1 - Day 1 photo 12 GR5 Part 1 - Day 1 photo 13 GR5 Part 1 - Day 1 photo 14 GR5 Part 1 - Day 1 photo 15 GR5 Part 1 - Day 1 photo 16

Day 2-3

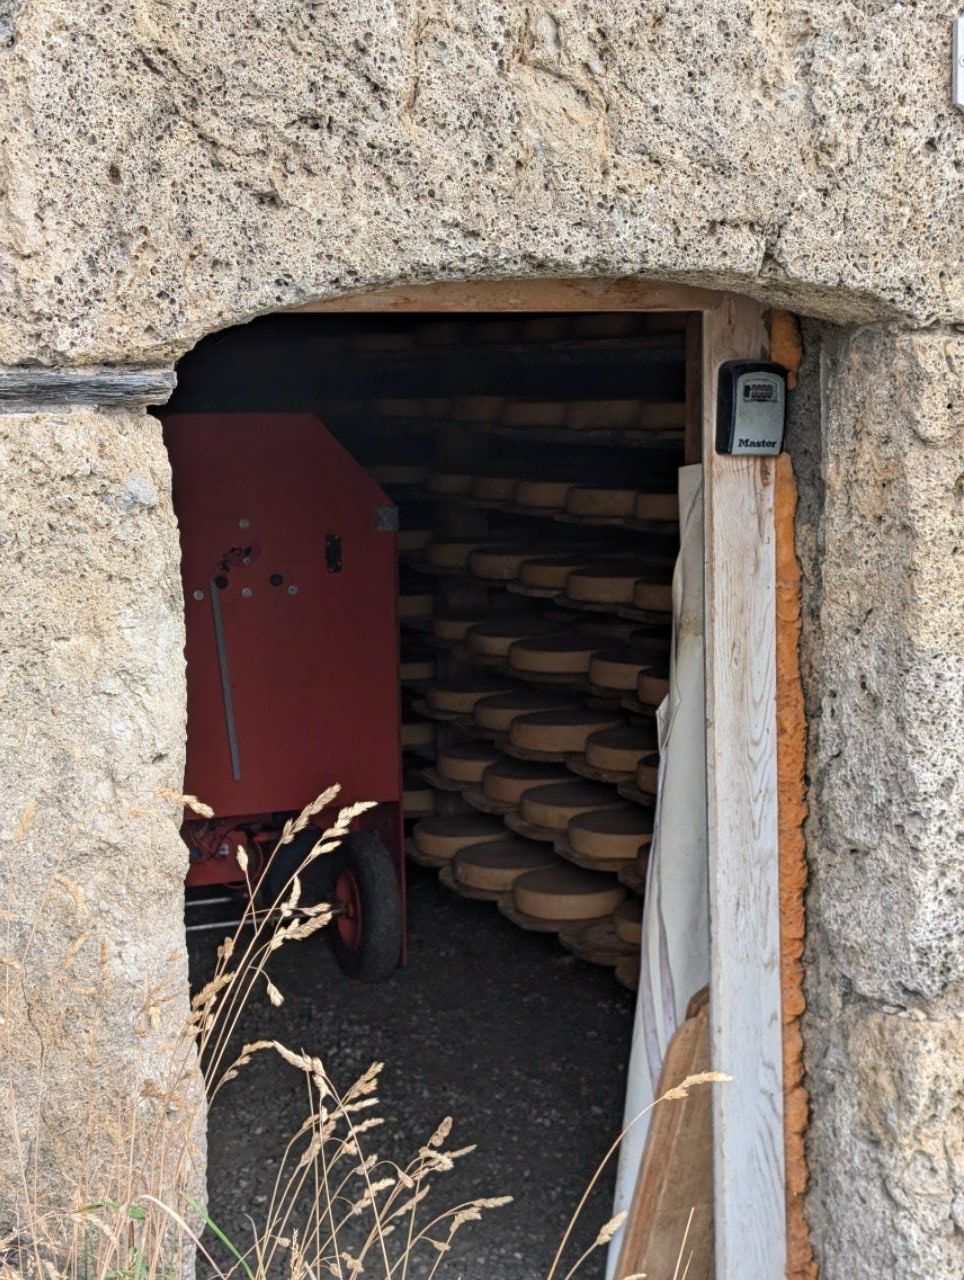
Day 2 took us from Refuge de Bise to Refuge Trébentaz, helped along by some excellent cheese made at the refuge. It was one of those small details that sticks in the memory because it fit the whole hut-to-hut rhythm so well.

Day 3, from Refuge de Trébentaz to Refuge de Chésery, felt noticeably easier. The route stayed quite high, and the day flowed more smoothly than the first two.

GR5 Part 1 - Day 2 photo 1
GR5 Part 1 - Day 2 photo 1 GR5 Part 1 - Day 2 photo 2 GR5 Part 1 - Day 2 photo 3 GR5 Part 1 - Day 2 photo 4 GR5 Part 1 - Day 2 photo 5 GR5 Part 1 - Day 2 photo 6 GR5 Part 1 - Day 2 photo 7 GR5 Part 1 - Day 2 photo 8 GR5 Part 1 - Day 2 photo 9 GR5 Part 1 - Day 2 photo 10 GR5 Part 1 - Day 2 photo 11 GR5 Part 1 - Day 2 photo 12 GR5 Part 1 - Day 2 photo 13 GR5 Part 1 - Day 2 photo 14 GR5 Part 1 - Day 2 photo 15 GR5 Part 1 - Day 2 photo 16 GR5 Part 1 - Day 2 photo 17 GR5 Part 1 - Day 2 photo 18 GR5 Part 1 - Day 2 photo 19 GR5 Part 1 - Day 2 photo 20 GR5 Part 1 - Day 2 photo 21
GR5 Part 1 - Day 3 photo 1
GR5 Part 1 - Day 3 photo 1 GR5 Part 1 - Day 3 photo 2 GR5 Part 1 - Day 3 photo 3 GR5 Part 1 - Day 3 photo 4 GR5 Part 1 - Day 3 photo 5 GR5 Part 1 - Day 3 photo 6 GR5 Part 1 - Day 3 photo 7 GR5 Part 1 - Day 3 photo 8 GR5 Part 1 - Day 3 photo 9 GR5 Part 1 - Day 3 photo 10 GR5 Part 1 - Day 3 photo 11 GR5 Part 1 - Day 3 photo 12 GR5 Part 1 - Day 3 photo 13

Day 4-5

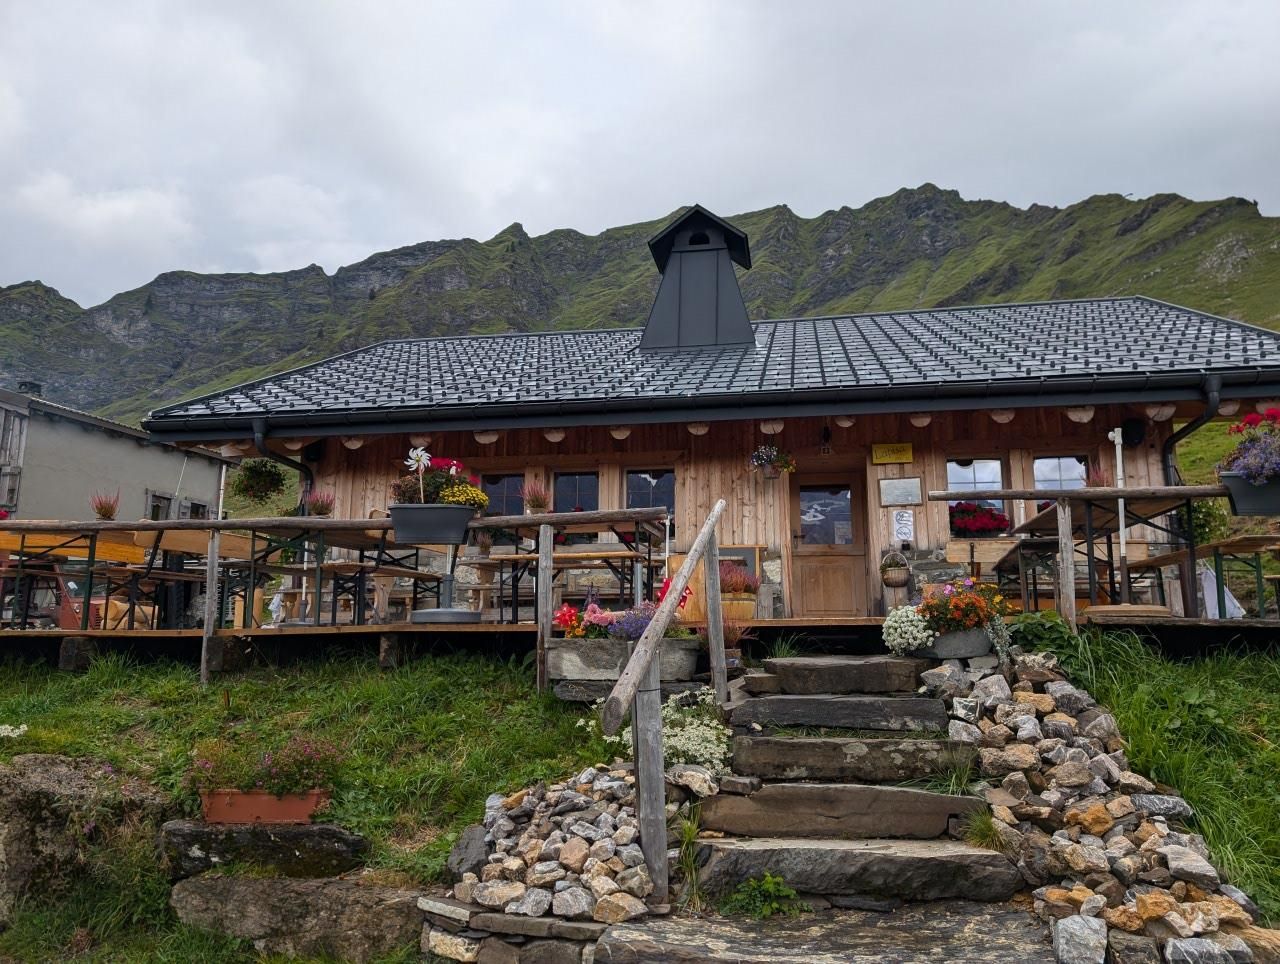
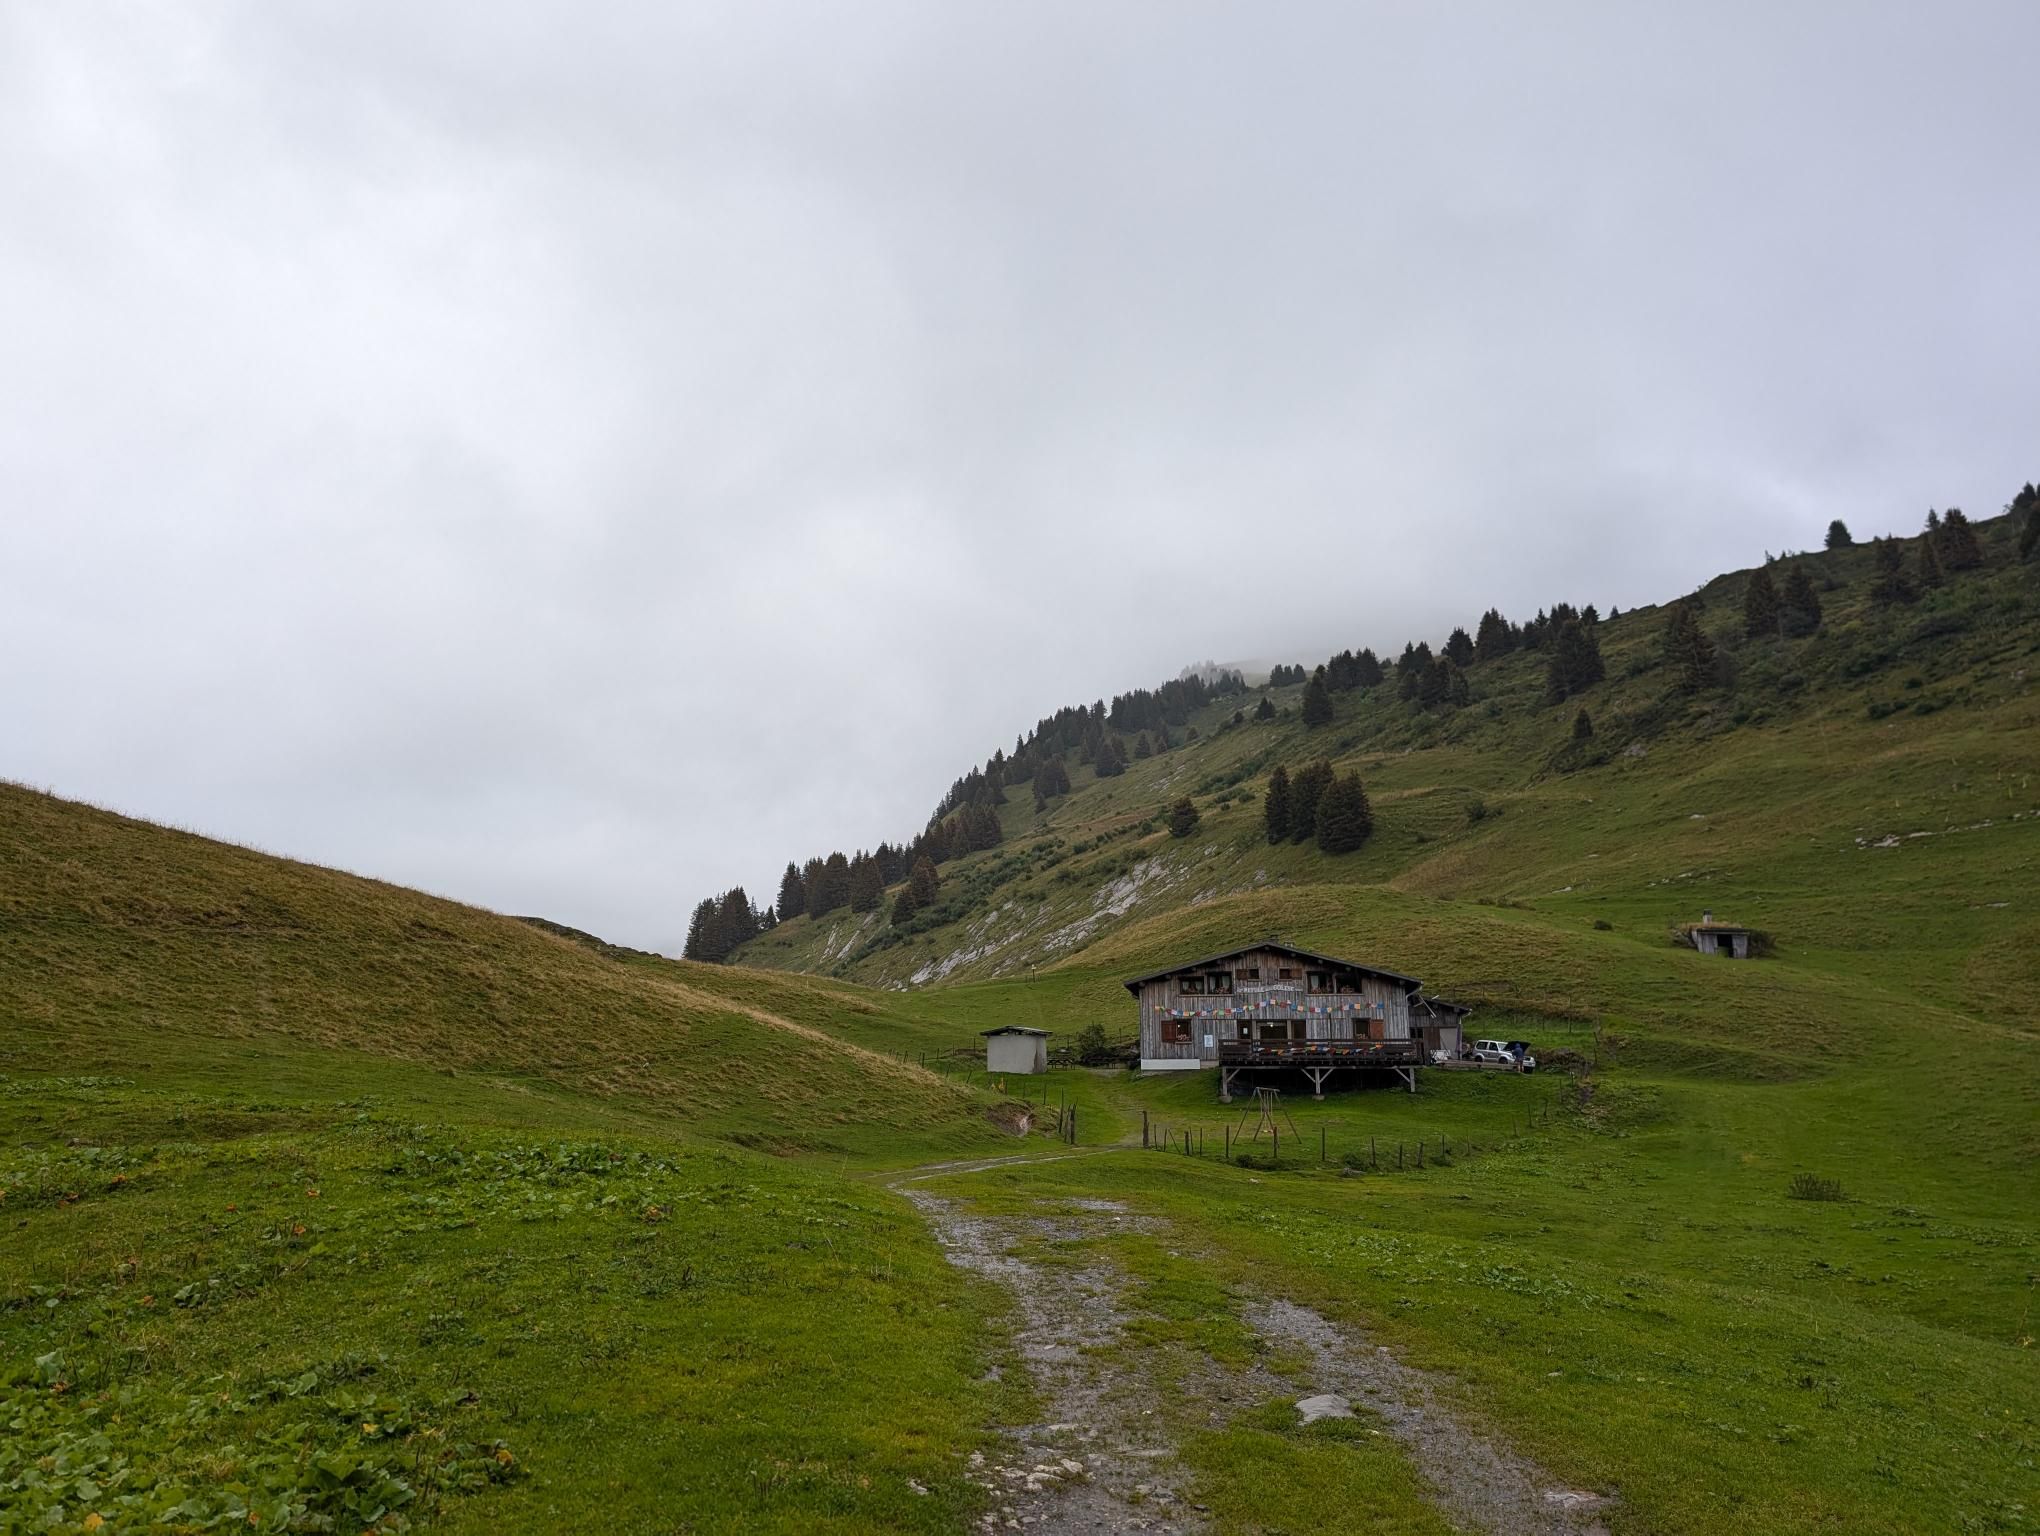
From Refuge de Chésery to Refuge de la Golese on Day 4, the forecast looked grim, but it never really turned into the soaking we expected. We only had about five minutes of rain, and most of the day was a really enjoyable walk through Switzerland.

Day 5 was the short drop from Refuge de la Golese to Samoëns. This time it was properly wet, but because we had already planned it as a shorter day, it worked well as the lead-in to a rest.

GR 5 Part 1 - Day 4 photo 1
GR 5 Part 1 - Day 4 photo 1 GR 5 Part 1 - Day 4 photo 2 GR 5 Part 1 - Day 4 photo 3 GR 5 Part 1 - Day 4 photo 4 GR 5 Part 1 - Day 4 photo 5 GR 5 Part 1 - Day 4 photo 6 GR 5 Part 1 - Day 4 photo 7 GR 5 Part 1 - Day 4 photo 8 GR 5 Part 1 - Day 4 photo 9 GR 5 Part 1 - Day 4 photo 10 GR 5 Part 1 - Day 4 photo 11 GR 5 Part 1 - Day 4 photo 12 GR 5 Part 1 - Day 4 photo 13 GR 5 Part 1 - Day 4 photo 14
GR 5 Part 1 - Day 5 photo 1
GR 5 Part 1 - Day 5 photo 1 GR 5 Part 1 - Day 5 photo 2 GR 5 Part 1 - Day 5 photo 3 GR 5 Part 1 - Day 5 photo 4 GR 5 Part 1 - Day 5 photo 5 GR 5 Part 1 - Day 5 photo 6 GR 5 Part 1 - Day 5 photo 7 GR 5 Part 1 - Day 5 photo 8 GR 5 Part 1 - Day 5 photo 9 GR 5 Part 1 - Day 5 photo 10 GR 5 Part 1 - Day 5 photo 11

Day 6-7

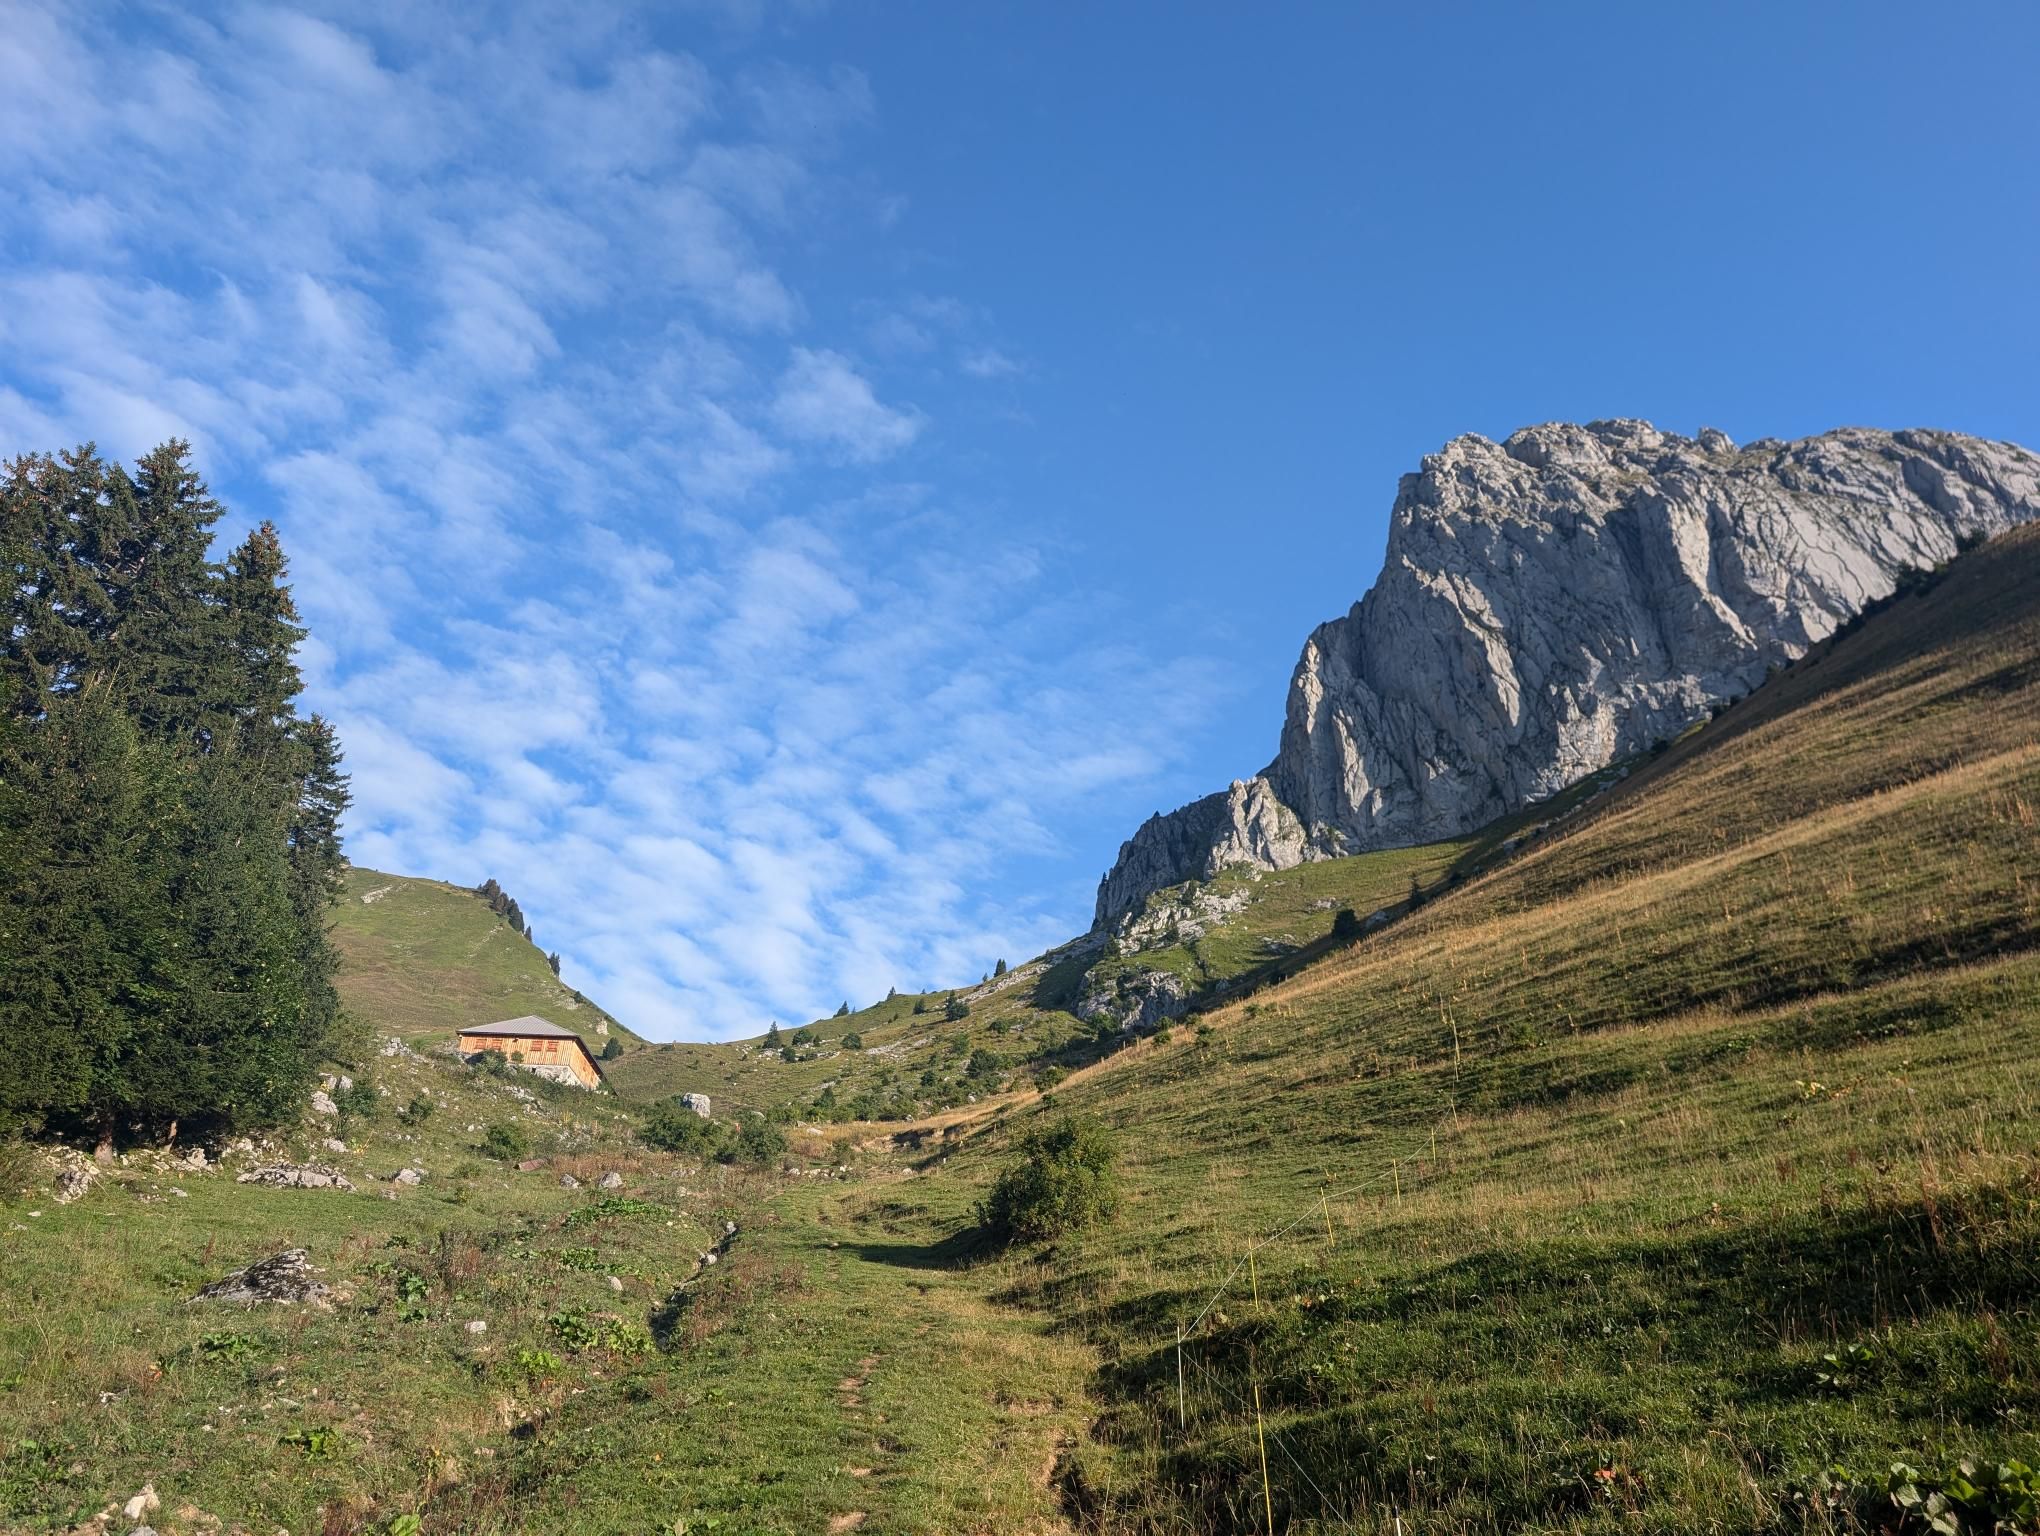
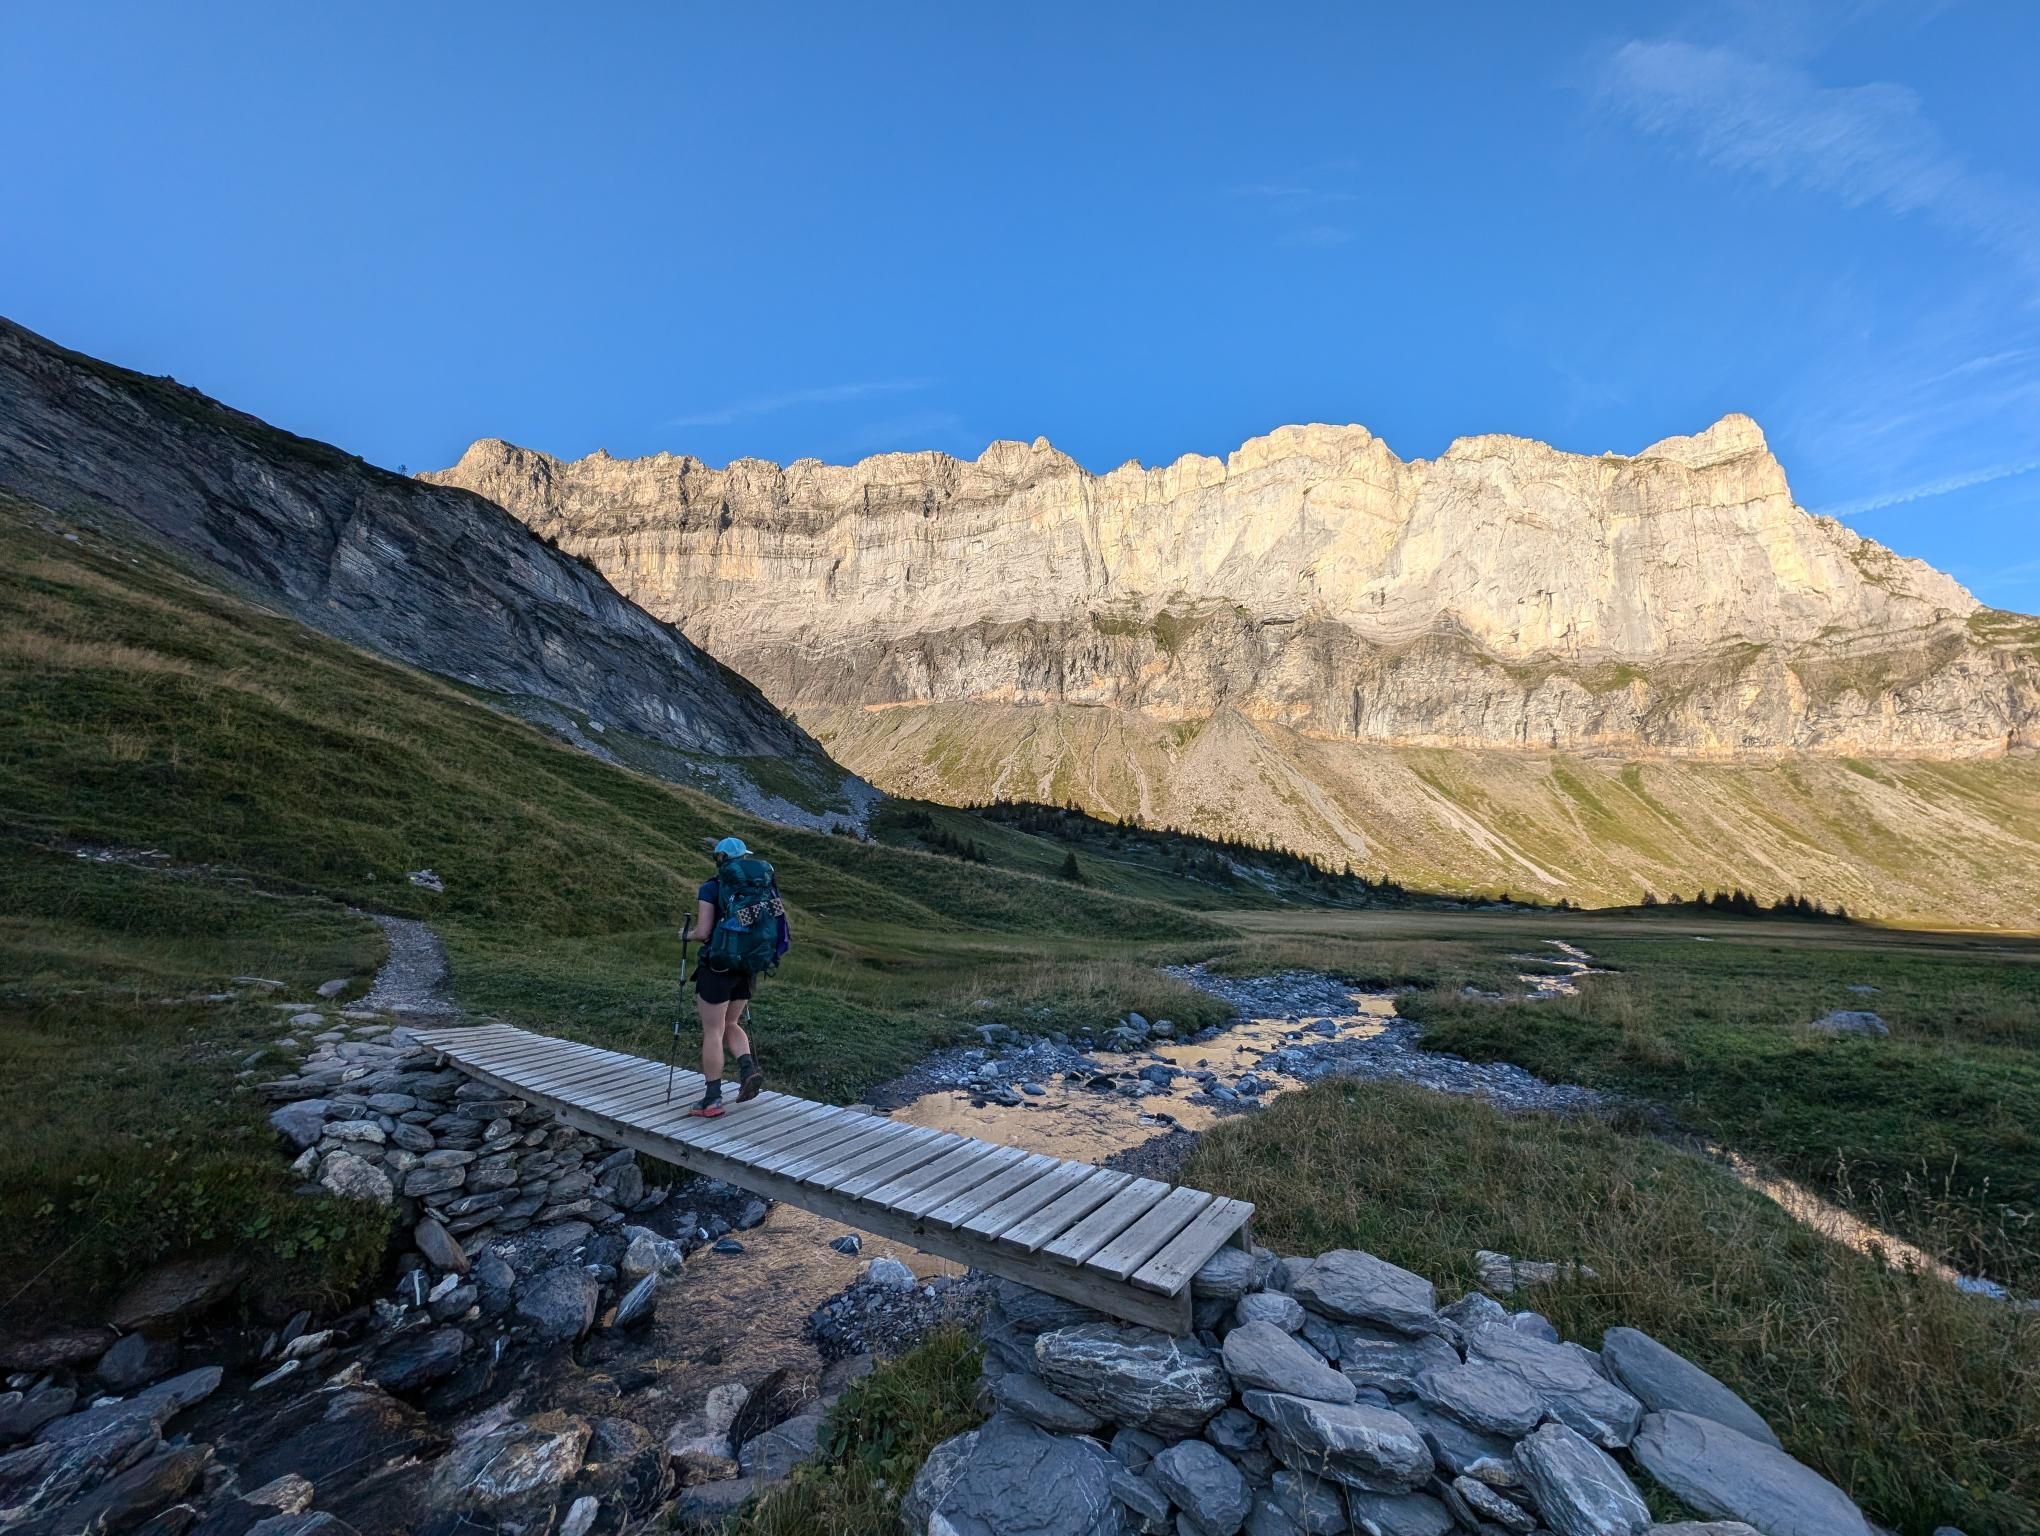
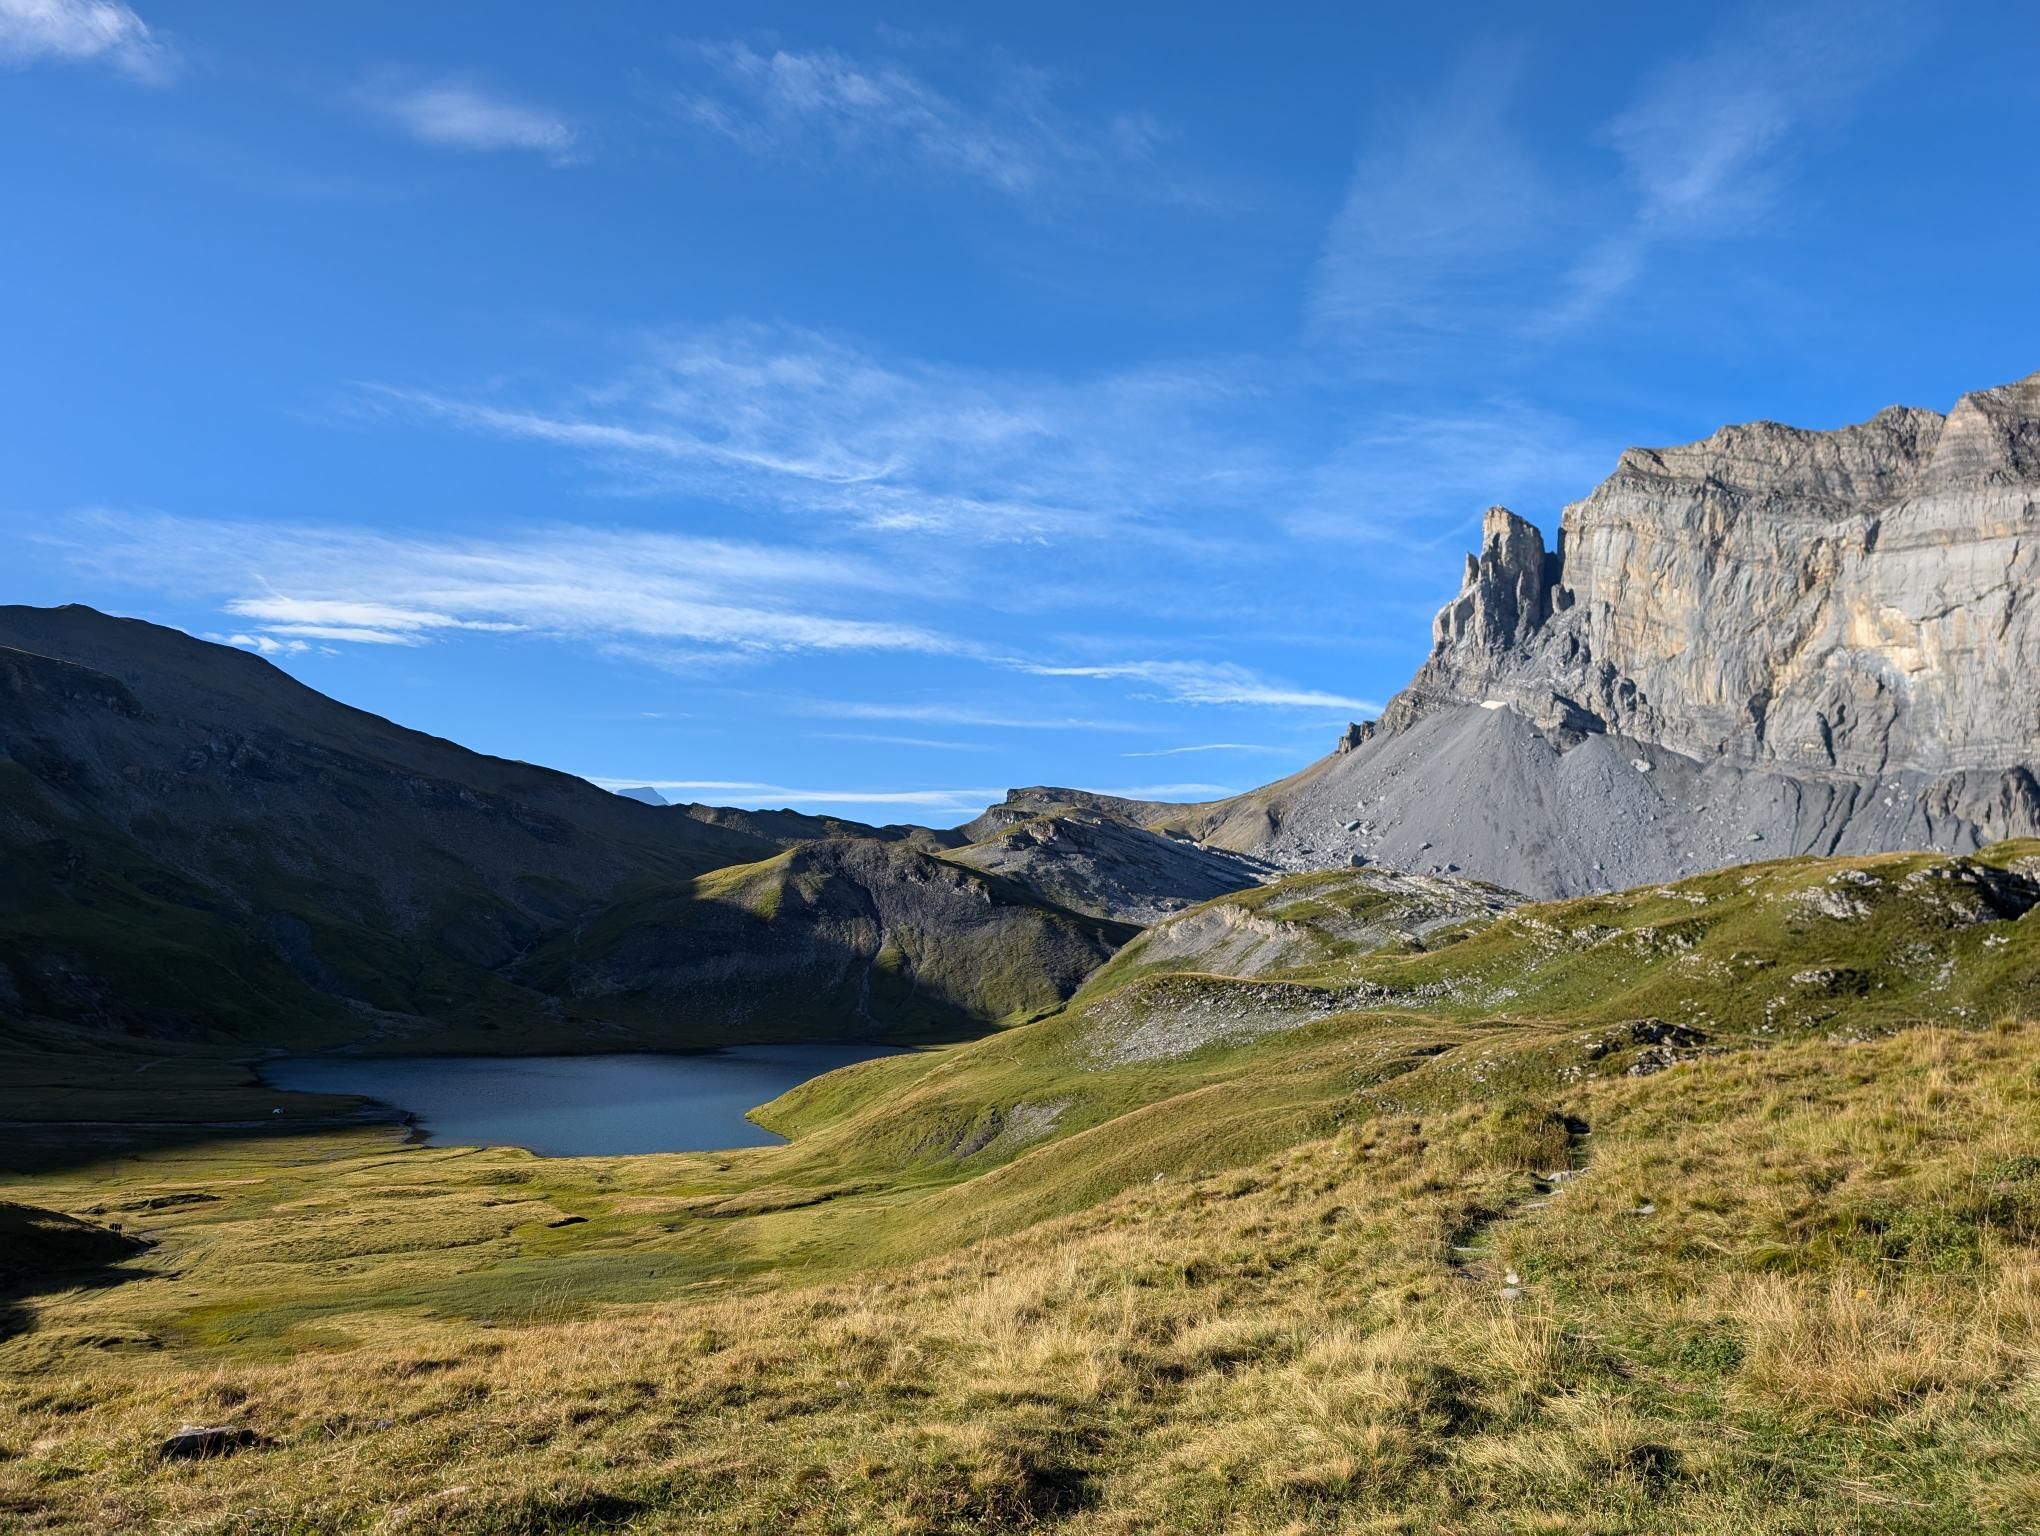
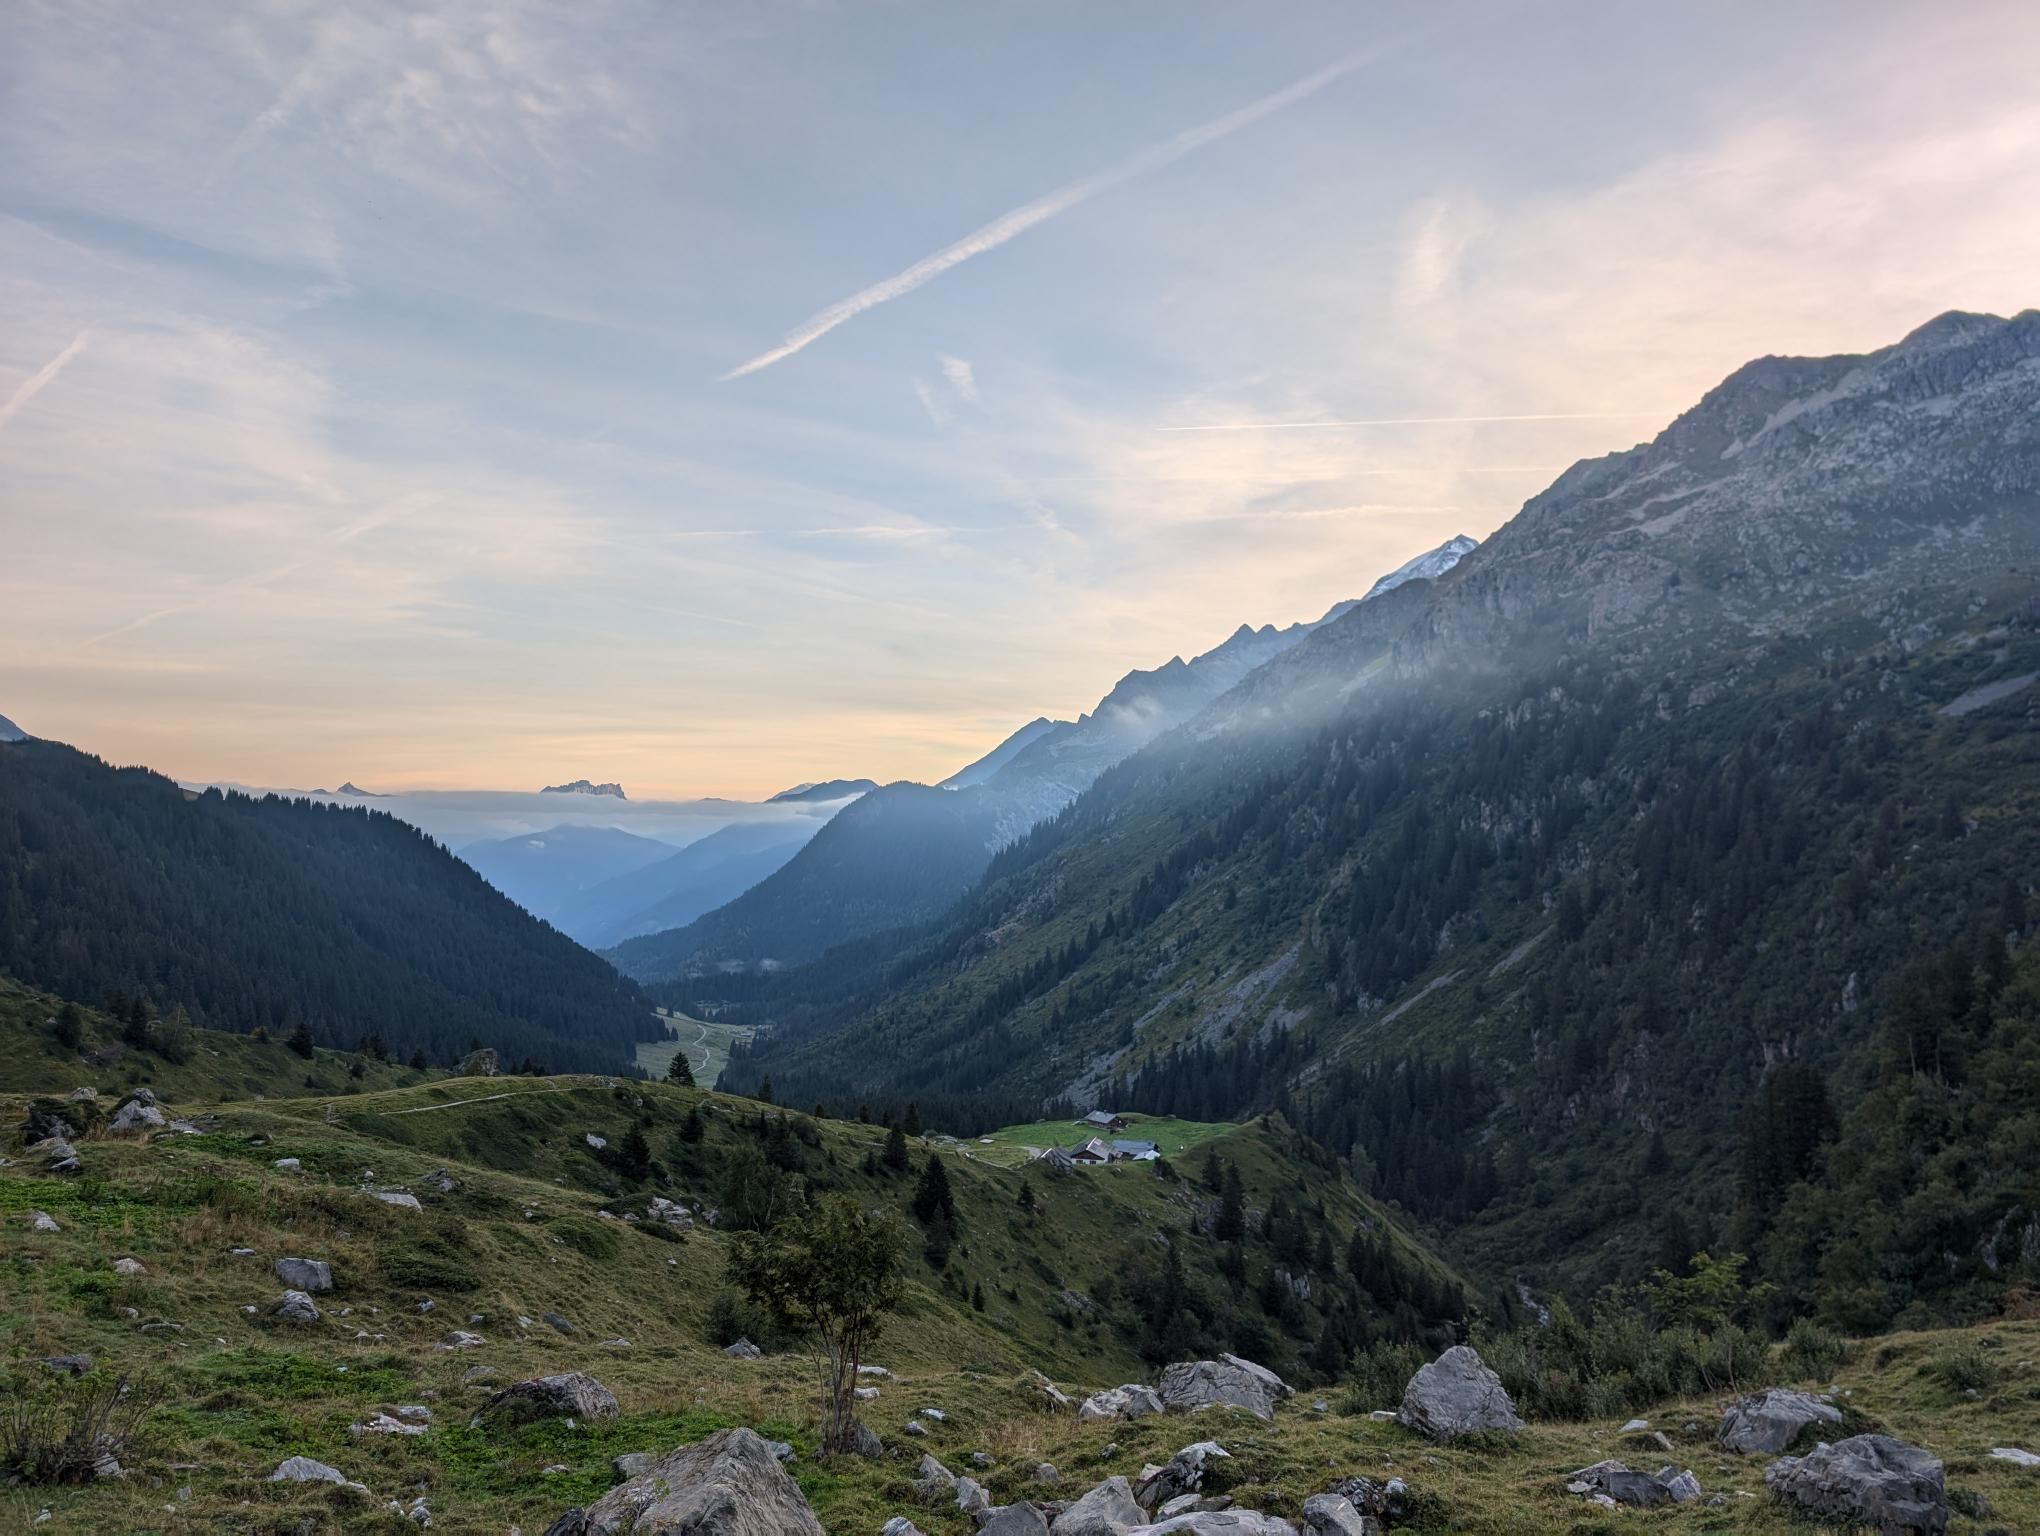
Leaving Samoëns for Refuge Alfred Wills on Day 6, things lifted again. It was the best day yet at that point, and getting our first view of Mont Blanc gave the route a real sense of progress.

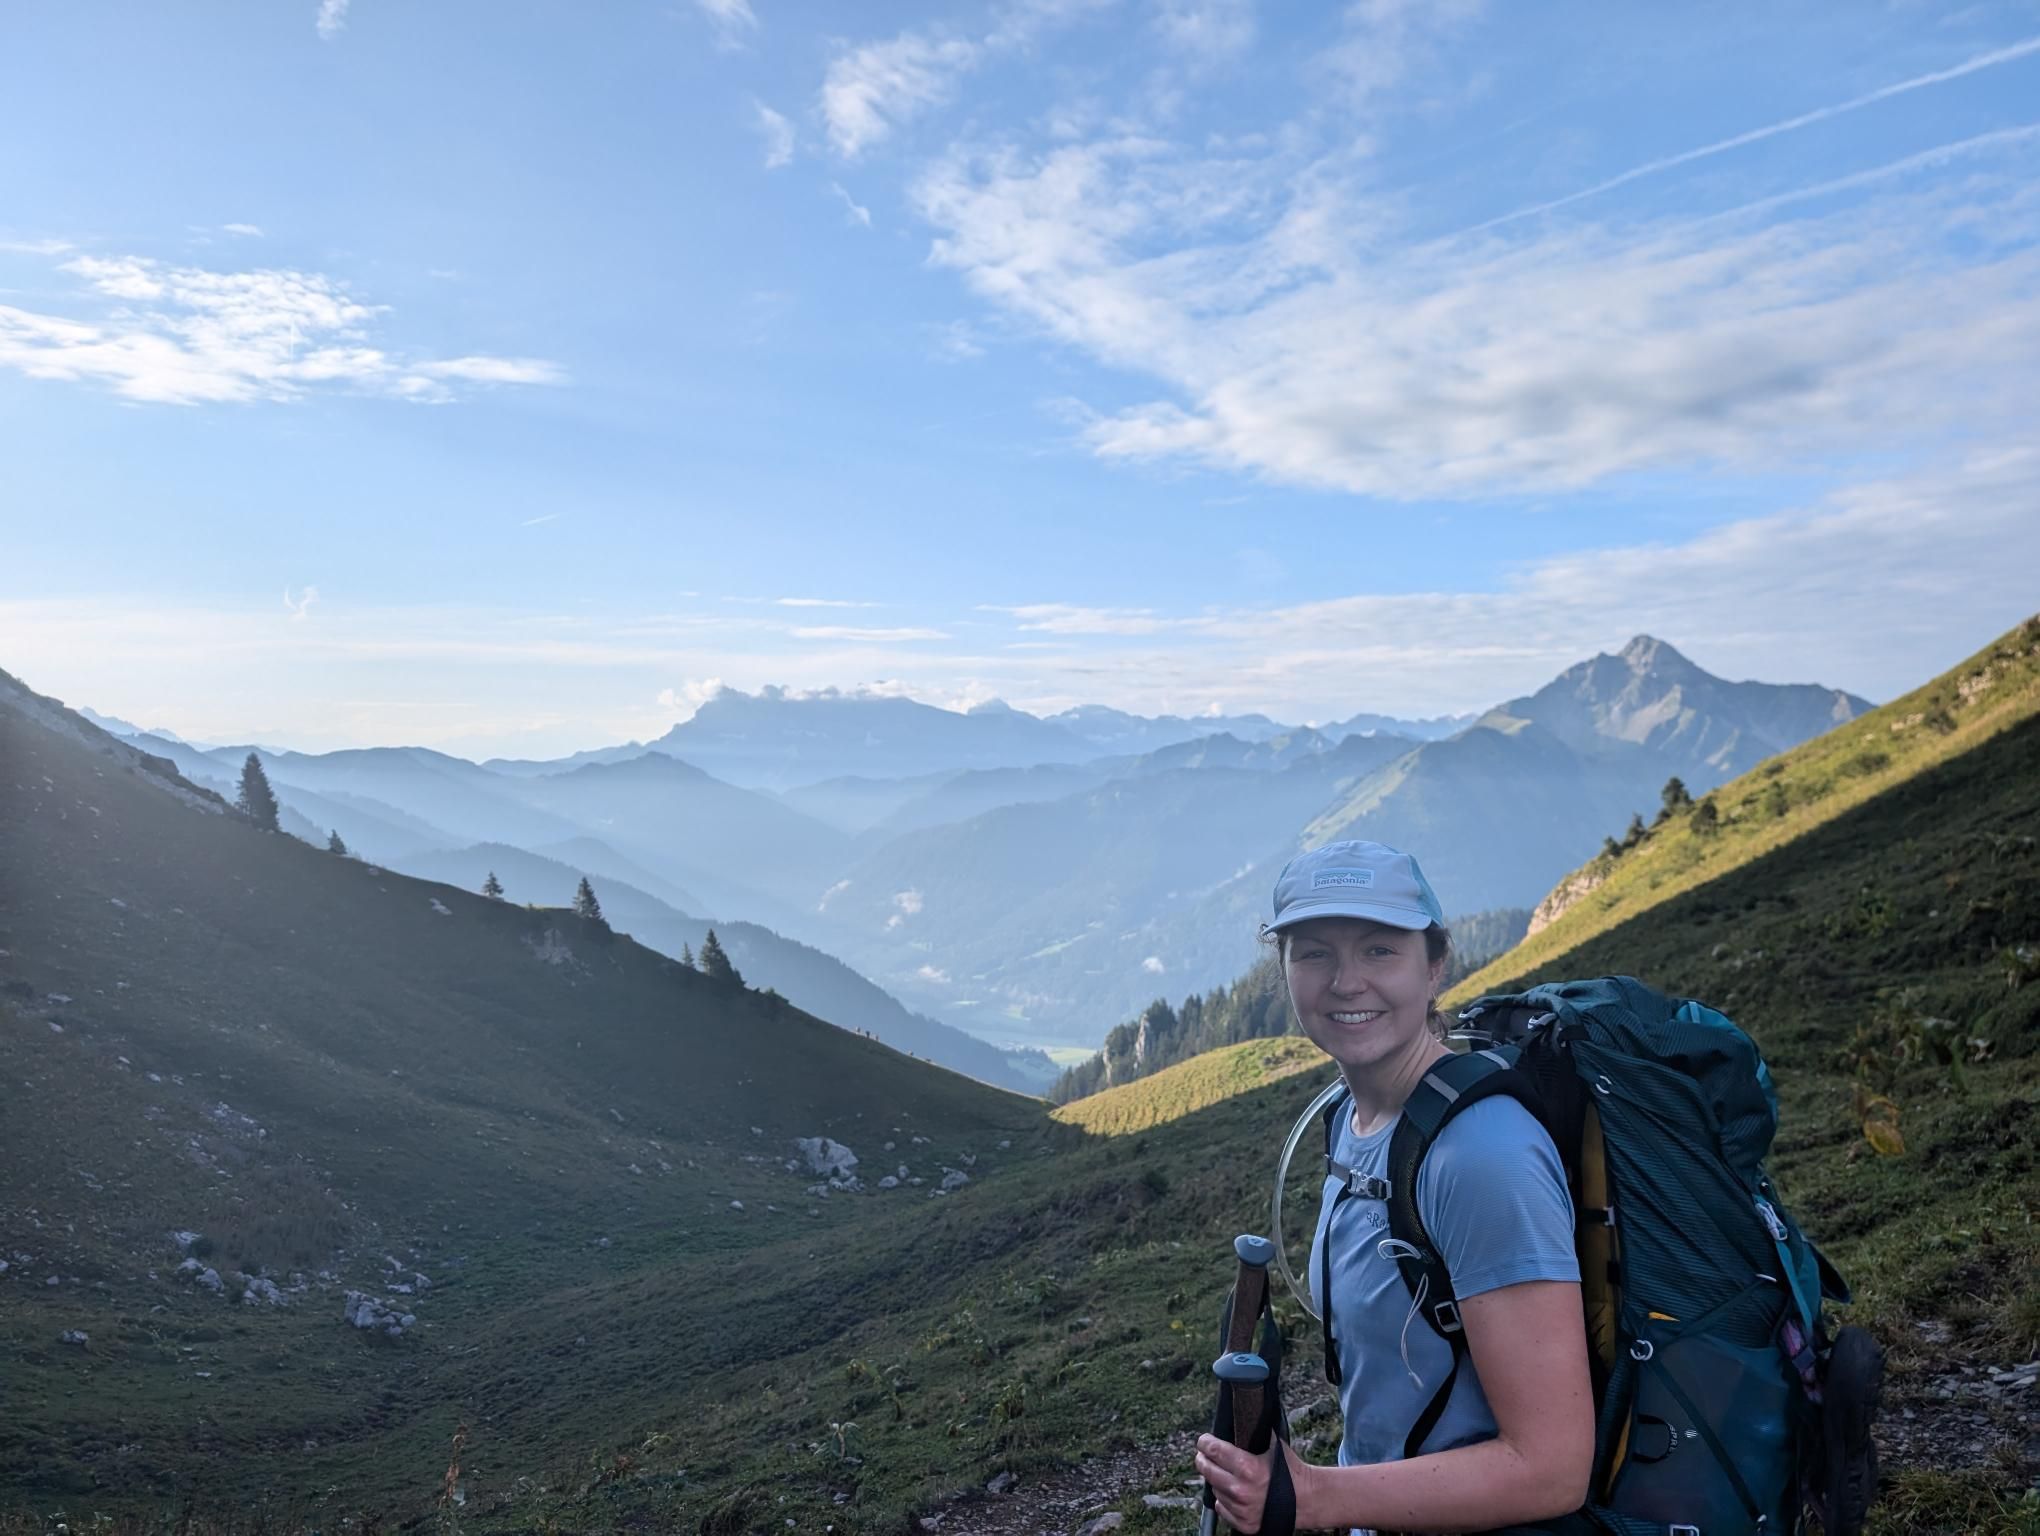
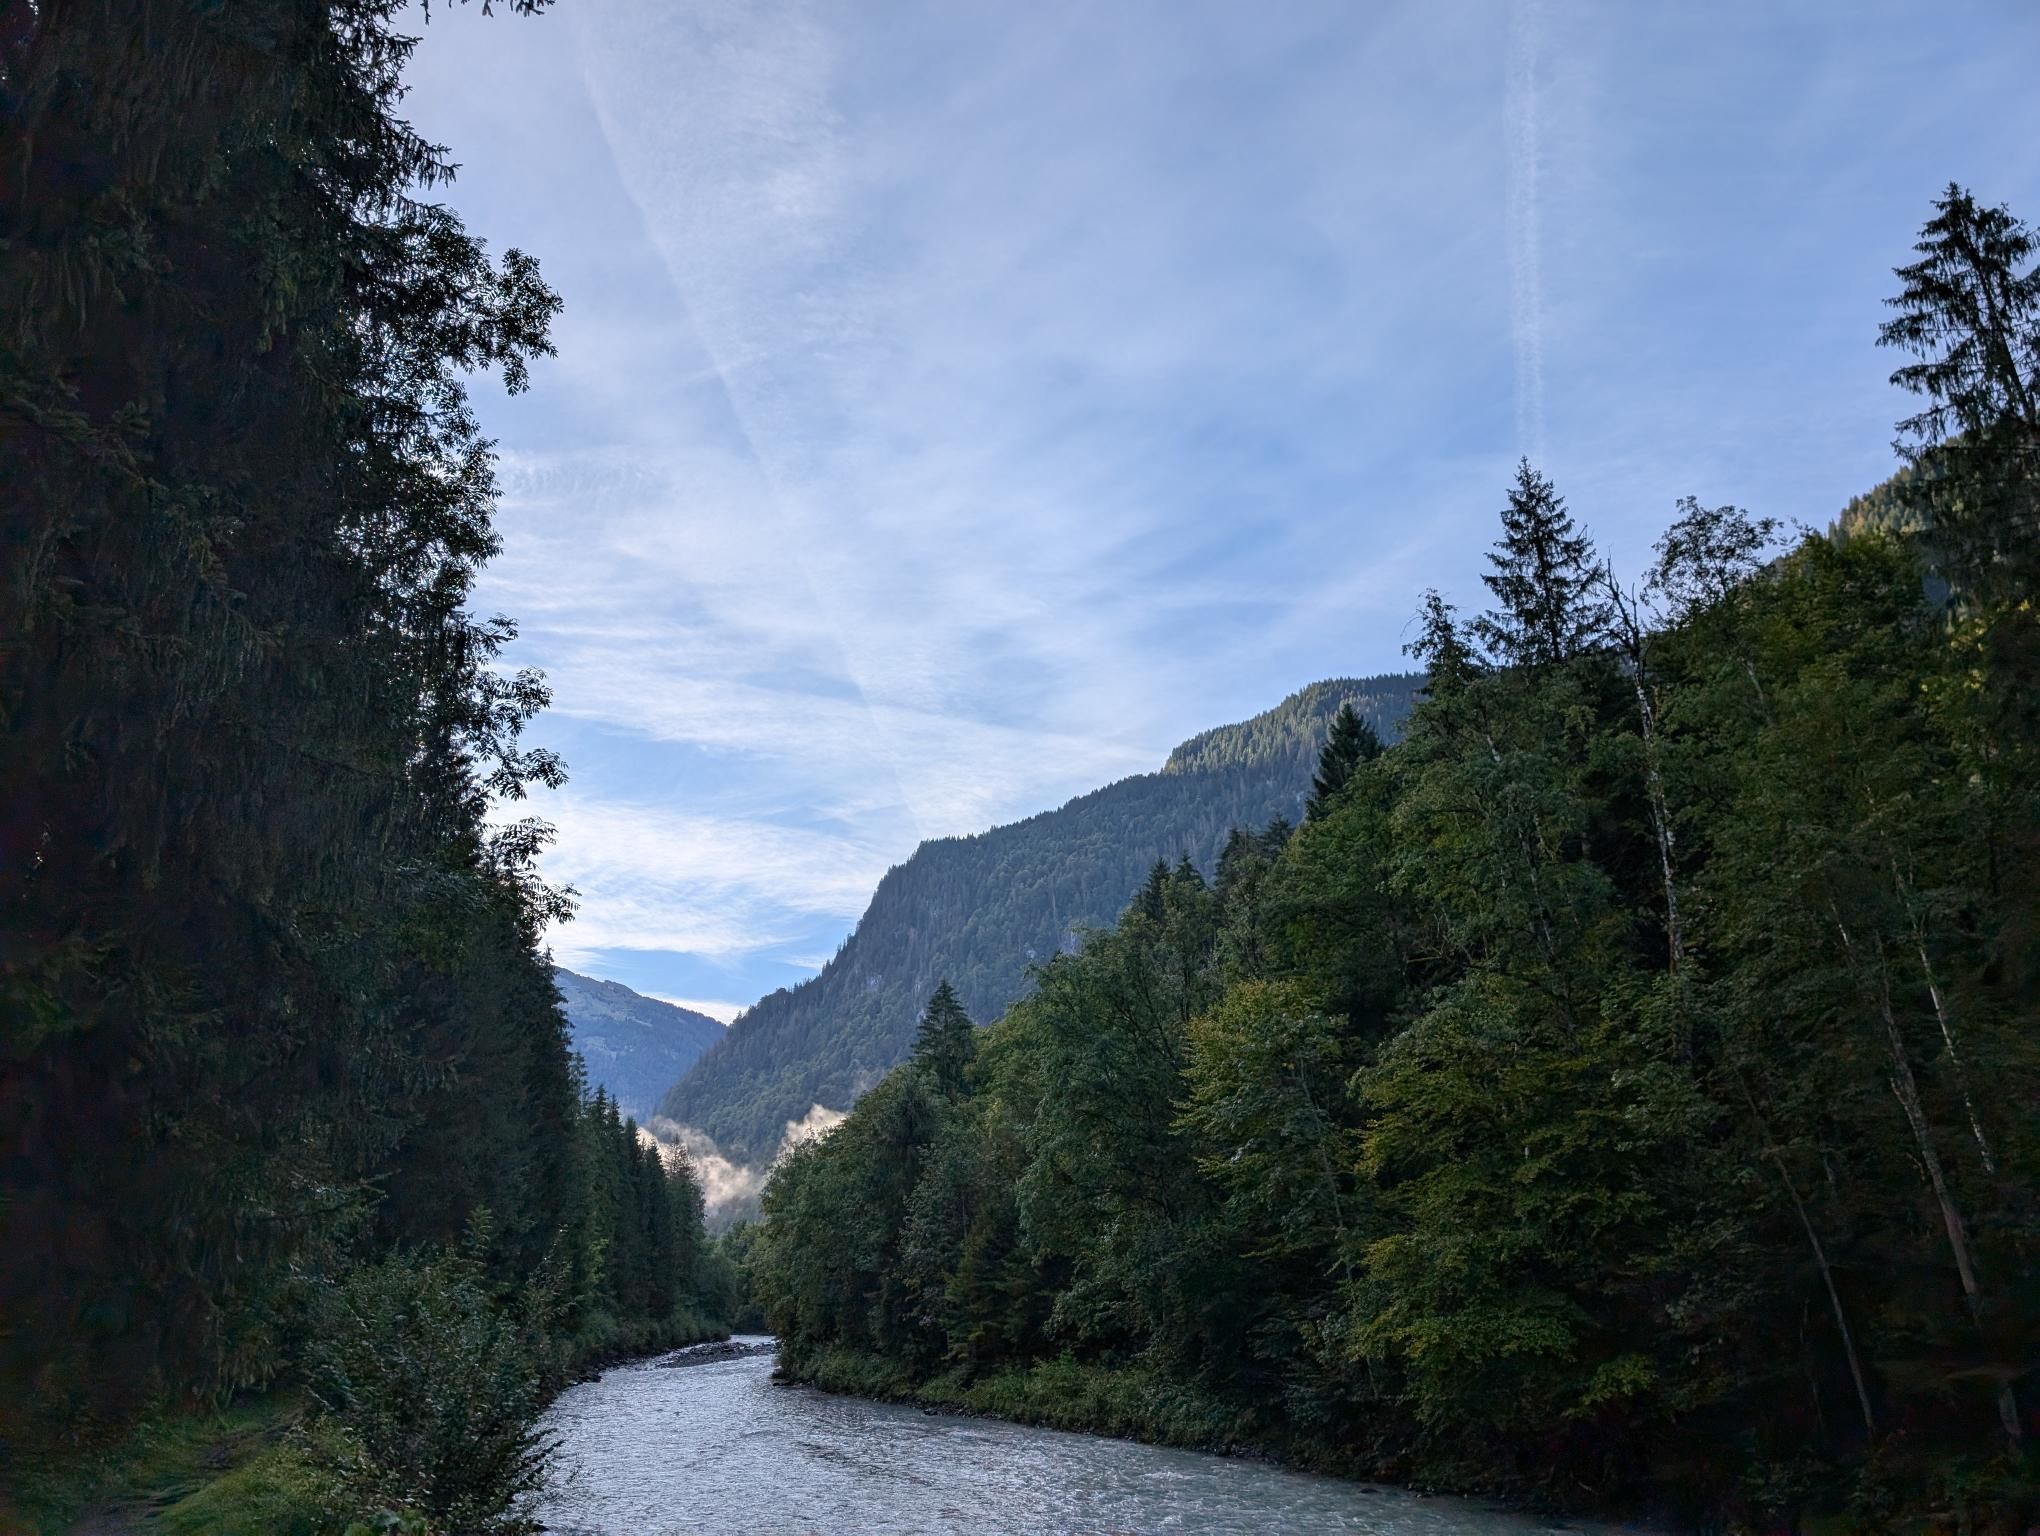
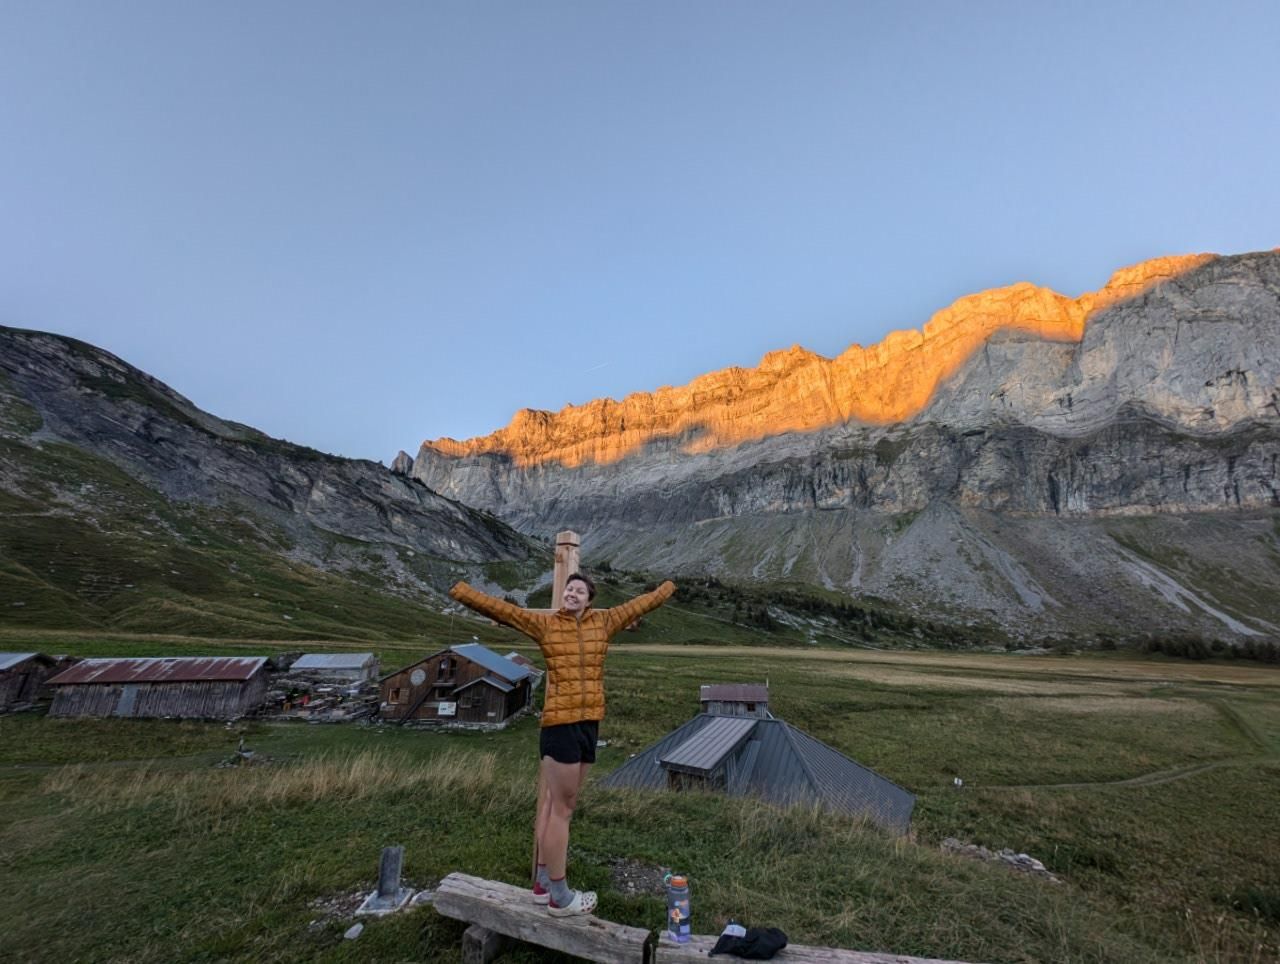
Day 7 carried on from Refuge Alfred Wills to Chamonix. We had an amazing sunrise, another strong day on foot, and then took the cable car down into Chamonix for a rest day and resupply. The break came at exactly the right time.

GR 5 Part 1 - Day 6 photo 1
GR 5 Part 1 - Day 6 photo 1 GR 5 Part 1 - Day 6 photo 2 GR 5 Part 1 - Day 6 photo 3 GR 5 Part 1 - Day 6 photo 4 GR 5 Part 1 - Day 6 photo 5 GR 5 Part 1 - Day 6 photo 6 GR 5 Part 1 - Day 6 photo 7 GR 5 Part 1 - Day 6 photo 8 GR 5 Part 1 - Day 6 photo 9 GR 5 Part 1 - Day 6 photo 10 GR 5 Part 1 - Day 6 photo 11 GR 5 Part 1 - Day 6 photo 12 GR 5 Part 1 - Day 6 photo 13 GR 5 Part 1 - Day 6 photo 14 GR 5 Part 1 - Day 6 photo 15 GR 5 Part 1 - Day 6 photo 16 GR 5 Part 1 - Day 6 photo 17 GR 5 Part 1 - Day 6 photo 18 GR 5 Part 1 - Day 6 photo 19 GR 5 Part 1 - Day 6 photo 20 GR 5 Part 1 - Day 6 photo 21 GR 5 Part 1 - Day 6 photo 22 GR 5 Part 1 - Day 6 photo 23
GR 5 Part 1 - Day 7 photo 1
GR 5 Part 1 - Day 7 photo 1 GR 5 Part 1 - Day 7 photo 2 GR 5 Part 1 - Day 7 photo 3 GR 5 Part 1 - Day 7 photo 4 GR 5 Part 1 - Day 7 photo 5 GR 5 Part 1 - Day 7 photo 6 GR 5 Part 1 - Day 7 photo 7 GR 5 Part 1 - Day 7 photo 8 GR 5 Part 1 - Day 7 photo 9 GR 5 Part 1 - Day 7 photo 10 GR 5 Part 1 - Day 7 photo 11 GR 5 Part 1 - Day 7 photo 12 GR 5 Part 1 - Day 7 photo 13 GR 5 Part 1 - Day 7 photo 14 GR 5 Part 1 - Day 7 photo 15 GR 5 Part 1 - Day 7 photo 16 GR 5 Part 1 - Day 7 photo 17 GR 5 Part 1 - Day 7 photo 18 GR 5 Part 1 - Day 7 photo 19

Day 8-9

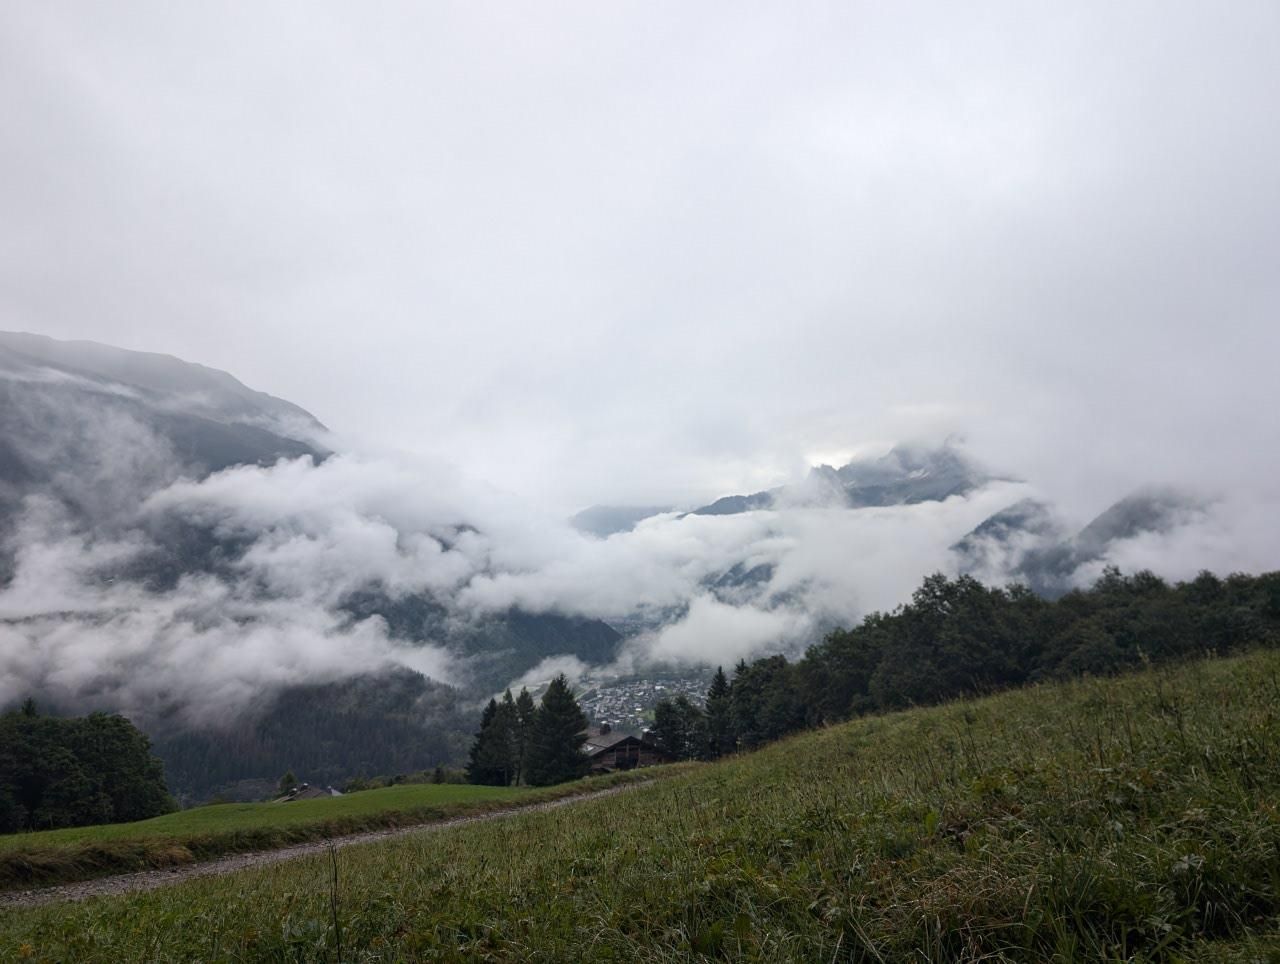
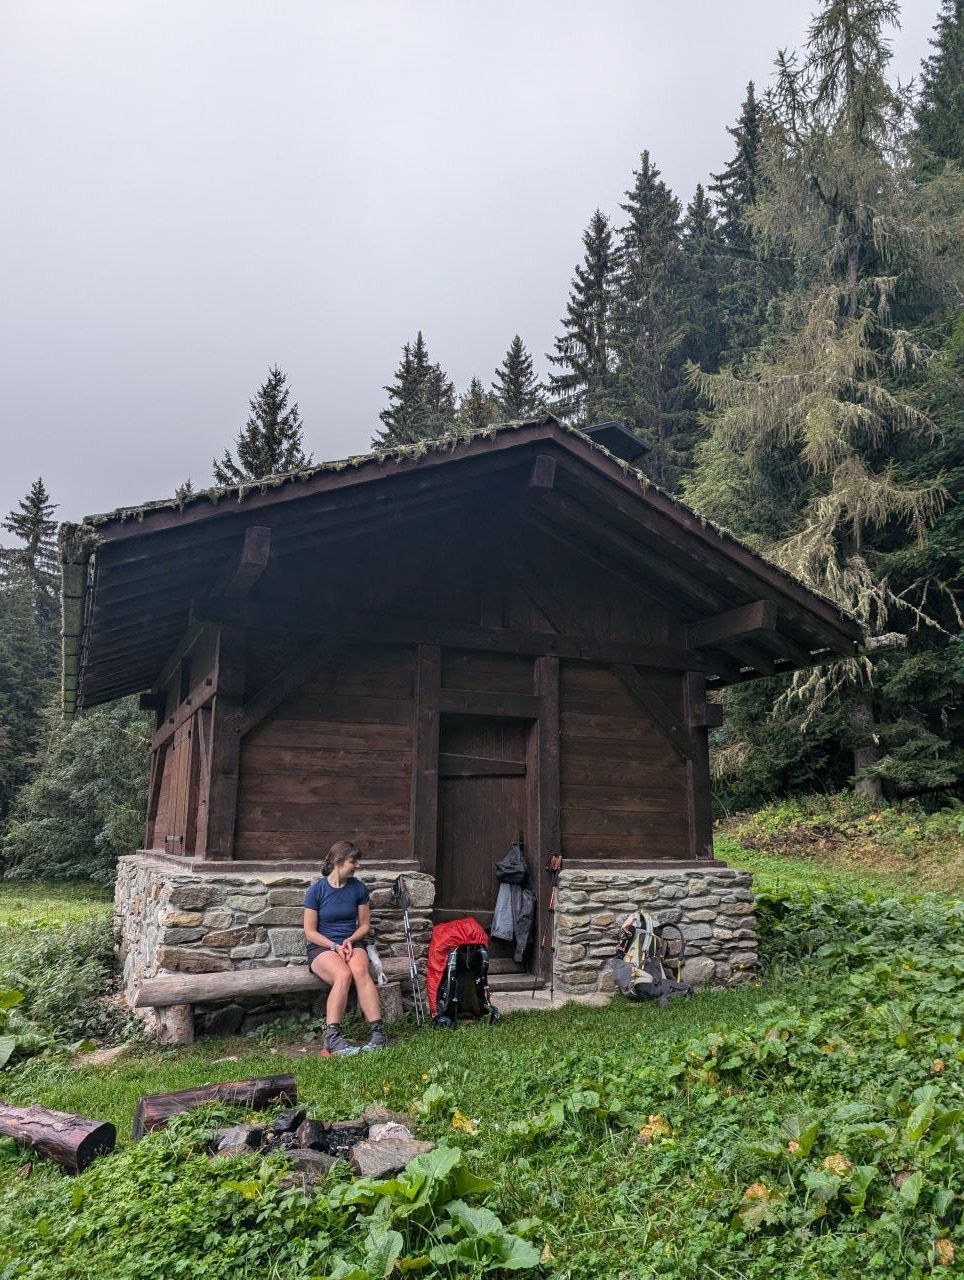
After the break, we left Les Houches for Refuge de Miage on Day 8. It was quite rainy, and the trail felt much busier now that we had joined the Tour du Mont Blanc.

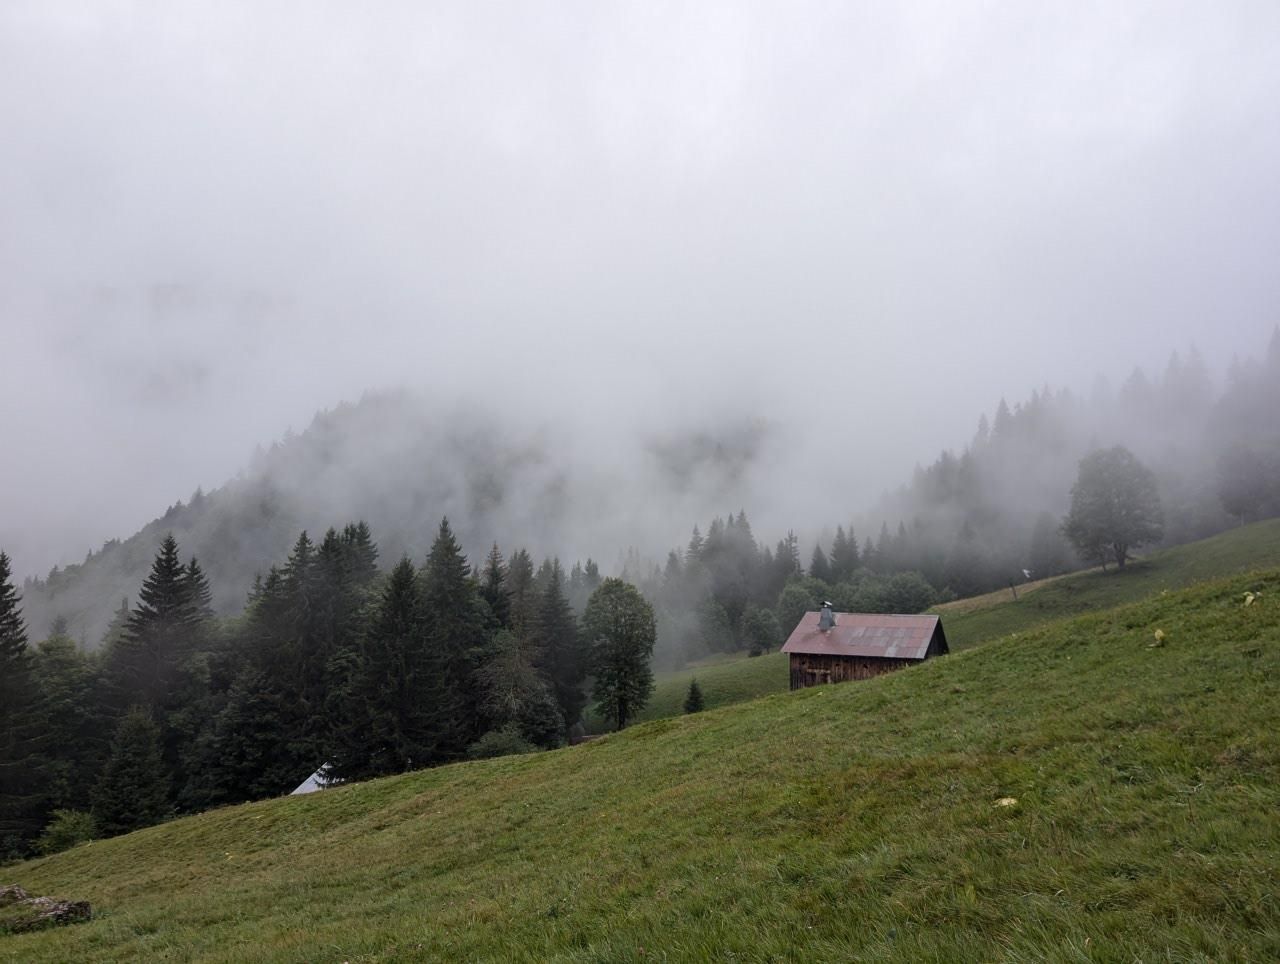
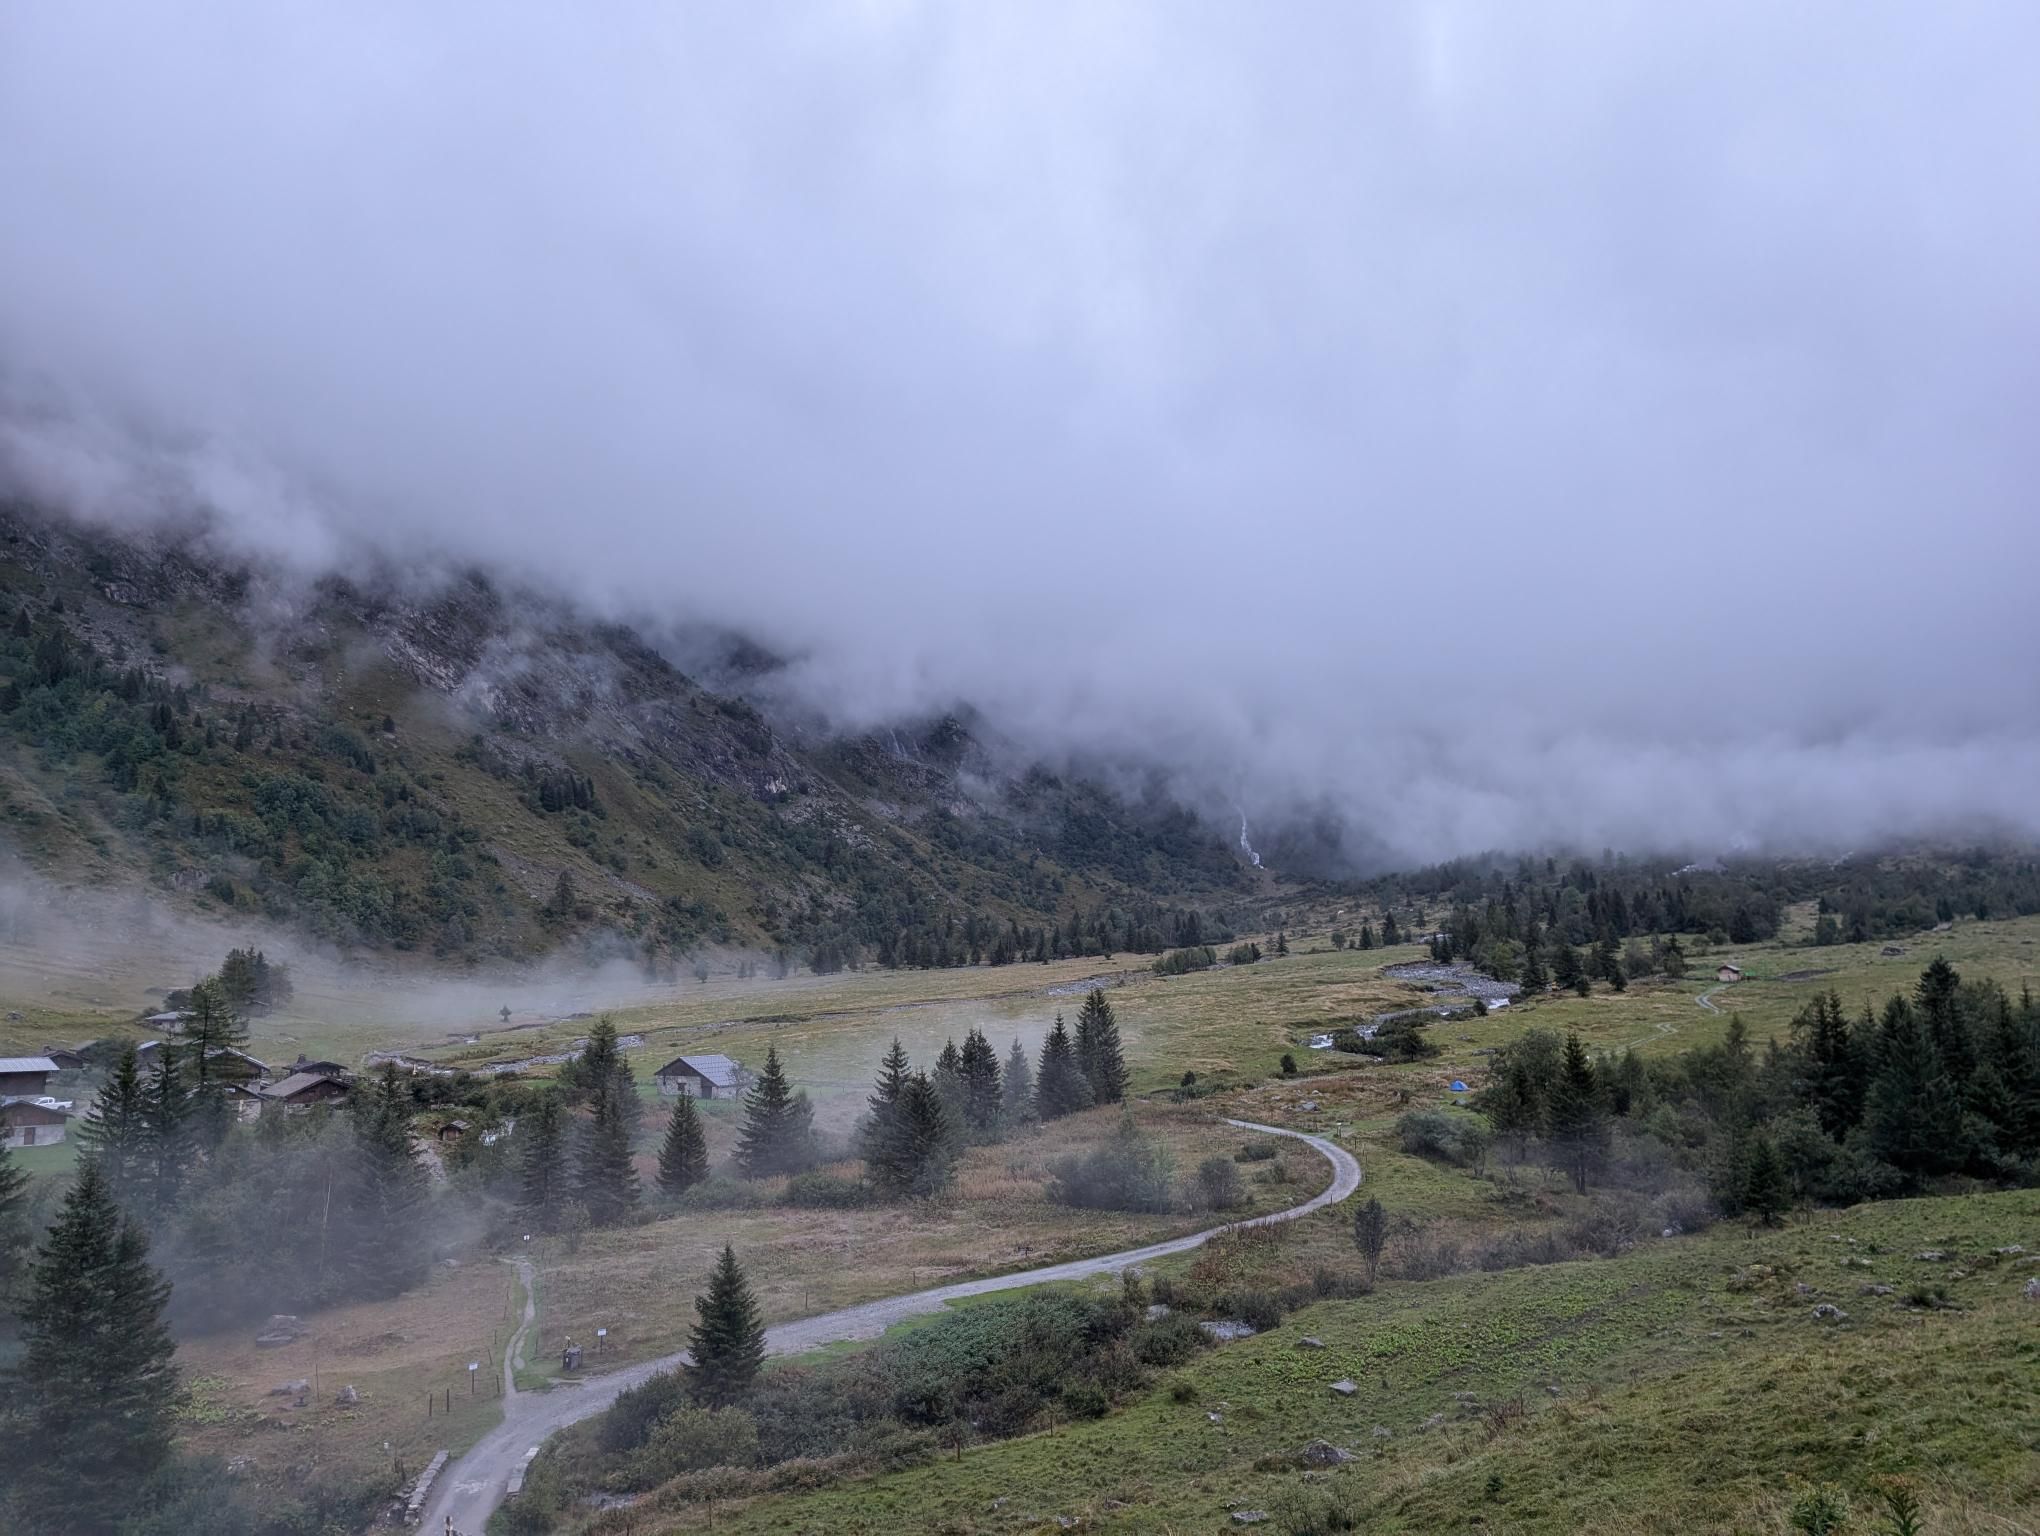
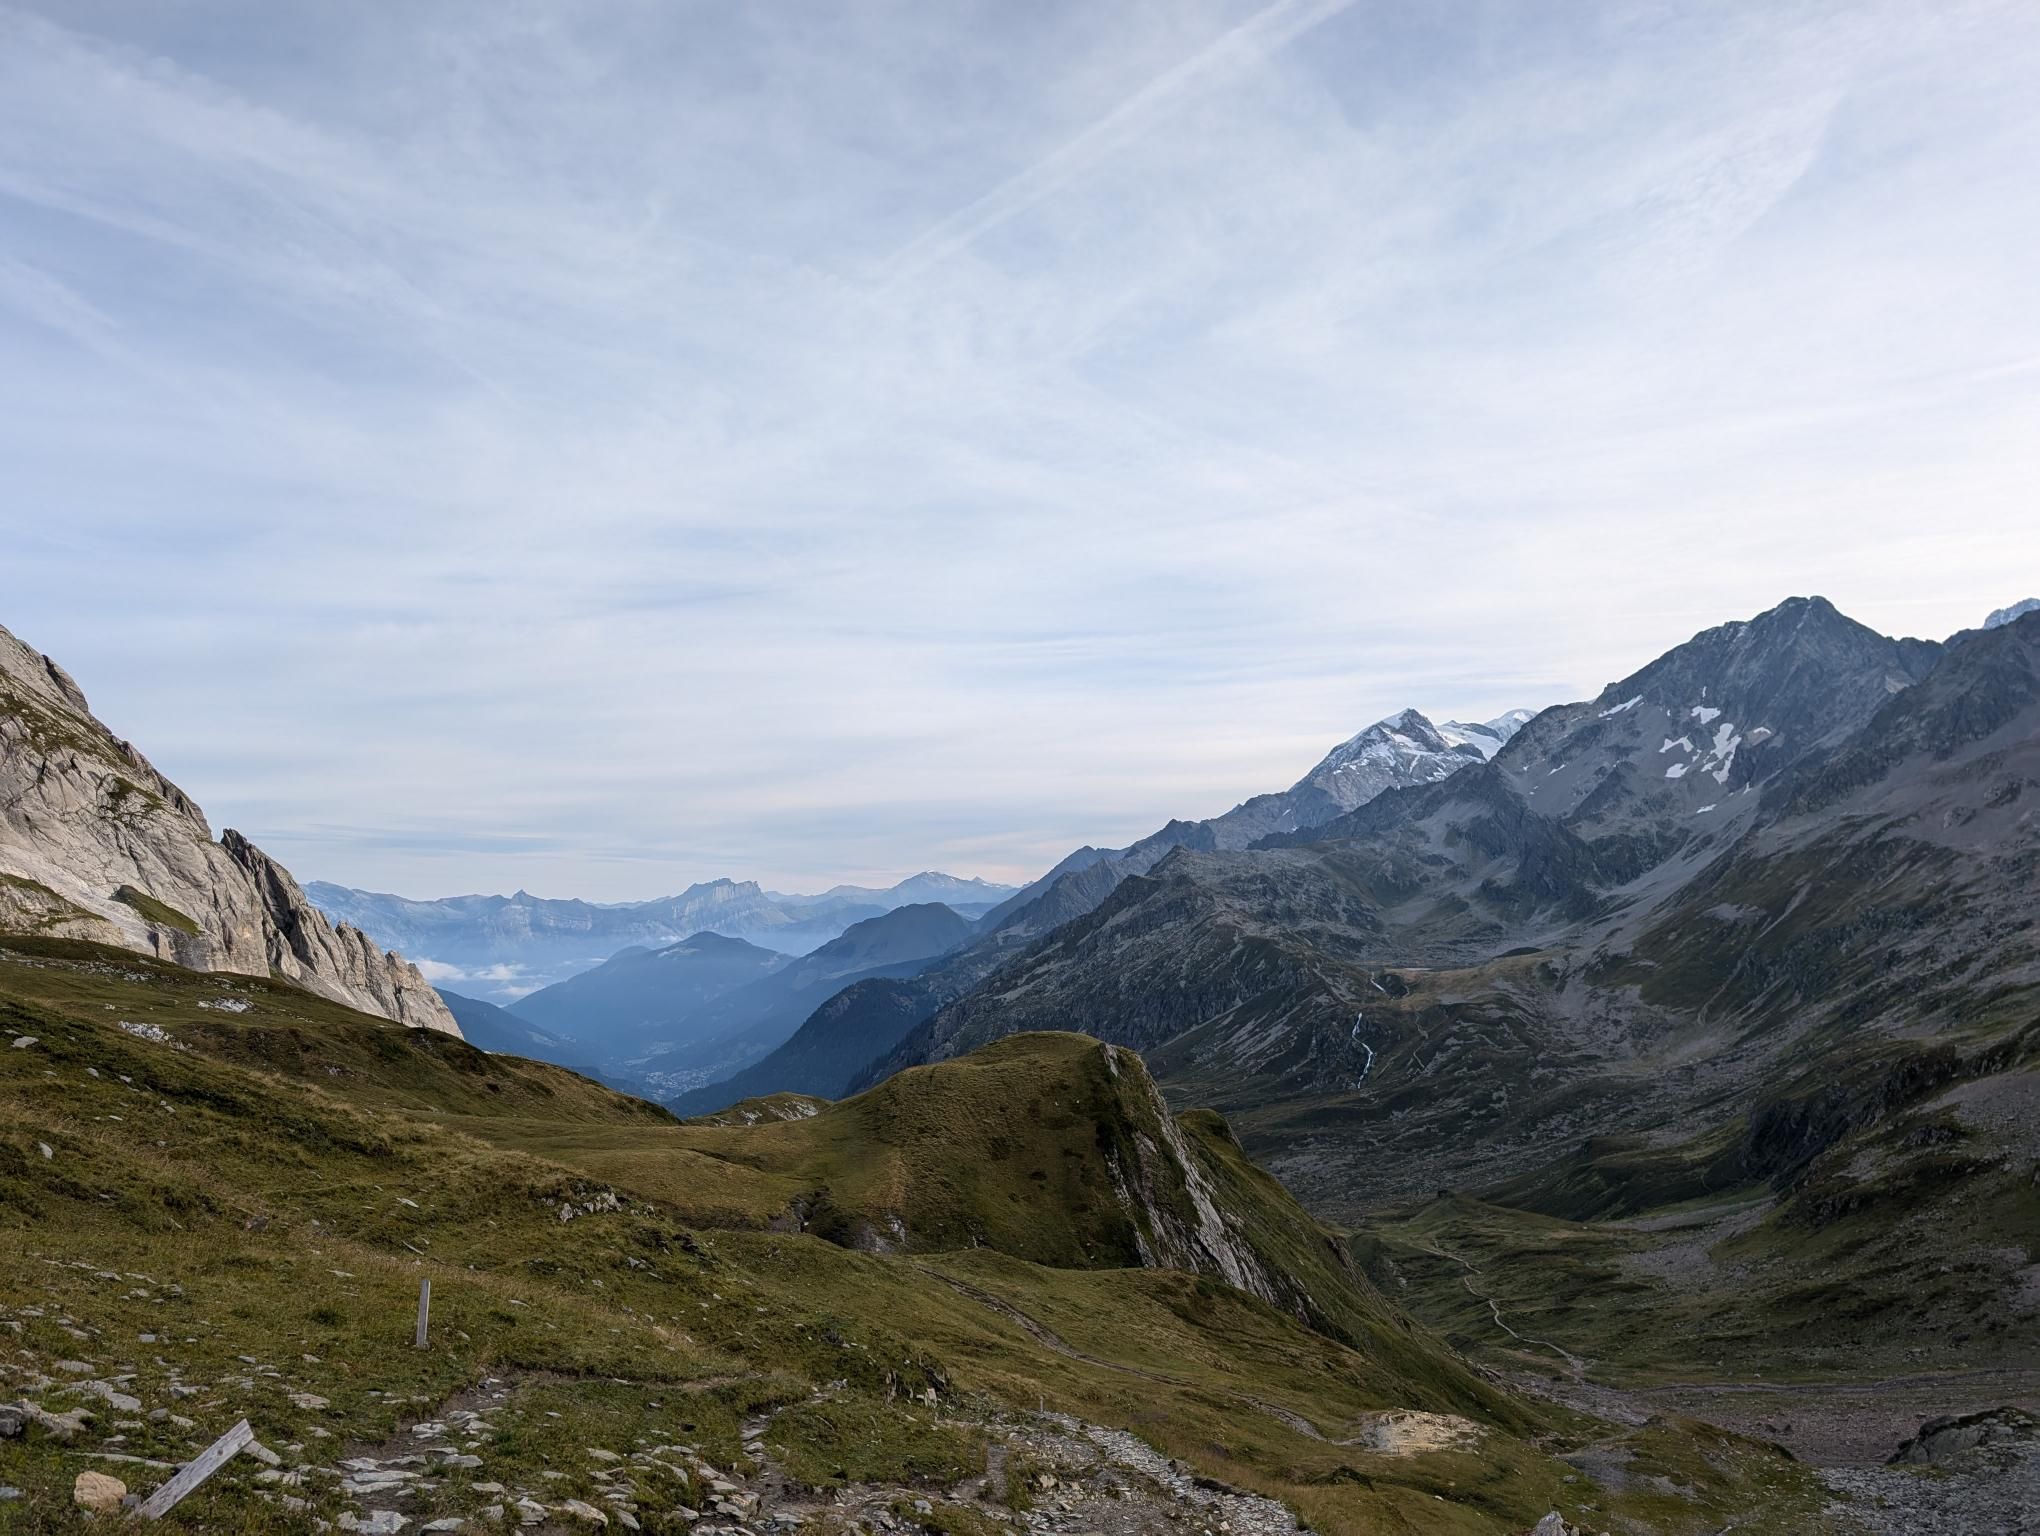
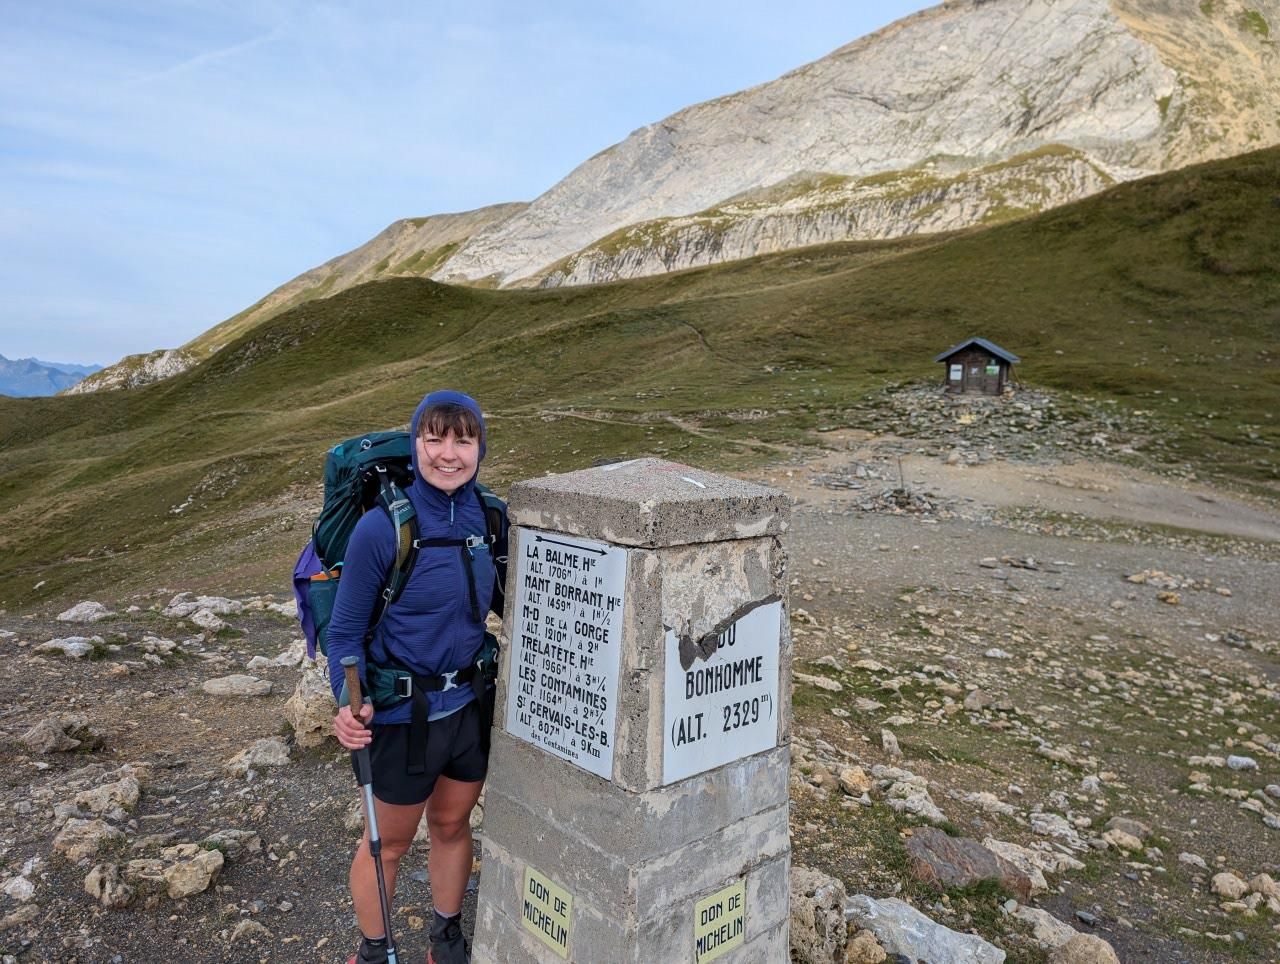
Day 9, from Refuge de Miage to Refuge de la Balme, began in cloud but improved as the day went on. The sun came out at lunch and changed the mood of the afternoon completely.

GR 5 Part 1 - Day 8 photo 1
GR 5 Part 1 - Day 8 photo 1 GR 5 Part 1 - Day 8 photo 2 GR 5 Part 1 - Day 8 photo 3 GR 5 Part 1 - Day 8 photo 4 GR 5 Part 1 - Day 8 photo 5 GR 5 Part 1 - Day 8 photo 6 GR 5 Part 1 - Day 8 photo 7 GR 5 Part 1 - Day 8 photo 8 GR 5 Part 1 - Day 8 photo 9 GR 5 Part 1 - Day 8 photo 10 GR 5 Part 1 - Day 8 photo 11
GR 5 Part 1 - Day 9 photo 1
GR 5 Part 1 - Day 9 photo 1 GR 5 Part 1 - Day 9 photo 2 GR 5 Part 1 - Day 9 photo 3 GR 5 Part 1 - Day 9 photo 4 GR 5 Part 1 - Day 9 photo 5 GR 5 Part 1 - Day 9 photo 6 GR 5 Part 1 - Day 9 photo 7 GR 5 Part 1 - Day 9 photo 8 GR 5 Part 1 - Day 9 photo 9 GR 5 Part 1 - Day 9 photo 10 GR 5 Part 1 - Day 9 photo 11 GR 5 Part 1 - Day 9 photo 12 GR 5 Part 1 - Day 9 photo 13 GR 5 Part 1 - Day 9 photo 14 GR 5 Part 1 - Day 9 photo 15 GR 5 Part 1 - Day 9 photo 16 GR 5 Part 1 - Day 9 photo 17 GR 5 Part 1 - Day 9 photo 18

Day 10-11

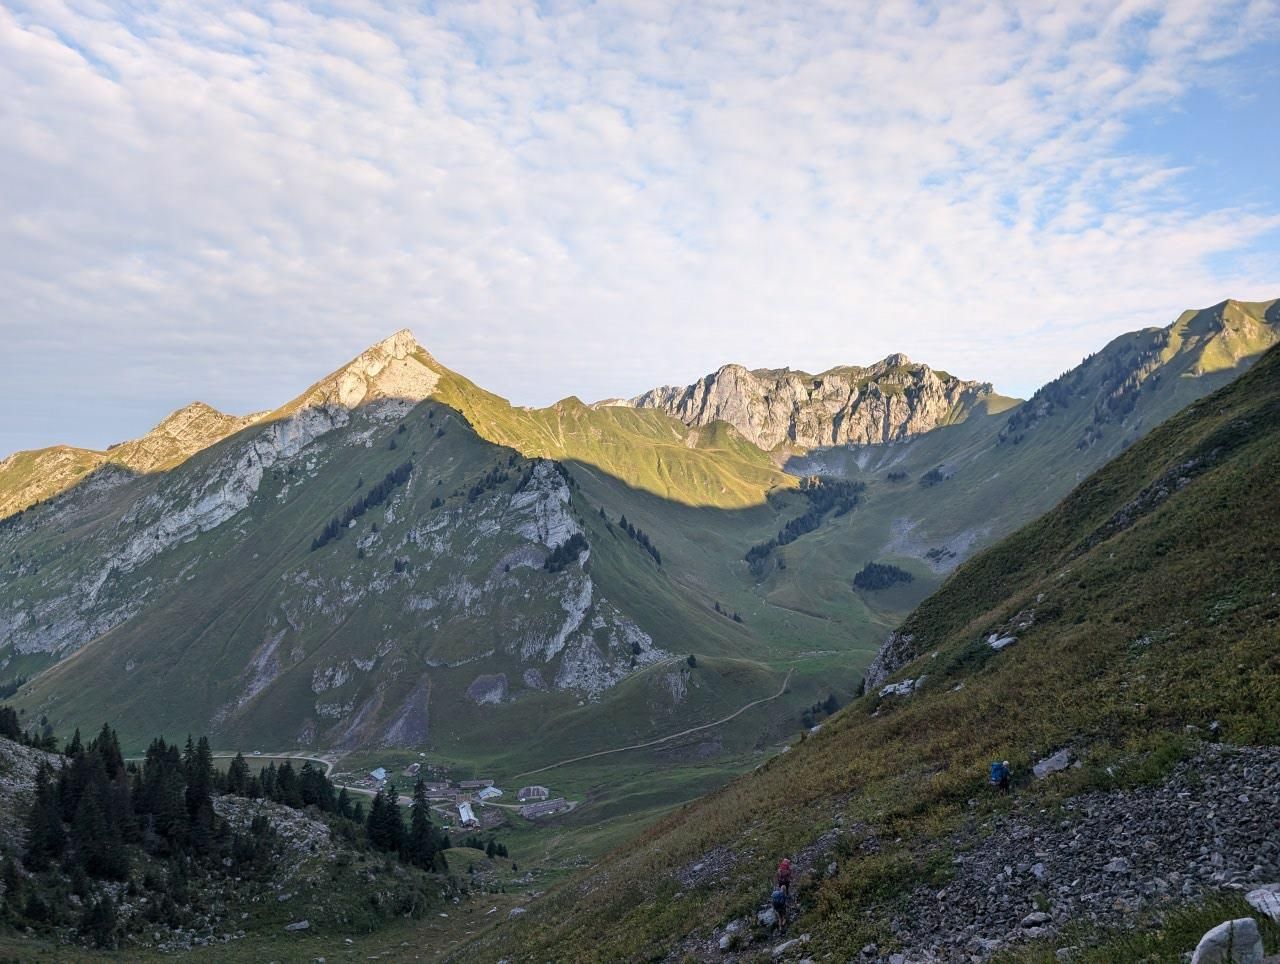
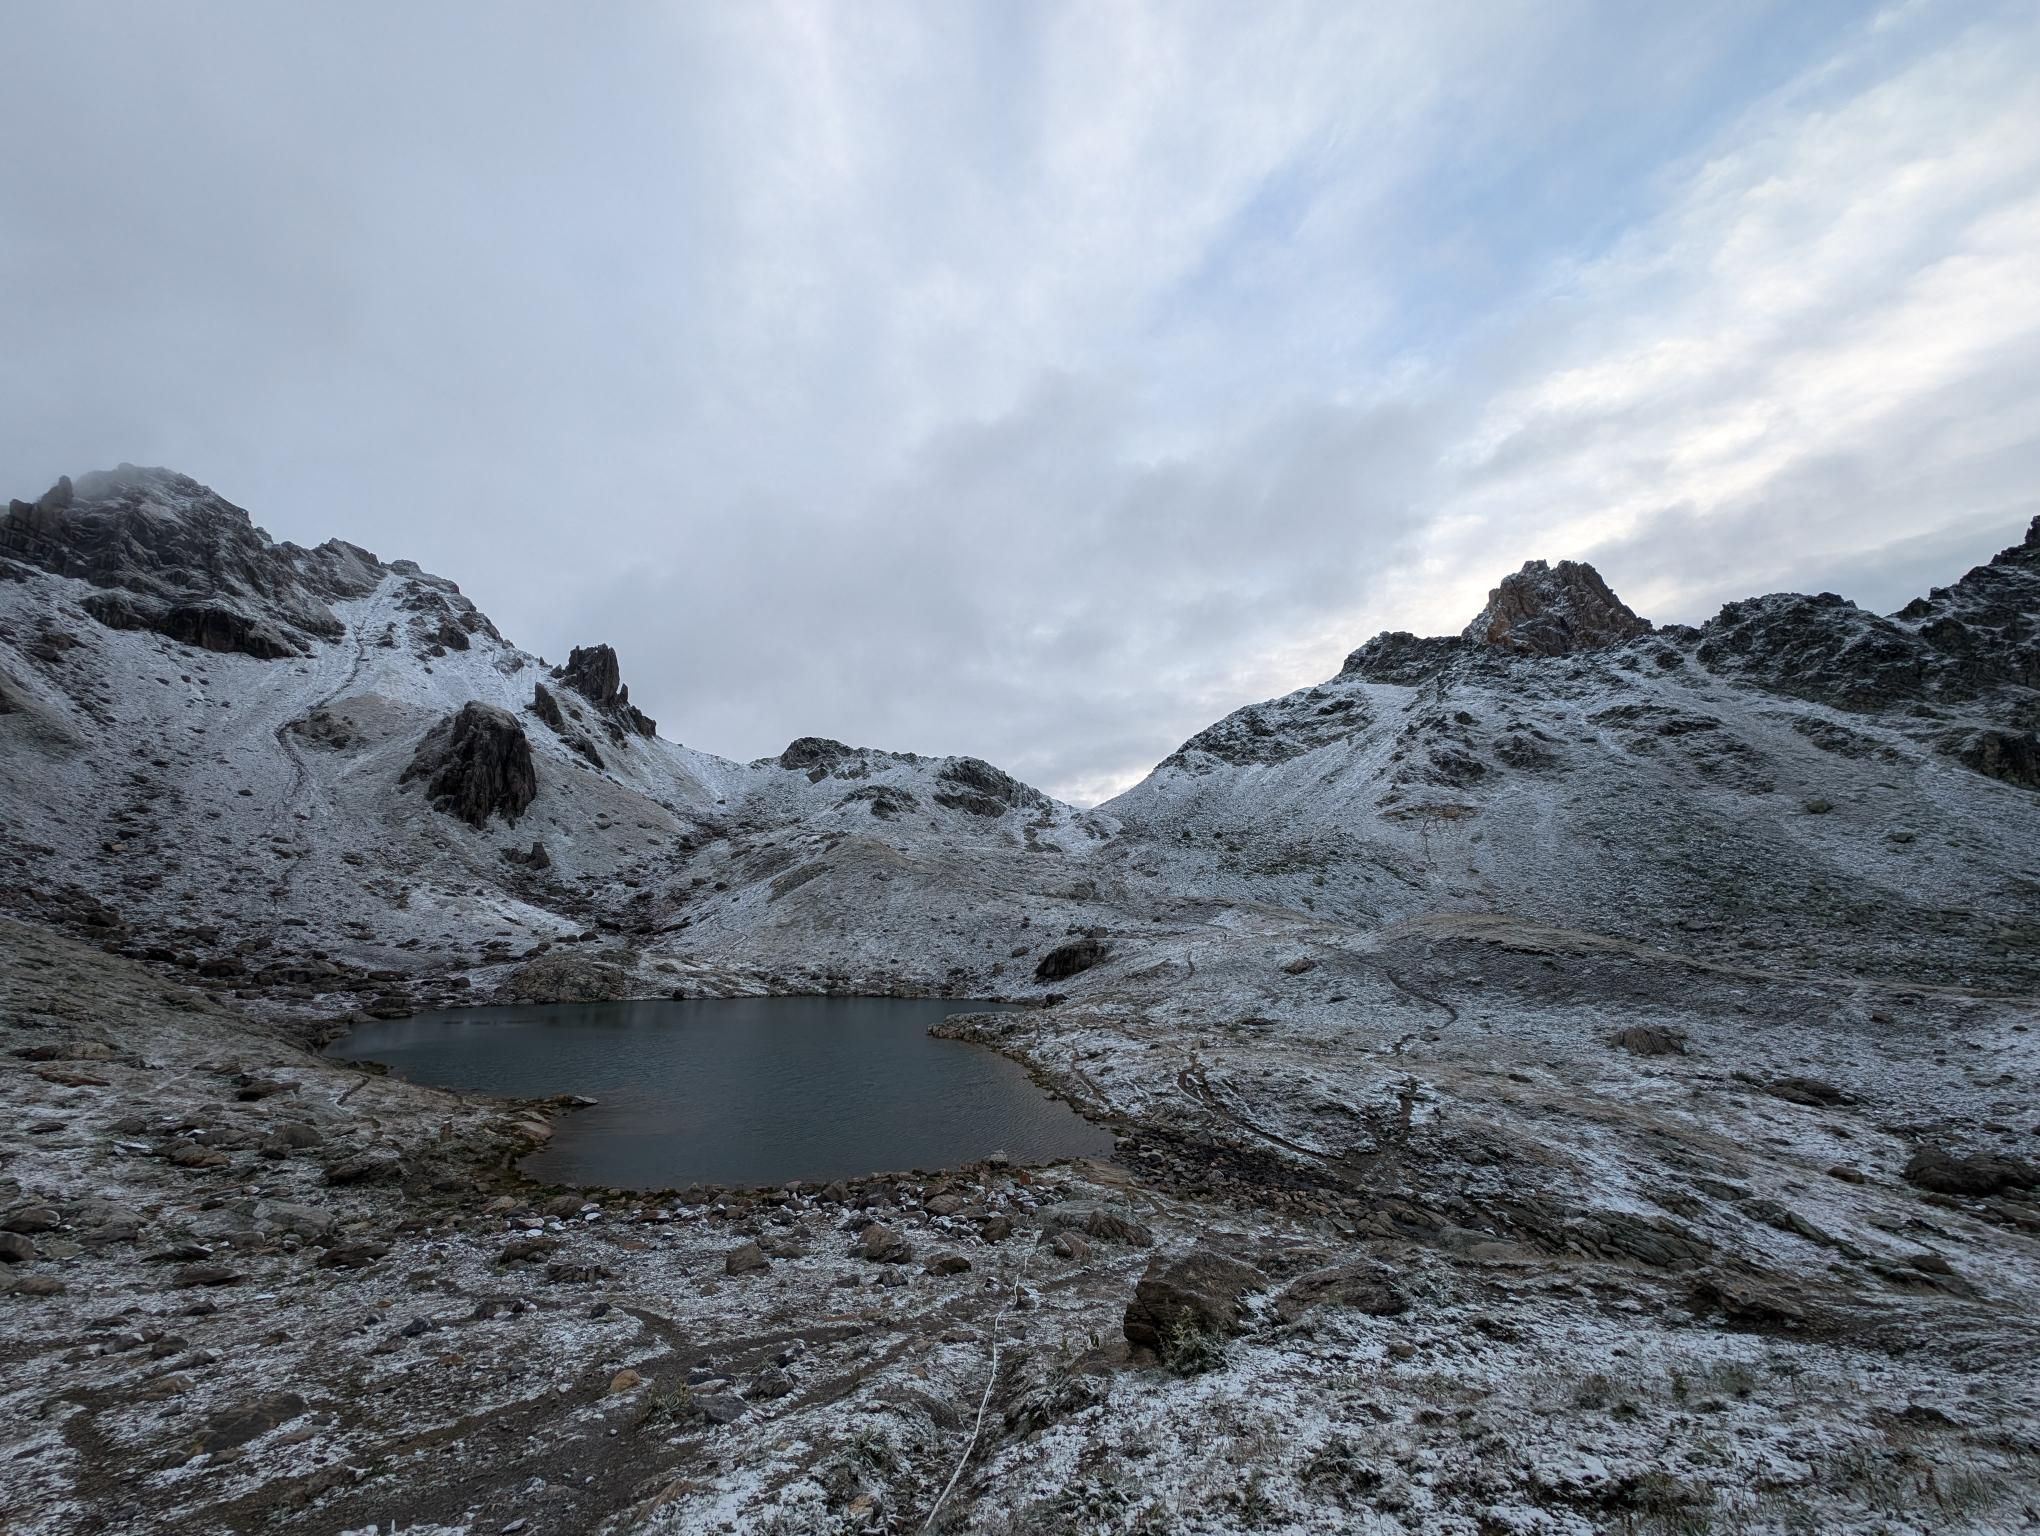
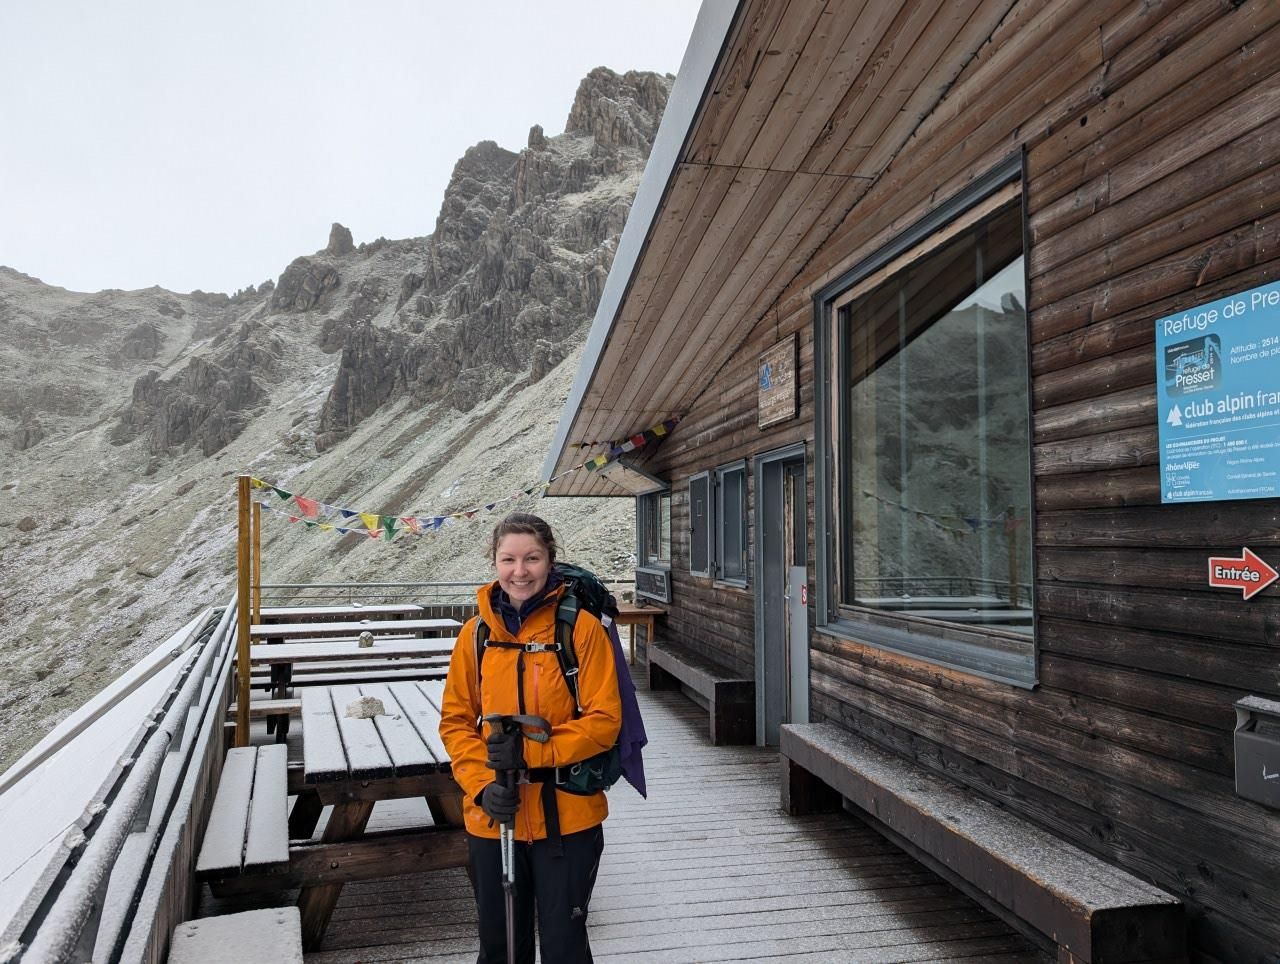
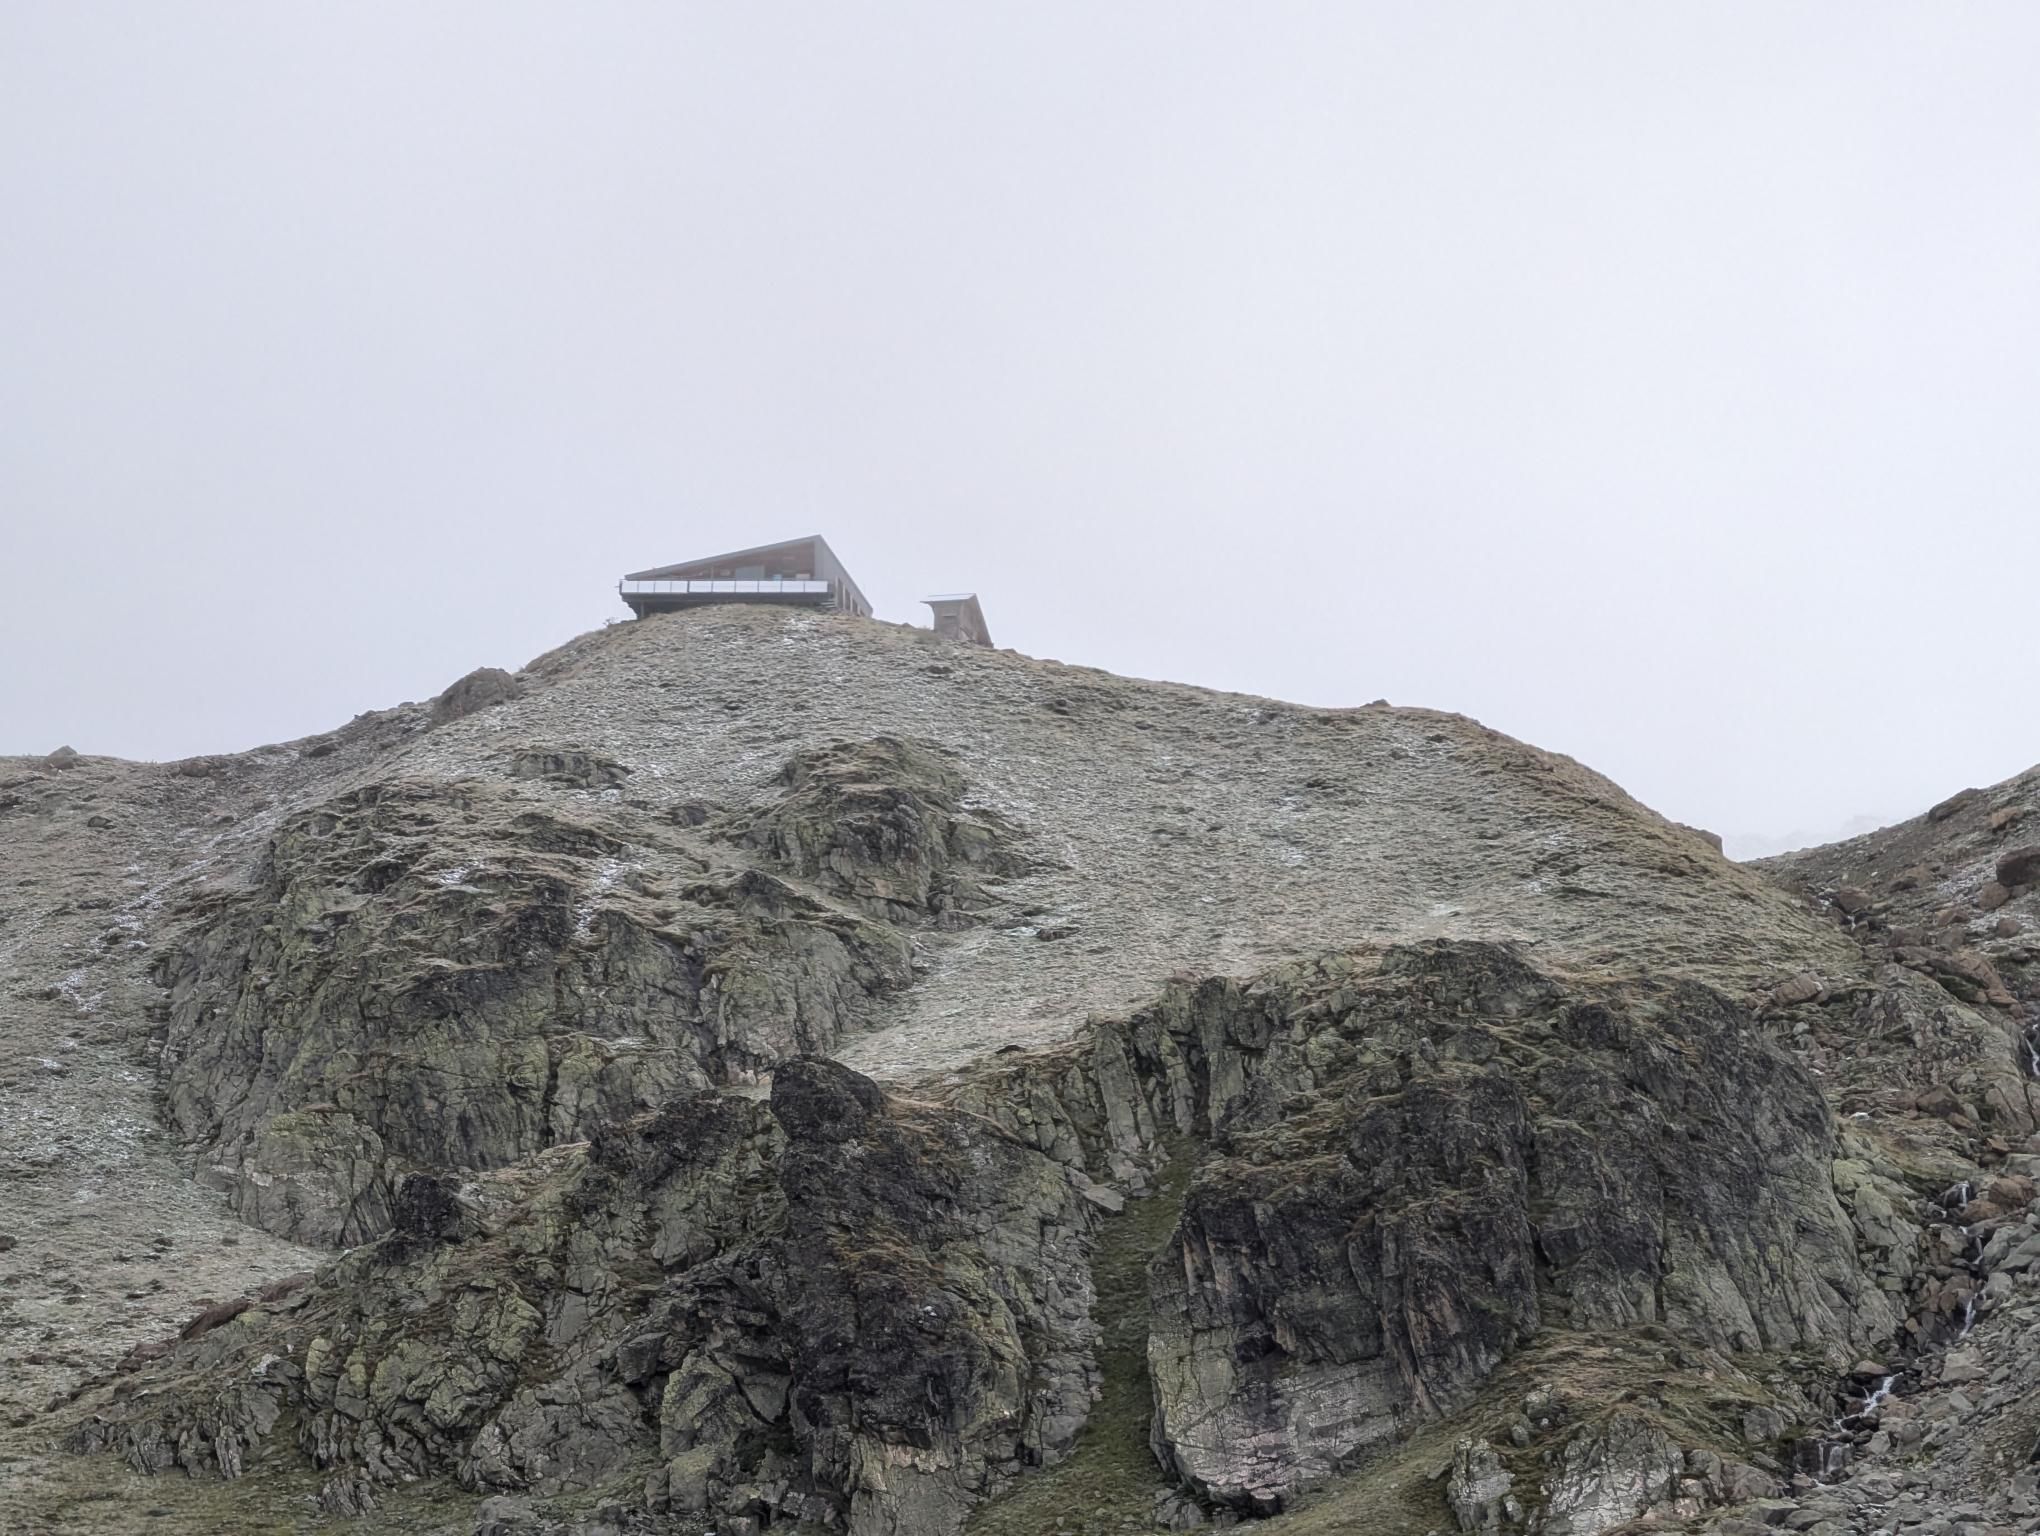
Day 10, from Refuge de la Balme to Refuge de Presset, was probably the standout day of the whole stretch. We started early to beat the rain, which meant a cold start and quieter trails, and we saw loads of chamois.

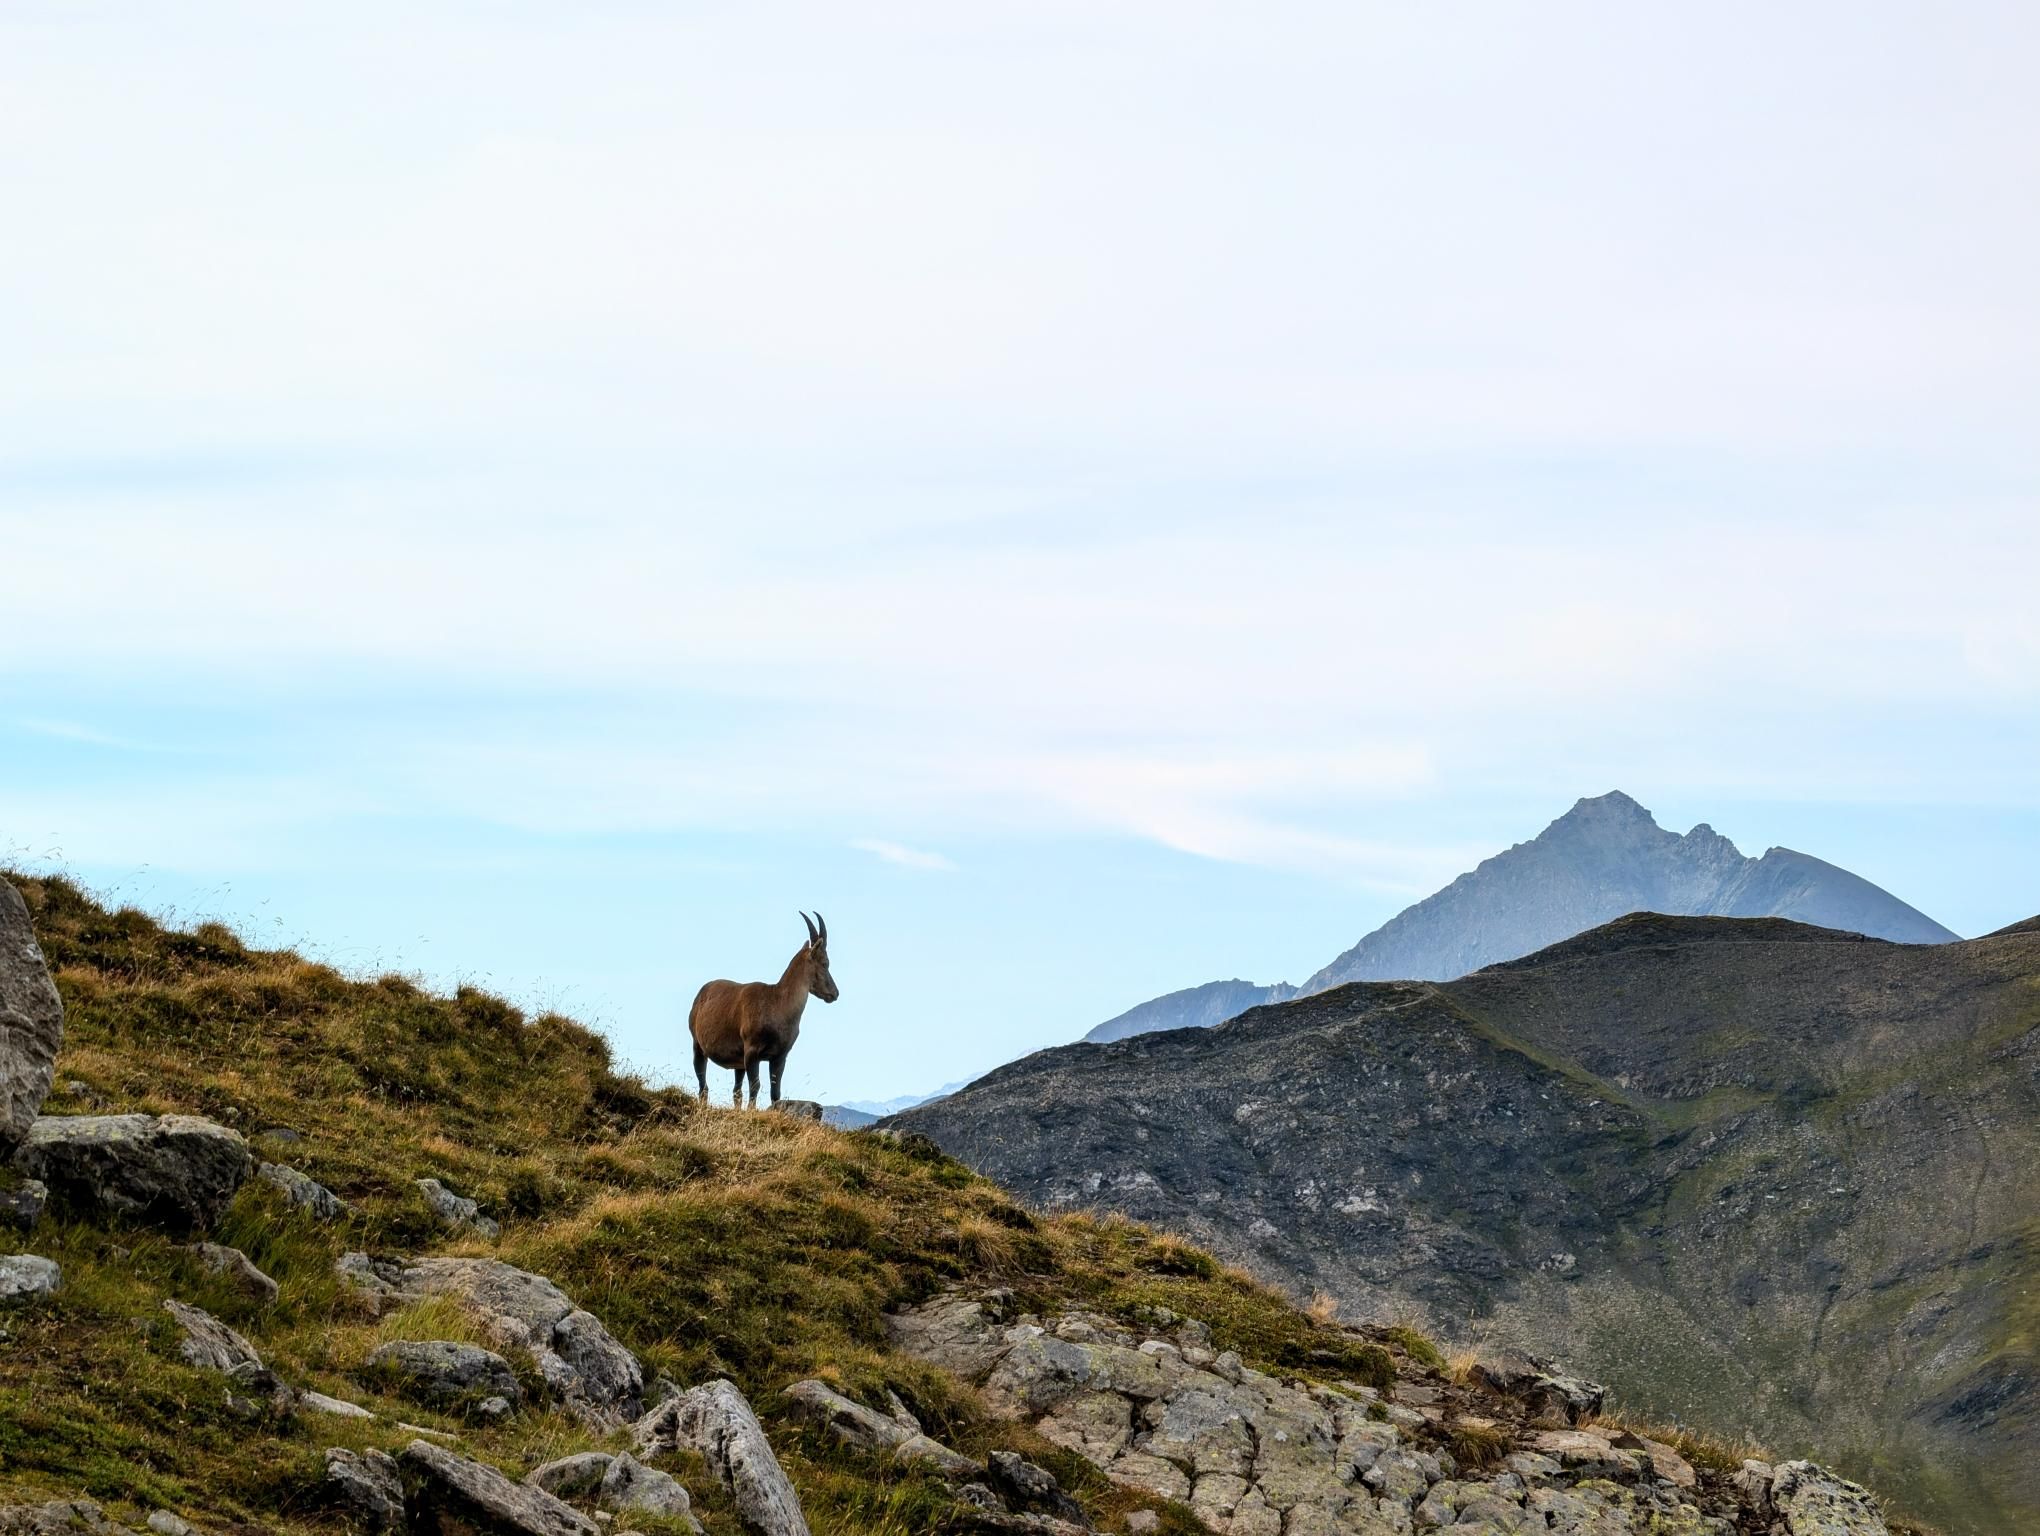
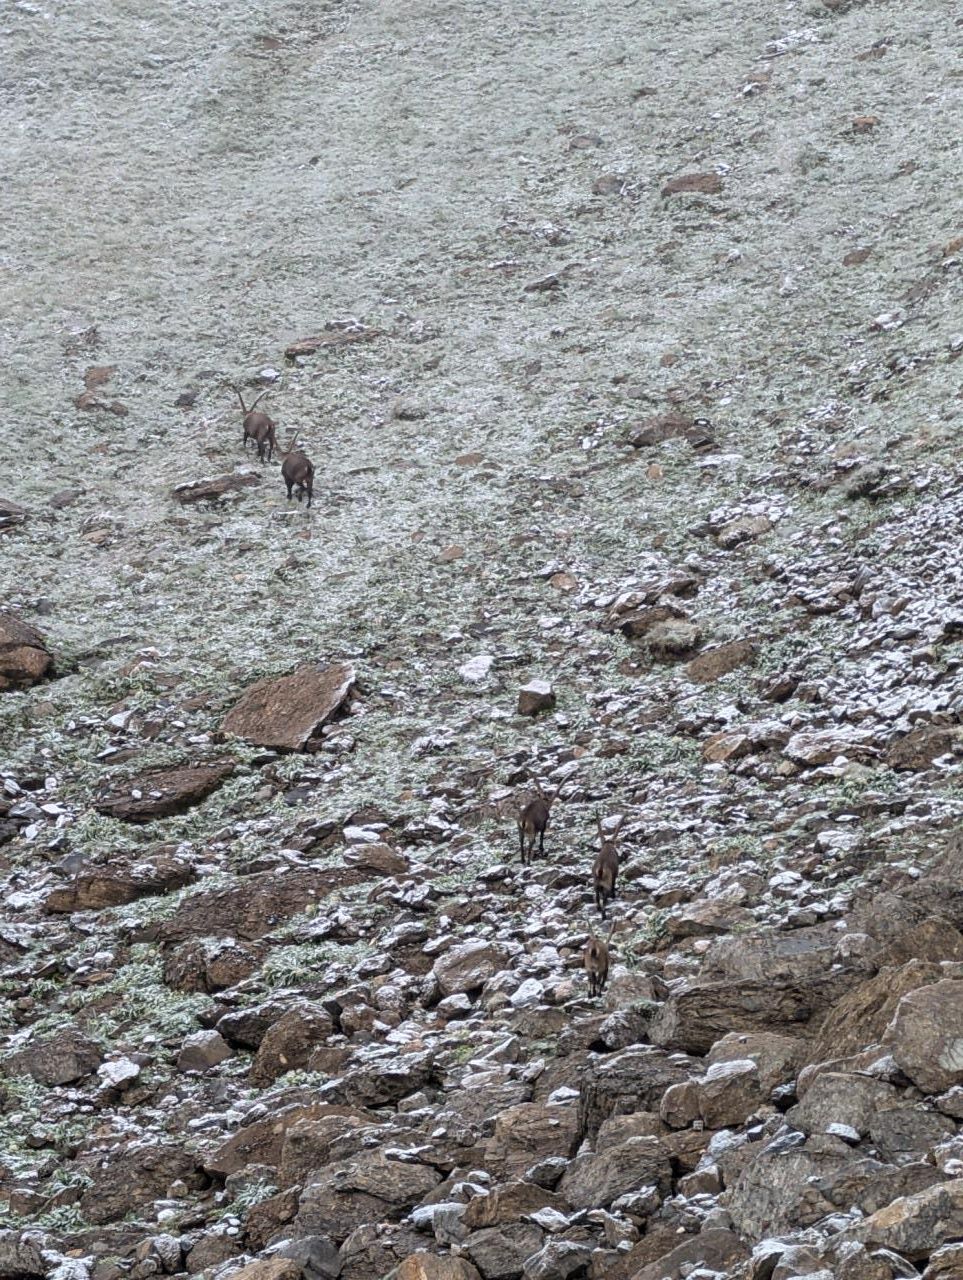
The final day, from Refuge de Presset to Landry, had an almost wintery feel in the morning. It made for an unusual finish to this first section, and we finally saw some ibex before the end.

GR 5 Part 1 - Day 10 photo 1
GR 5 Part 1 - Day 10 photo 1 GR 5 Part 1 - Day 10 photo 2 GR 5 Part 1 - Day 10 photo 3 GR 5 Part 1 - Day 10 photo 4 GR 5 Part 1 - Day 10 photo 5 GR 5 Part 1 - Day 10 photo 6 GR 5 Part 1 - Day 10 photo 7 GR 5 Part 1 - Day 10 photo 8 GR 5 Part 1 - Day 10 photo 9 GR 5 Part 1 - Day 10 photo 10 GR 5 Part 1 - Day 10 photo 11 GR 5 Part 1 - Day 10 photo 12 GR 5 Part 1 - Day 10 photo 13 GR 5 Part 1 - Day 10 photo 14 GR 5 Part 1 - Day 10 photo 15 GR 5 Part 1 - Day 10 photo 16 GR 5 Part 1 - Day 10 photo 17 GR 5 Part 1 - Day 10 photo 18 GR 5 Part 1 - Day 10 photo 19
GR 5 Part 1 - Day 11 photo 1
GR 5 Part 1 - Day 11 photo 1 GR 5 Part 1 - Day 11 photo 2 GR 5 Part 1 - Day 11 photo 3 GR 5 Part 1 - Day 11 photo 4 GR 5 Part 1 - Day 11 photo 5 GR 5 Part 1 - Day 11 photo 6 GR 5 Part 1 - Day 11 photo 7 GR 5 Part 1 - Day 11 photo 8 GR 5 Part 1 - Day 11 photo 9 GR 5 Part 1 - Day 11 photo 10 GR 5 Part 1 - Day 11 photo 11 GR 5 Part 1 - Day 11 photo 12

Highlights and Learnings

A few things stood out most from this first part of the GR5:

  • the heat and cow bells on the opening day
  • the refuge cheese on Day 2
  • the easier high-level feel of Day 3
  • walking through Switzerland on Day 4 with far less rain than forecast
  • our first view of Mont Blanc on Day 6
  • sunrise before dropping to Chamonix on Day 7
  • the shift to busier TMB trails after quieter earlier days
  • loads of chamois on Day 10
  • finally seeing ibex on the last day

The main lesson was how quickly the feel of the route could change without breaking the overall rhythm. We had hot starts, wet days, cloud that cleared, and a final morning that felt almost wintry, so keeping waterproofs handy and staying flexible mattered more than trying to predict each day too precisely. Looking back, that variety is what made this section feel so satisfying.

Tags: blog strava hike