John Muir Trail from Cottonwood Lakes to Happy Isles, 24 August to 7 September 2025
John Muir Trail from Cottonwood Lakes to Happy Isles, 24 August to 7 September 2025
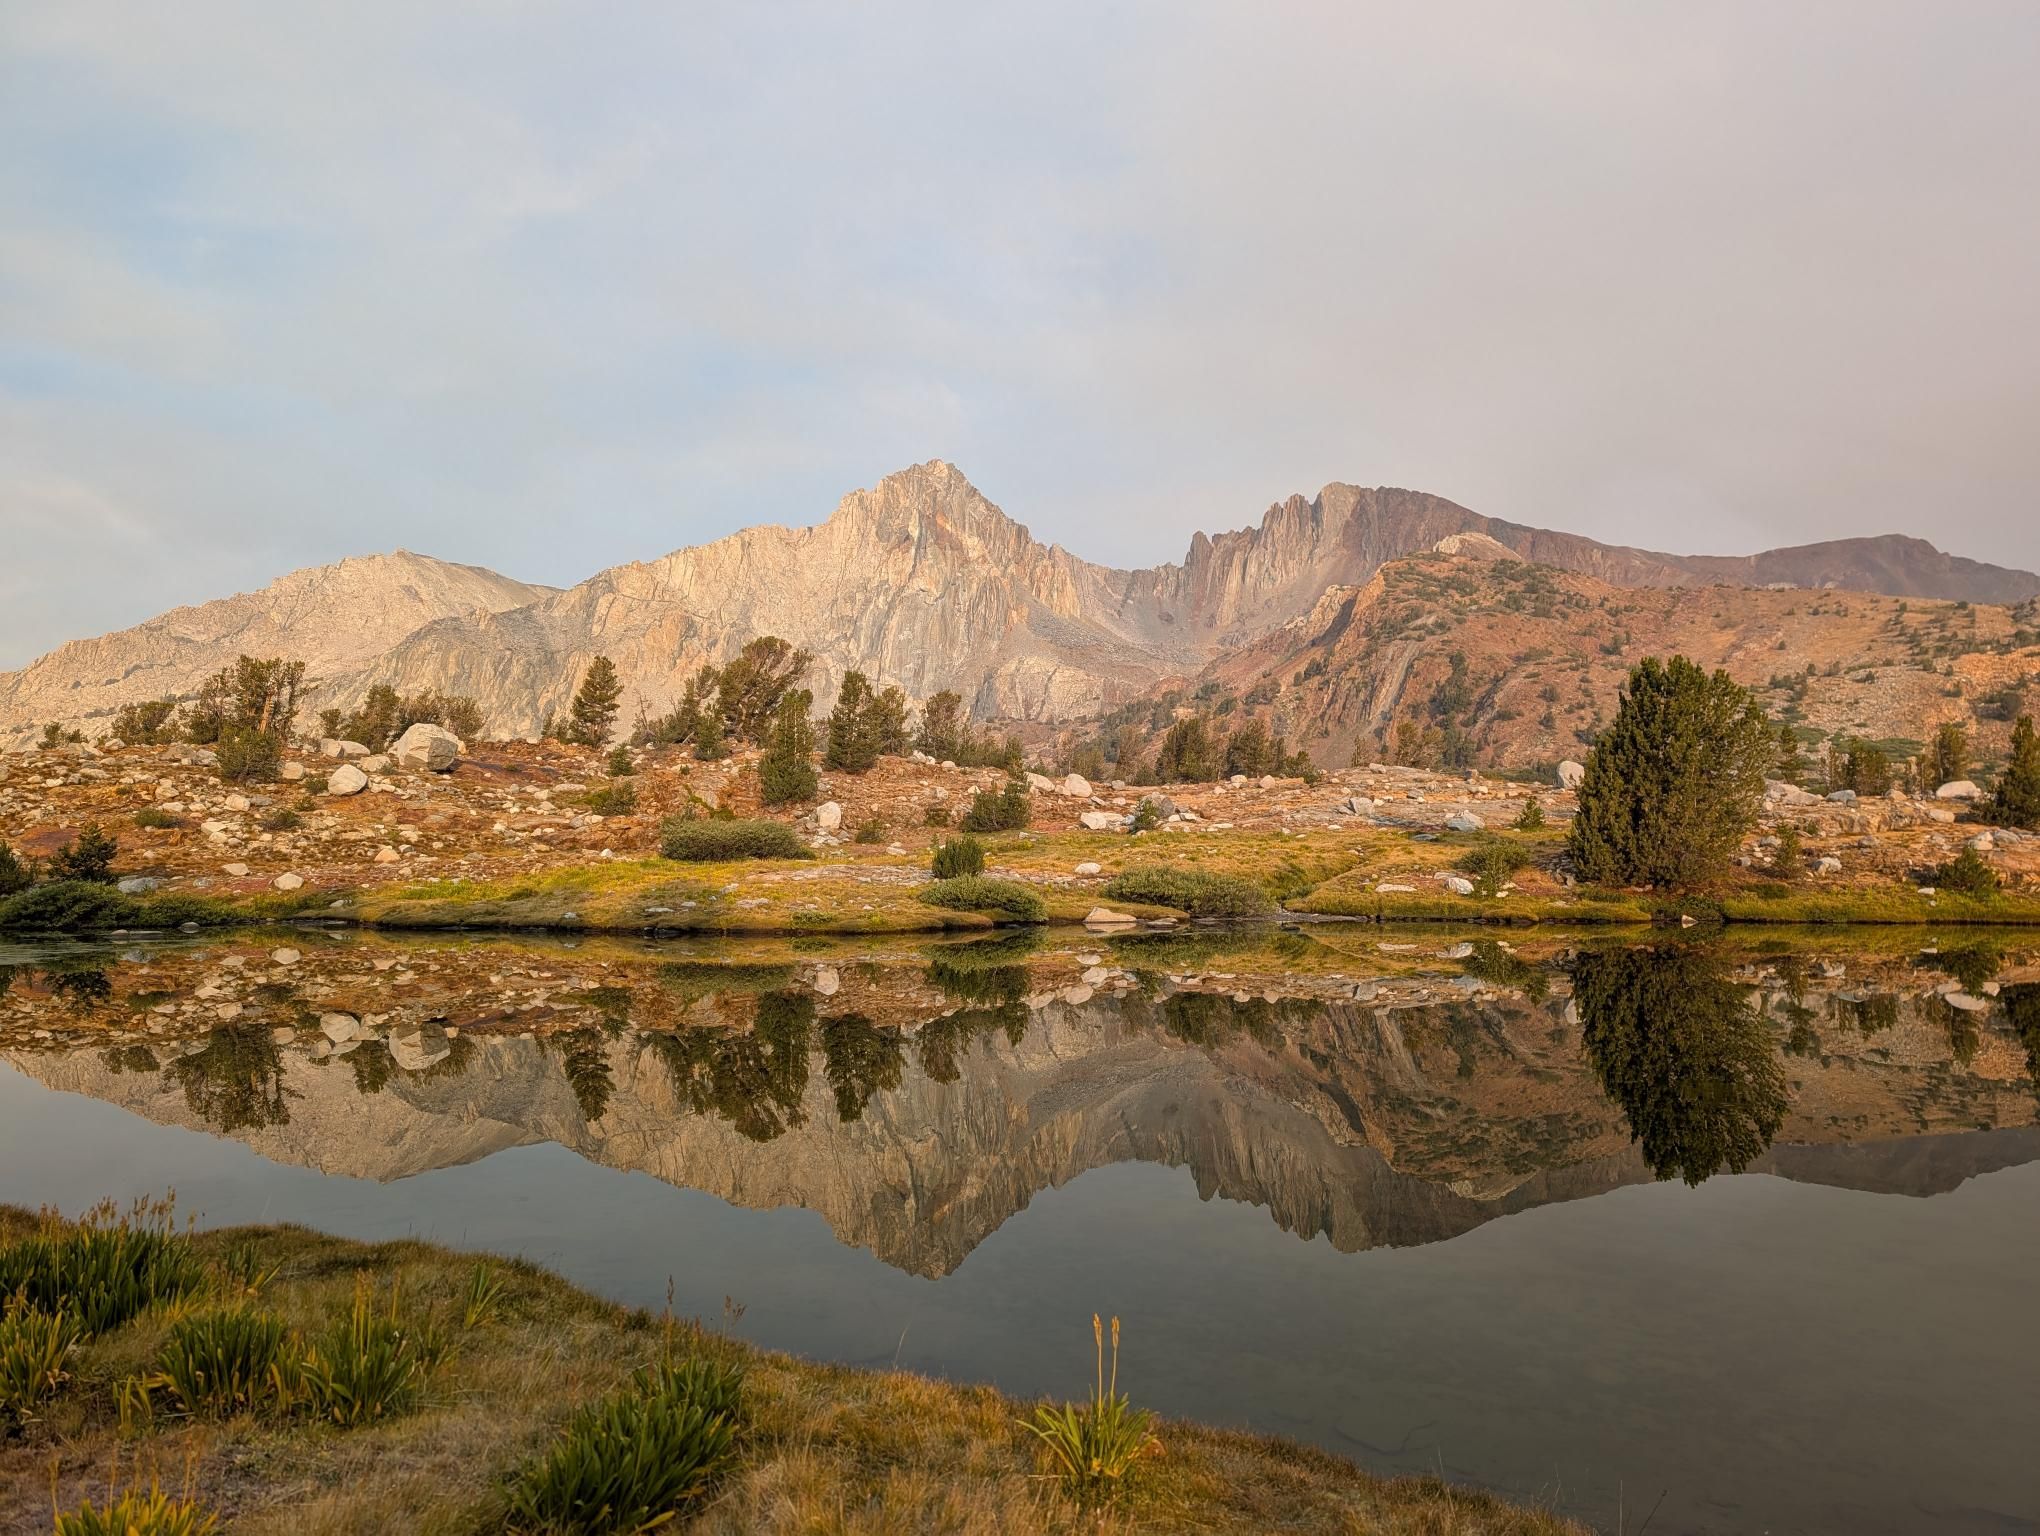
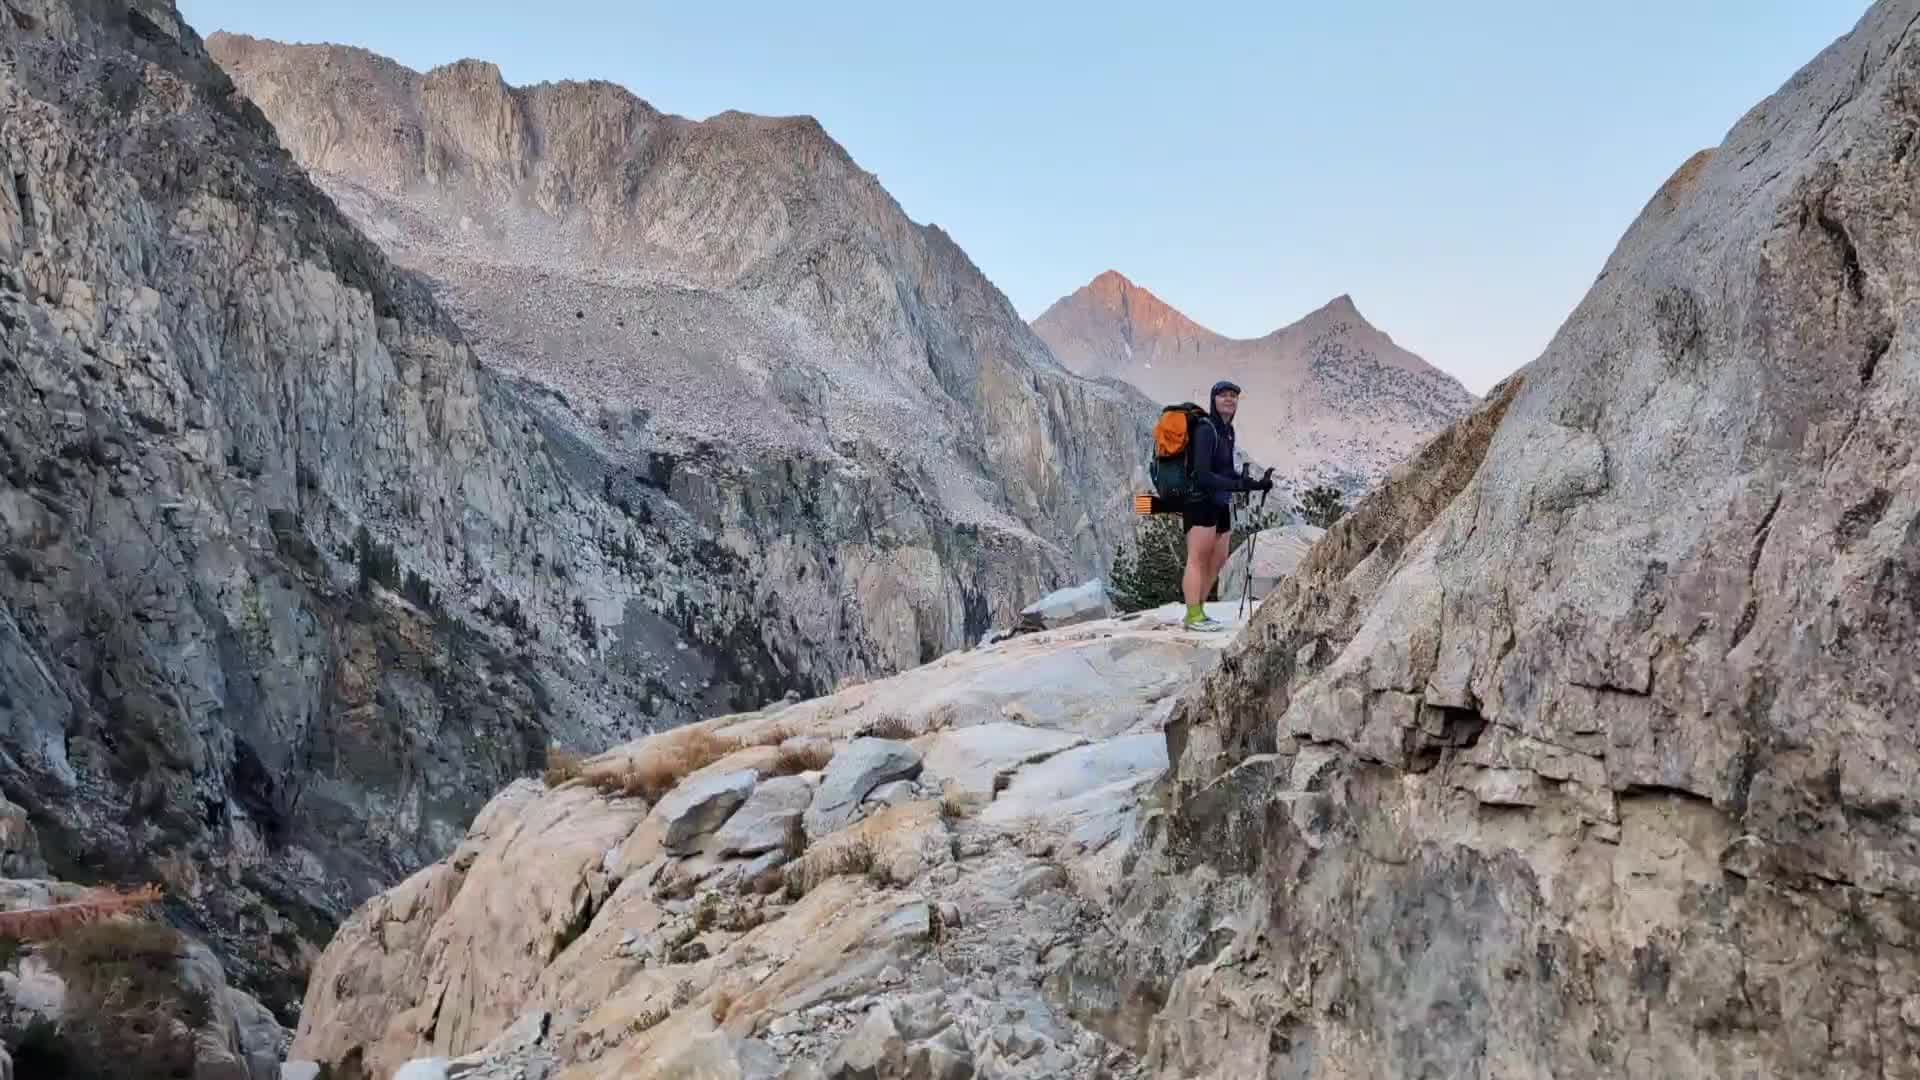
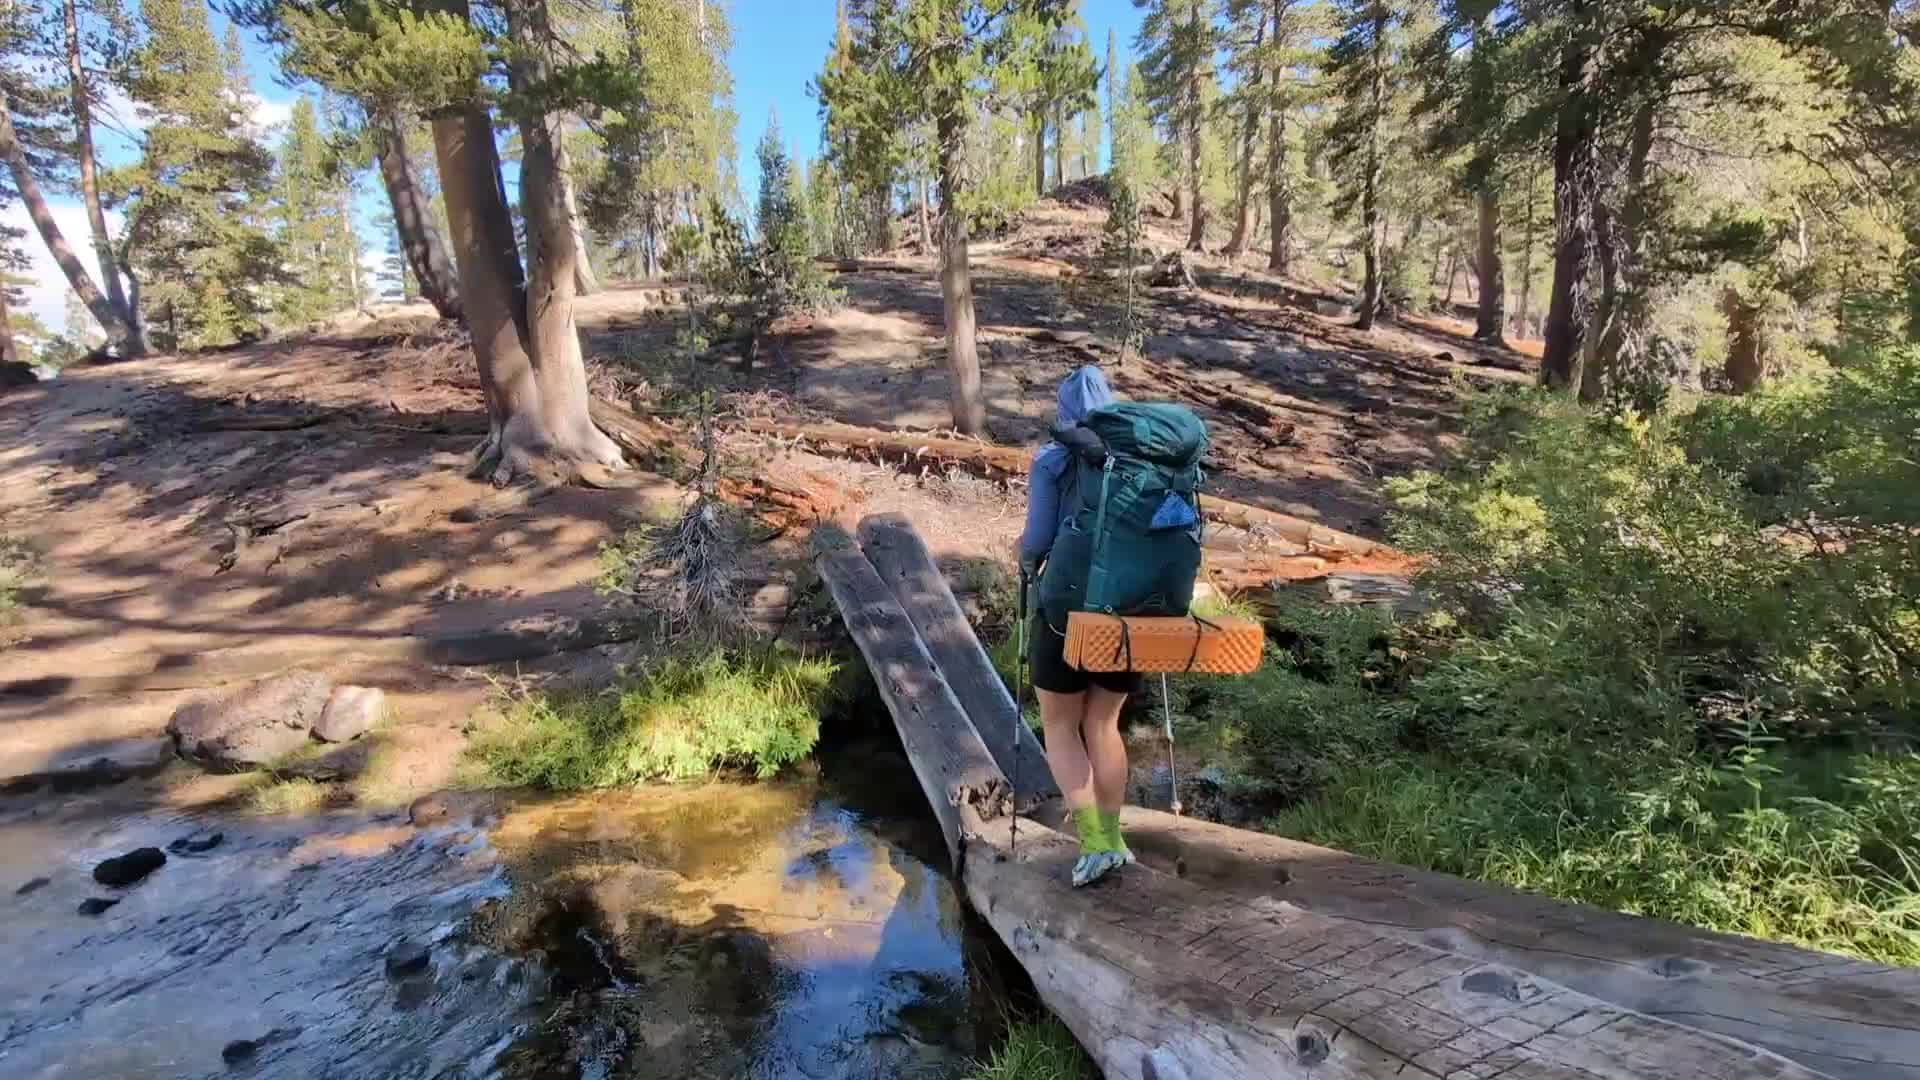
Over 15 days, we walked the John Muir Trail from Cottonwood Lakes Trailhead to Happy Isles, linking long passes, lakes, resupplies, storms, smoke, and a strong finish in Yosemite. In total, the route covered 402.49 km with 14756.8 m of elevation gain.
Quick Summary
This was a full two-week JMT crossing, starting with New Army Pass and finishing with sunrise on Clouds Rest before the final descent to Happy Isles. The days were consistently big, but the trail often made it possible to move further than expected, especially when weather and energy lined up.
What We Got Up To
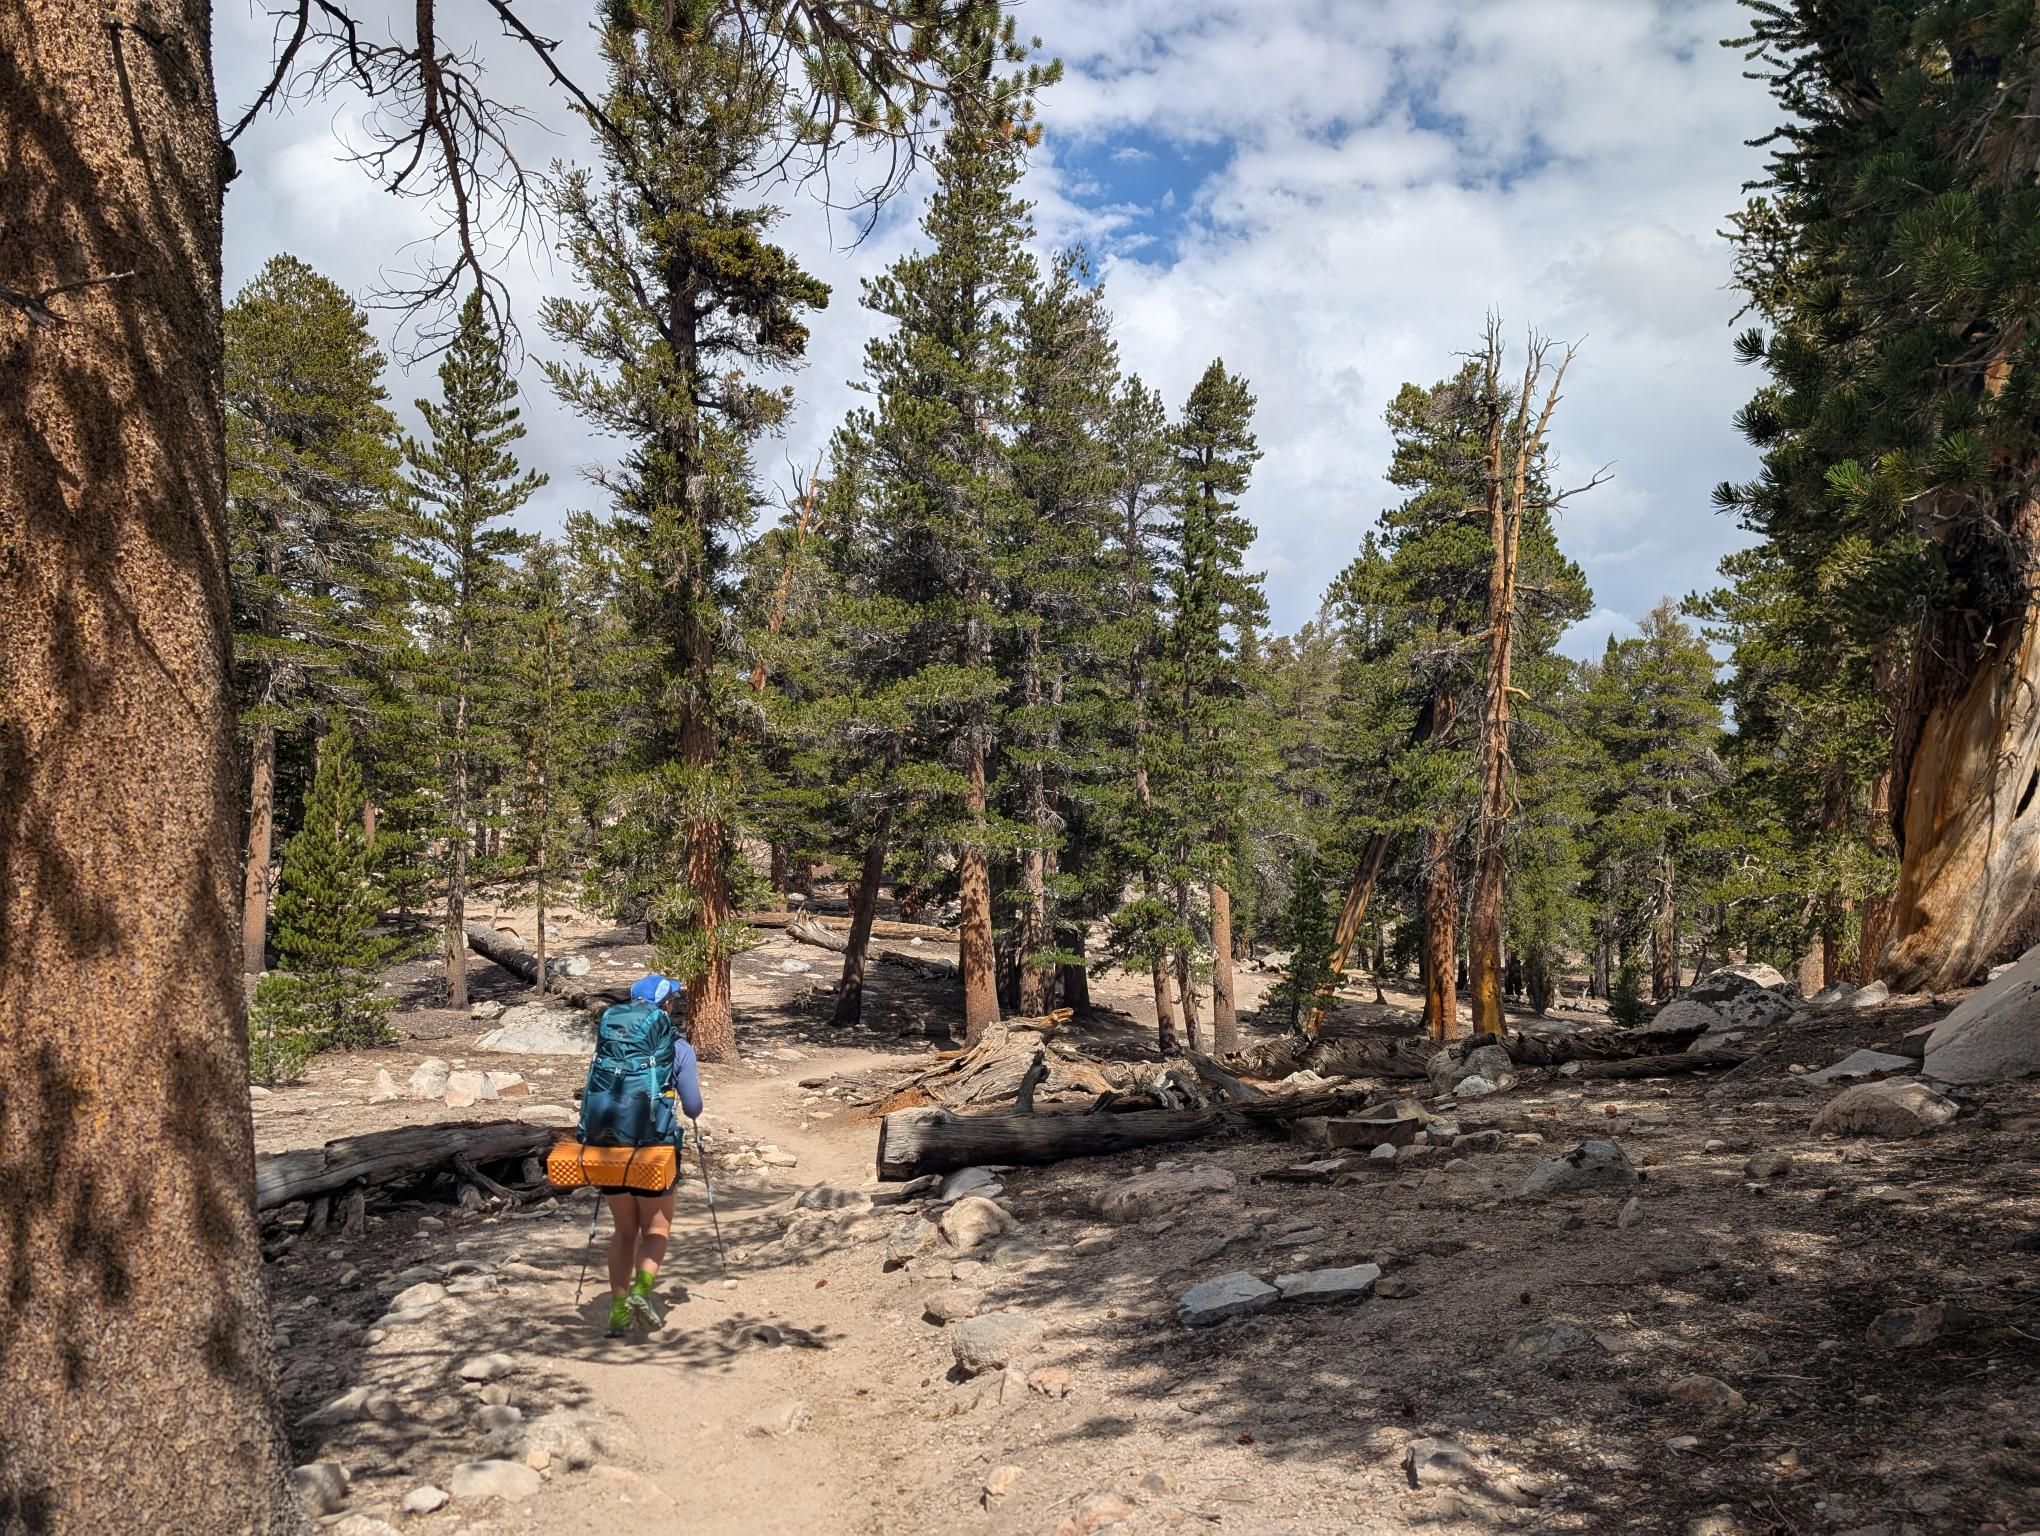
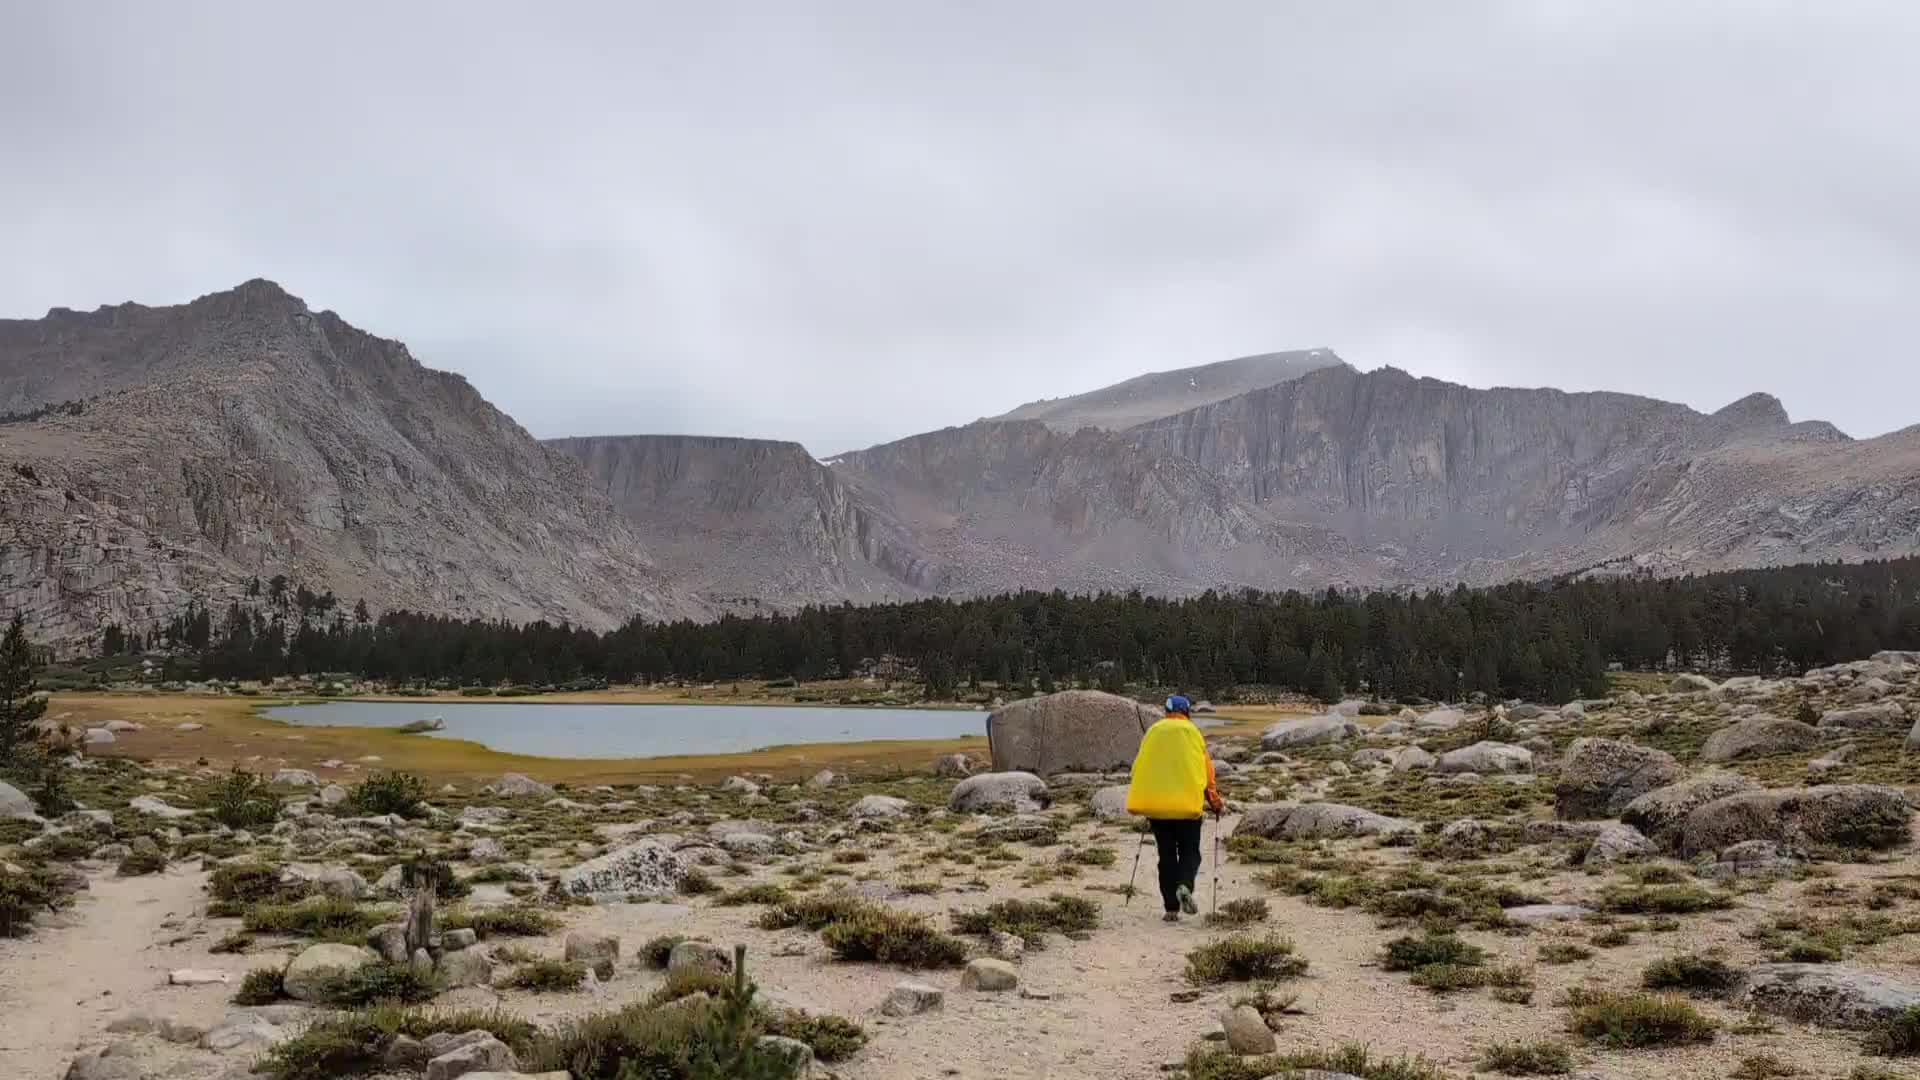
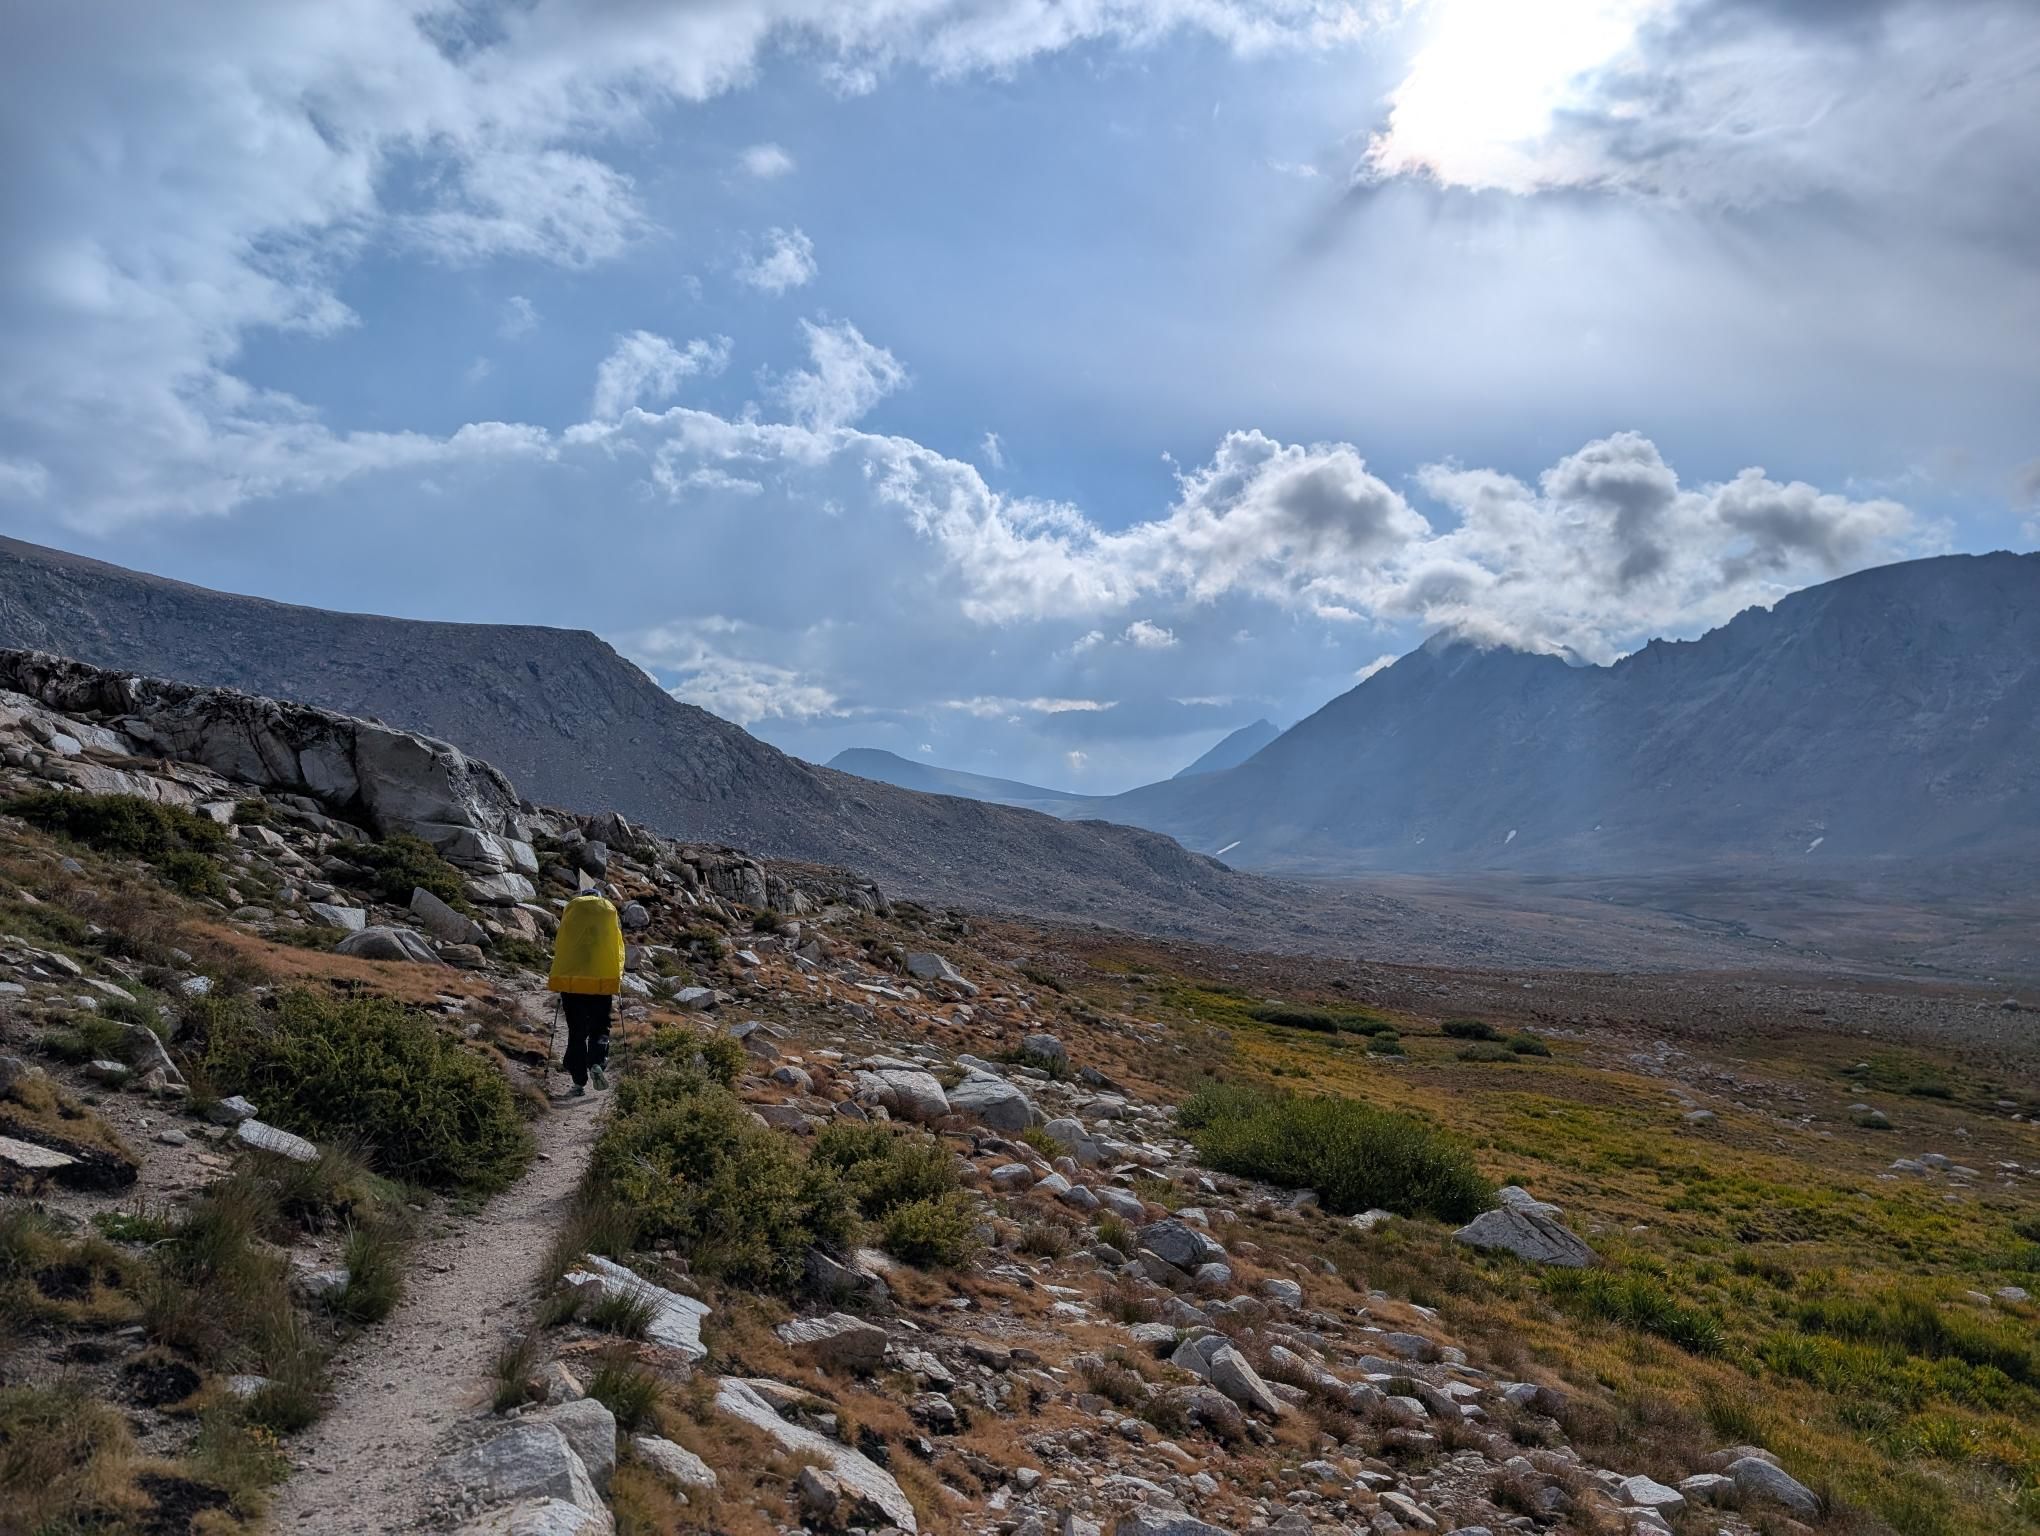
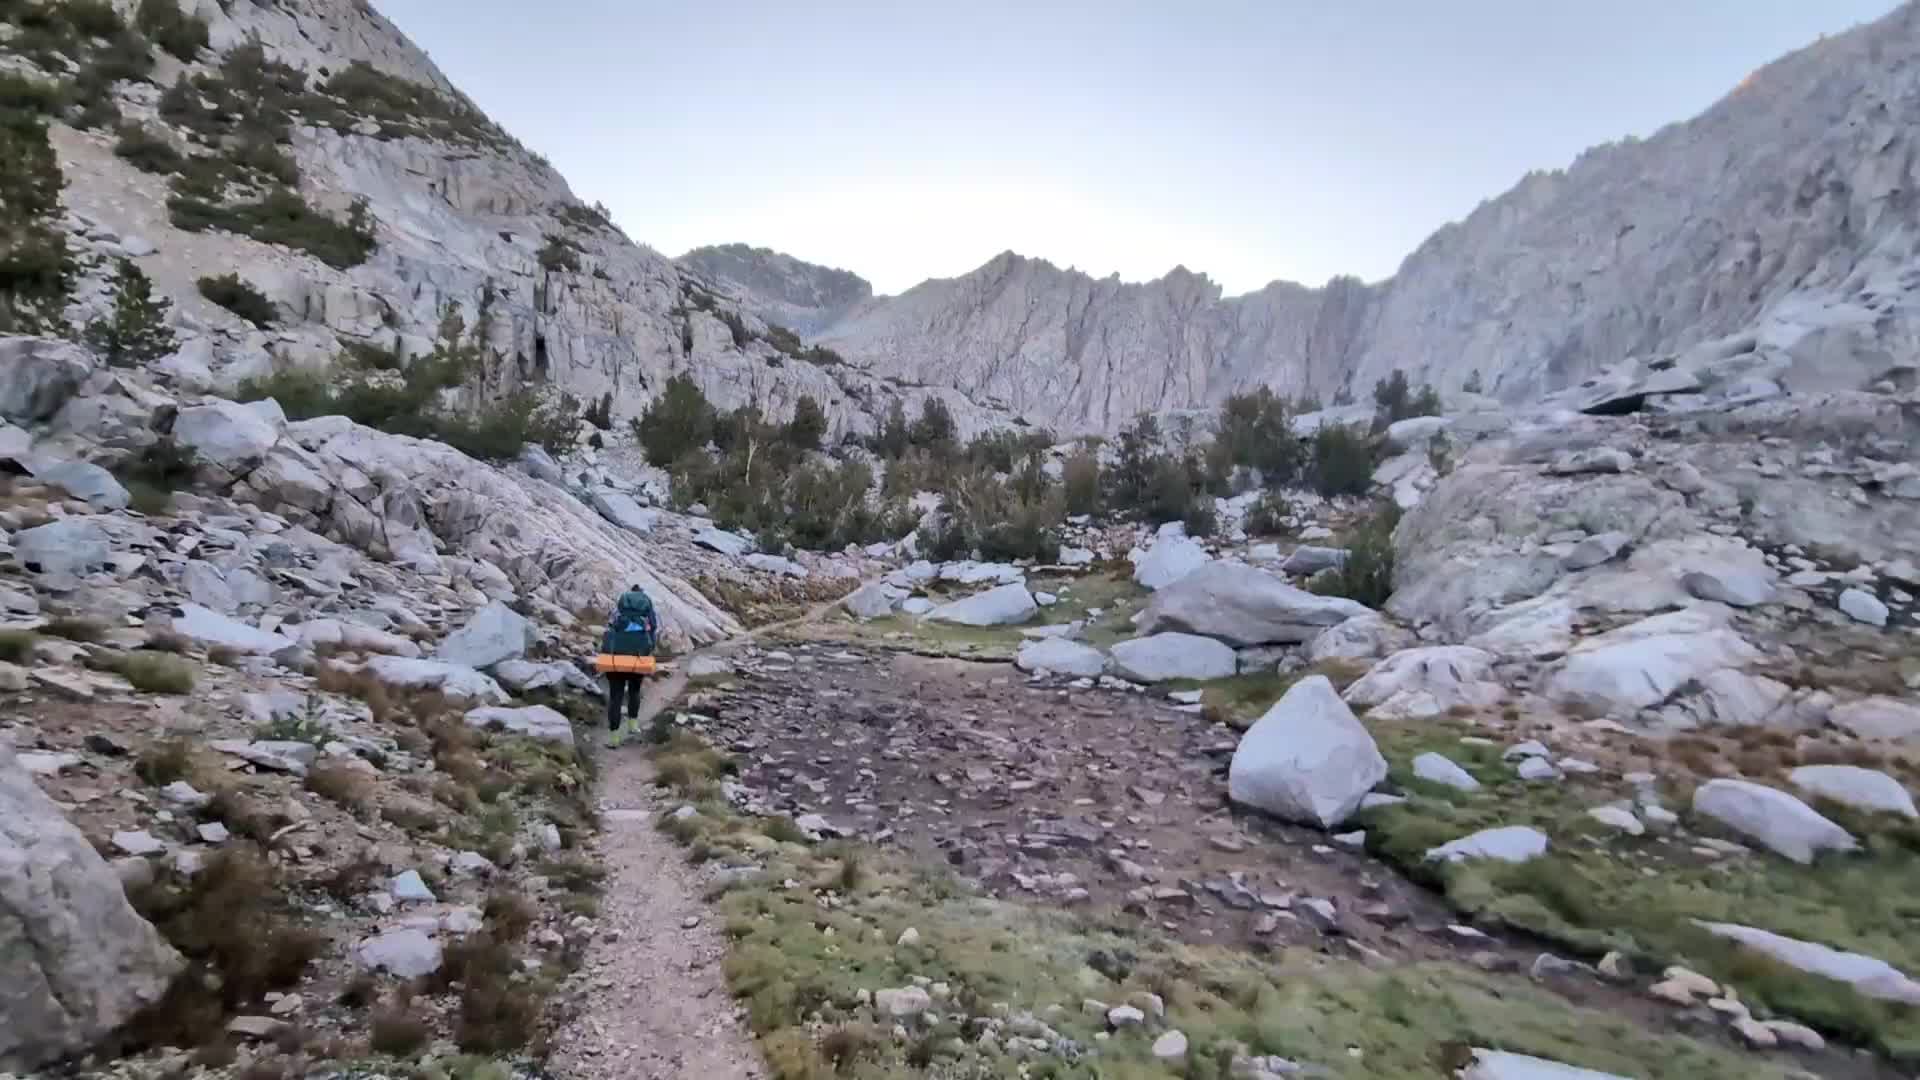
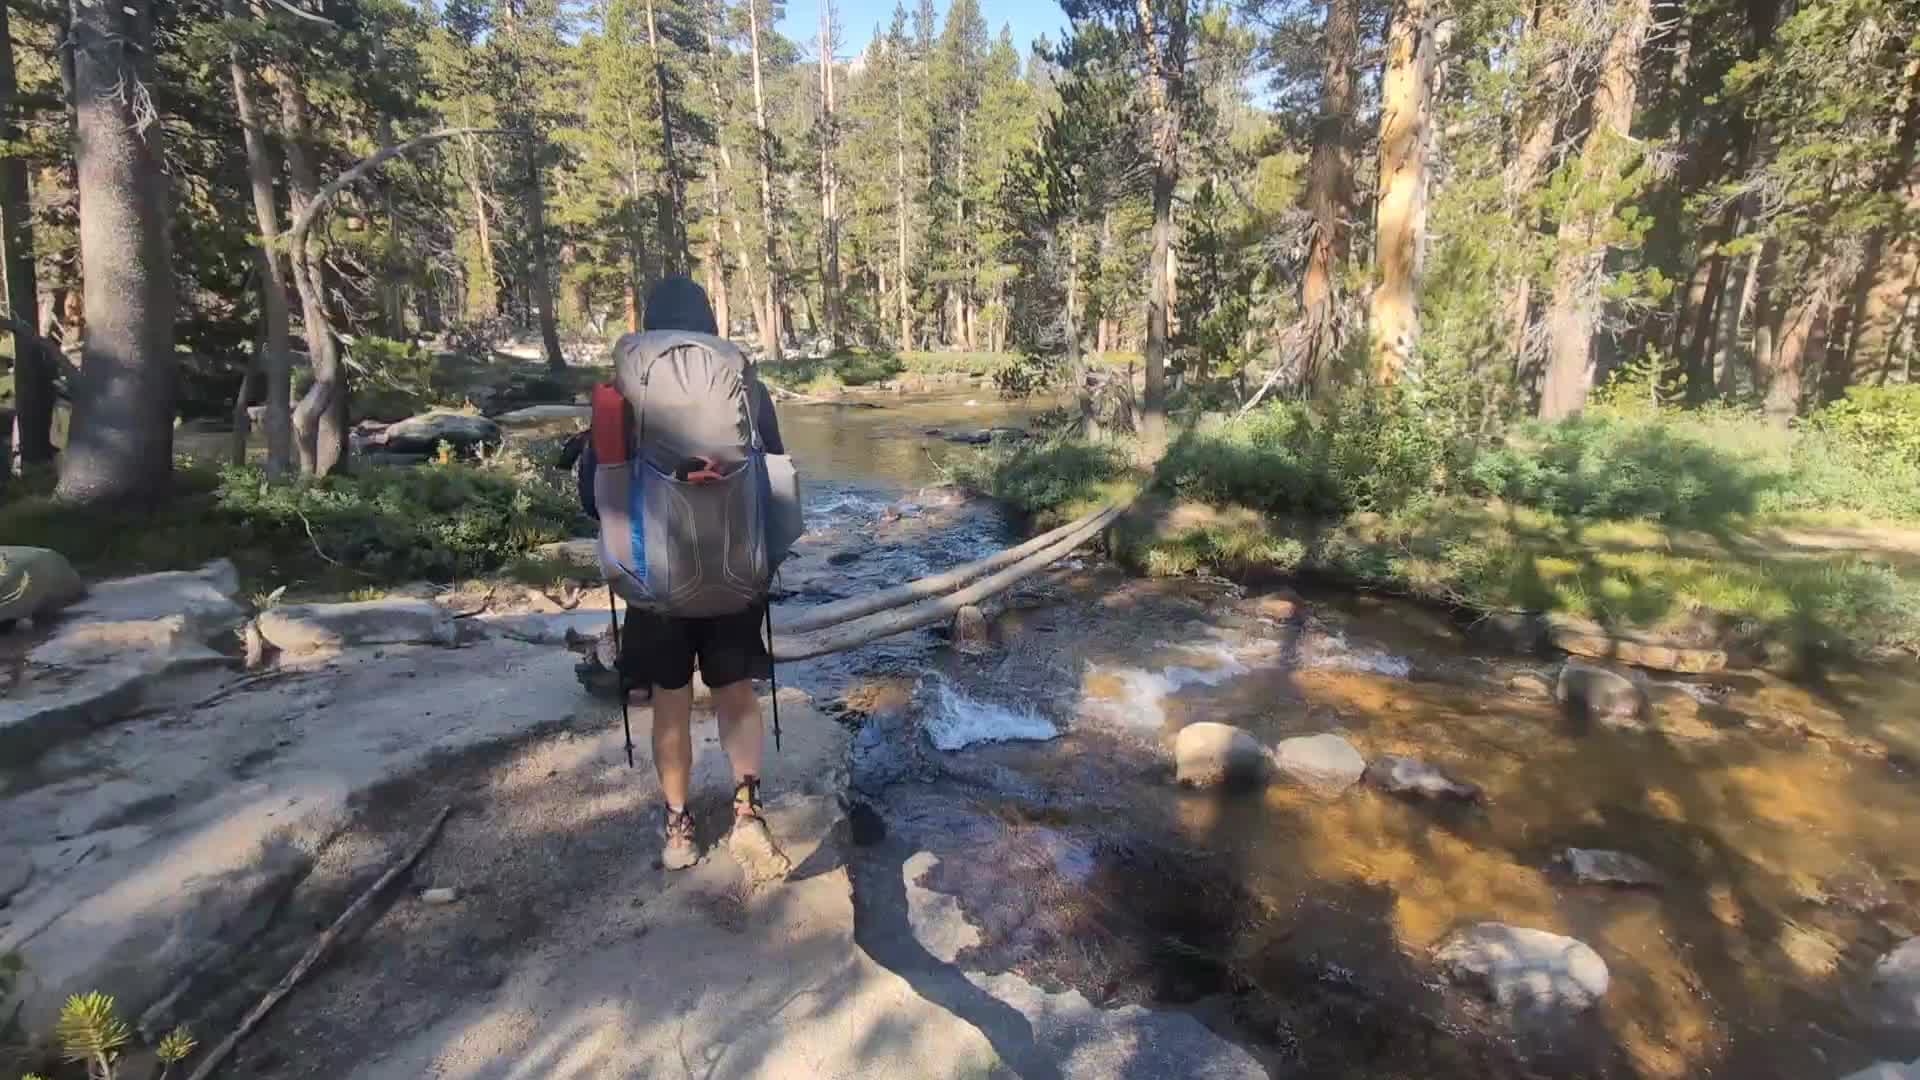
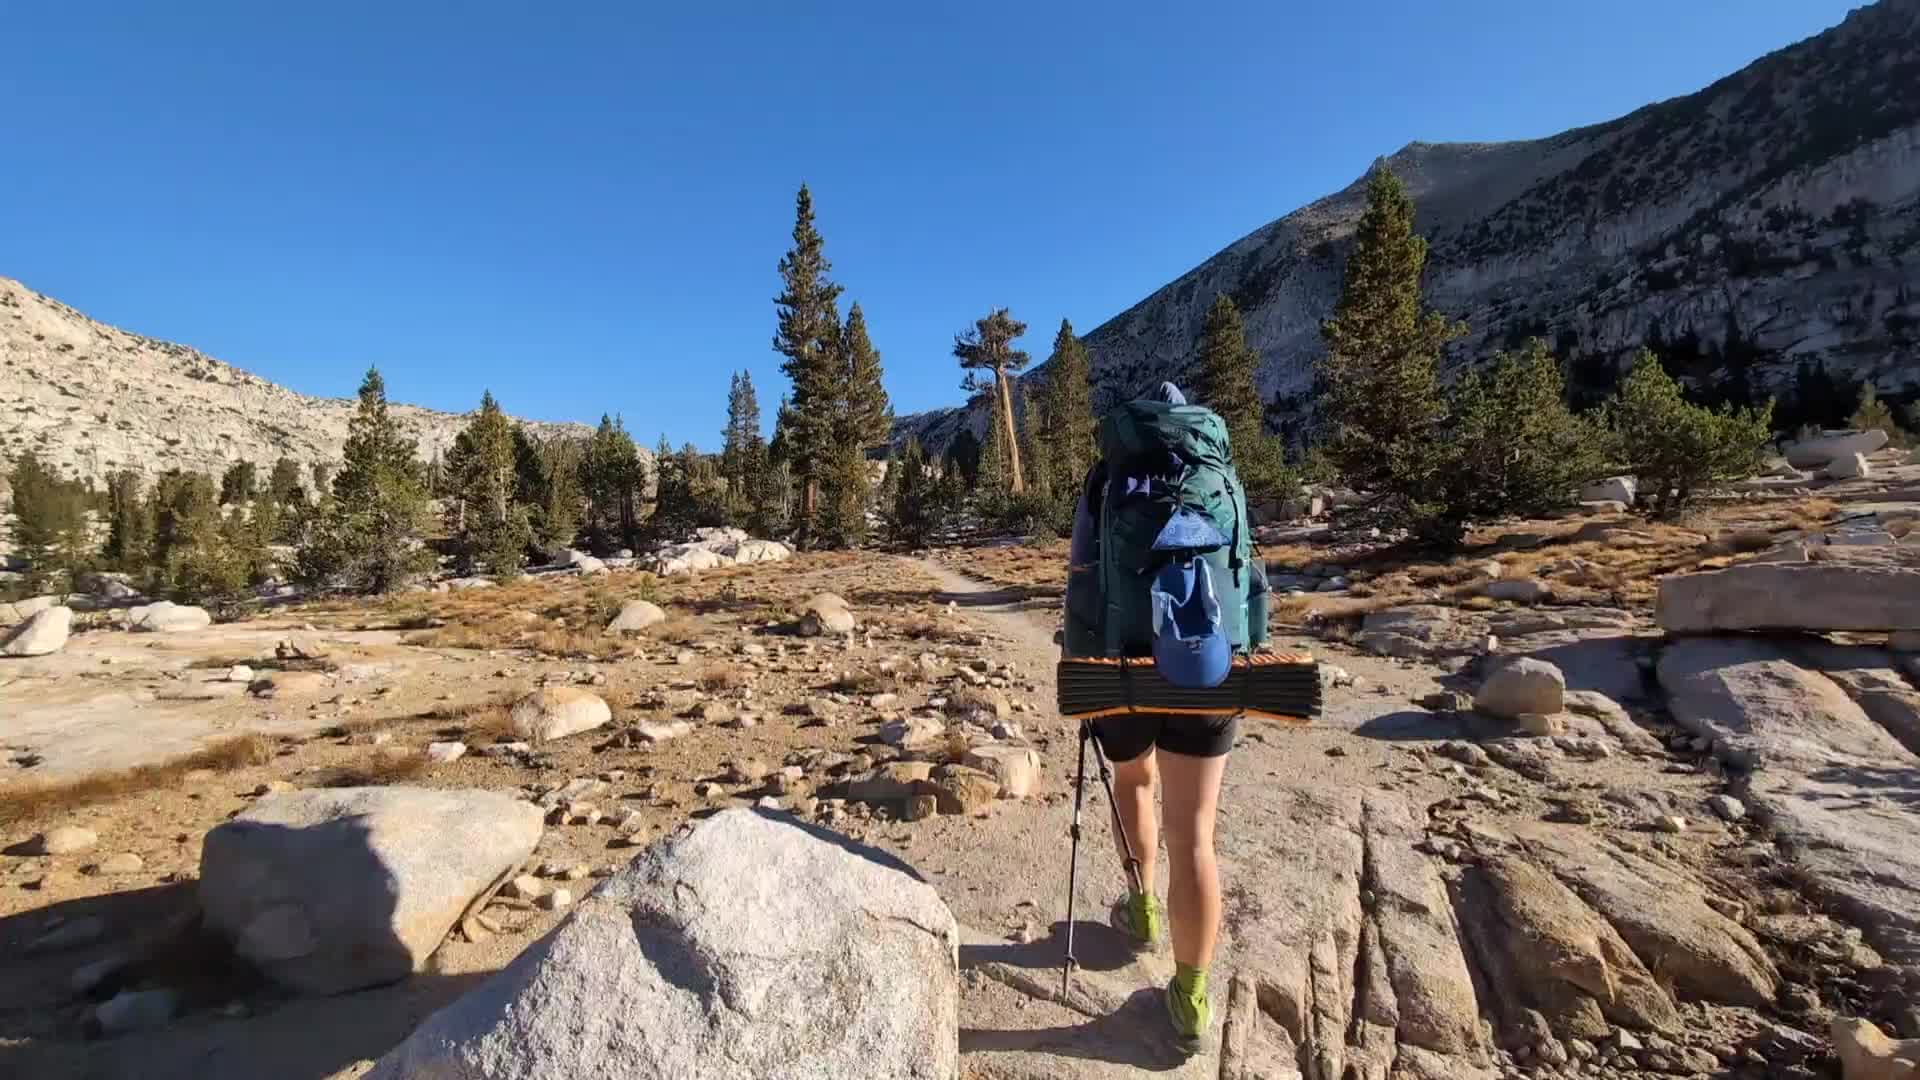
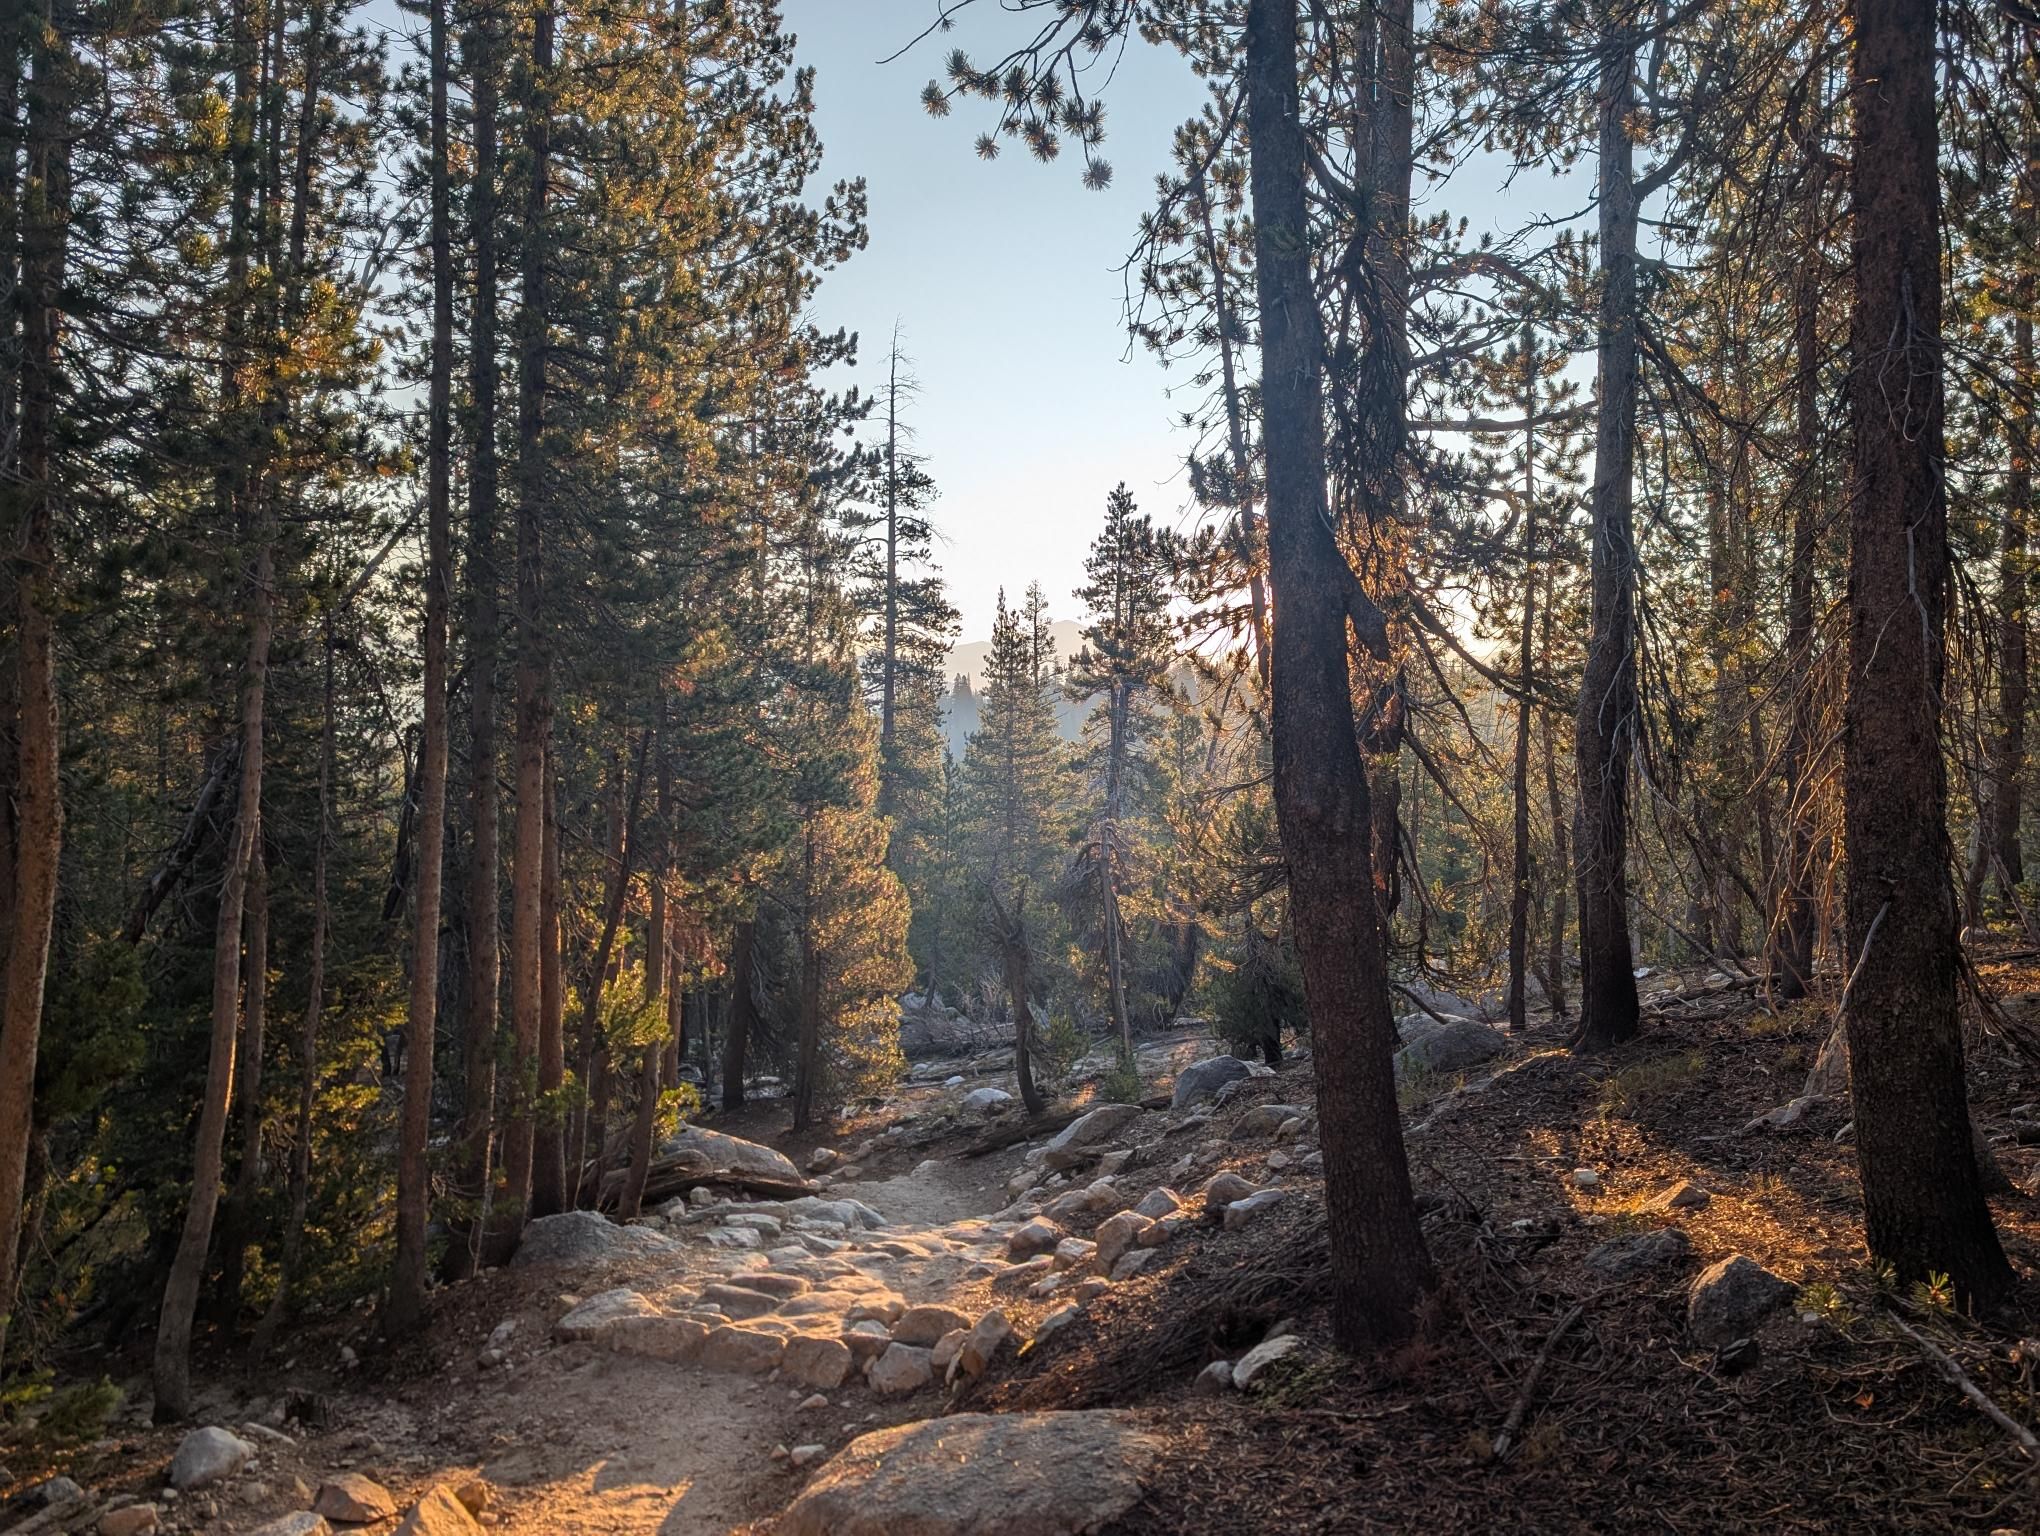
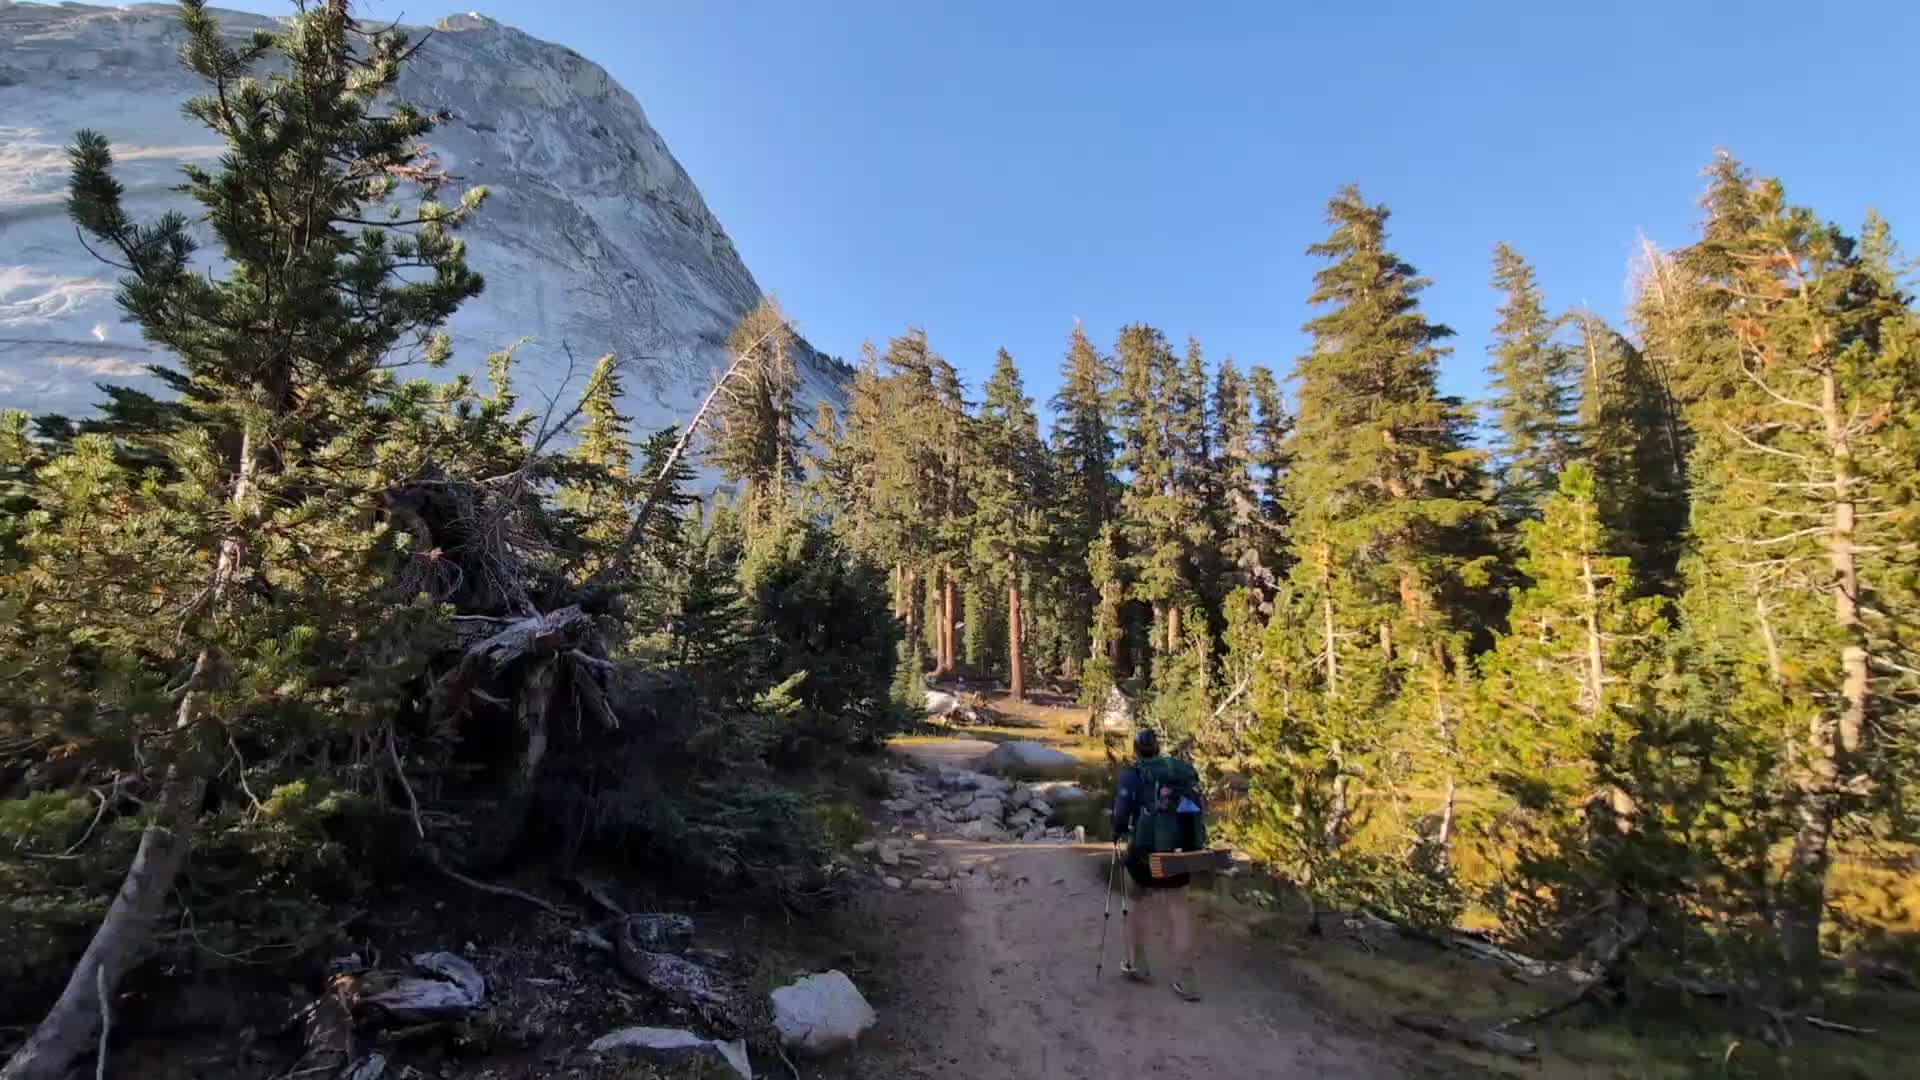
We started at Cottonwood Lakes Trailhead and headed to Rock Creek Lake via New Army Pass. Even at high elevation, the smooth trail and steady gradients helped us settle in well and cover more ground than we had planned on that first day.
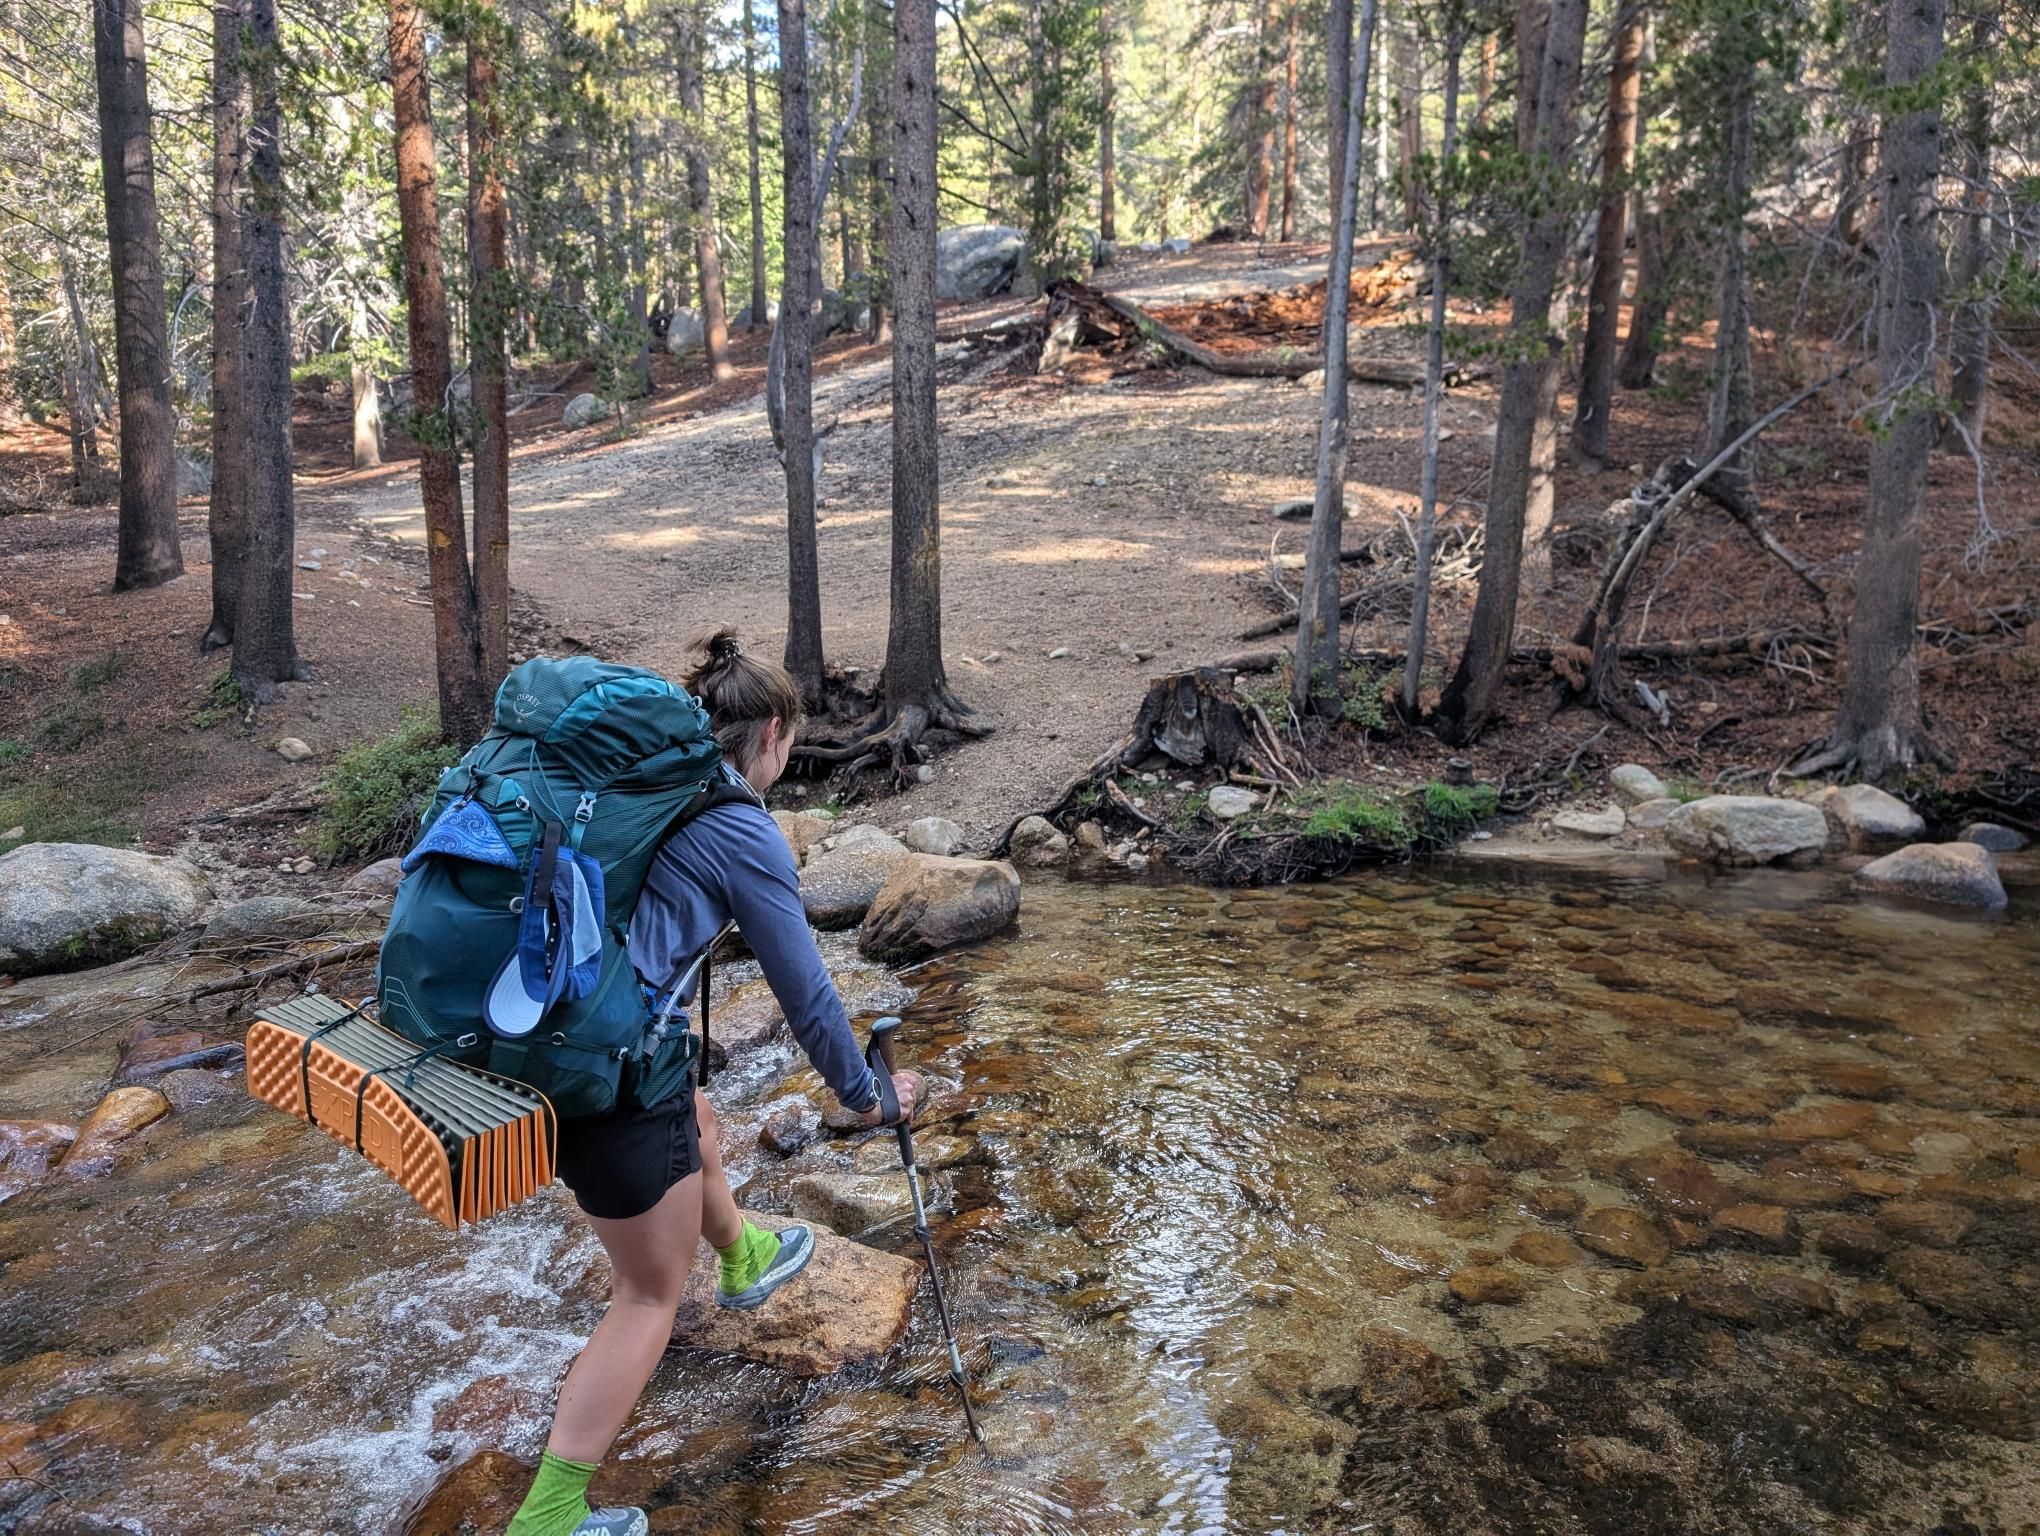
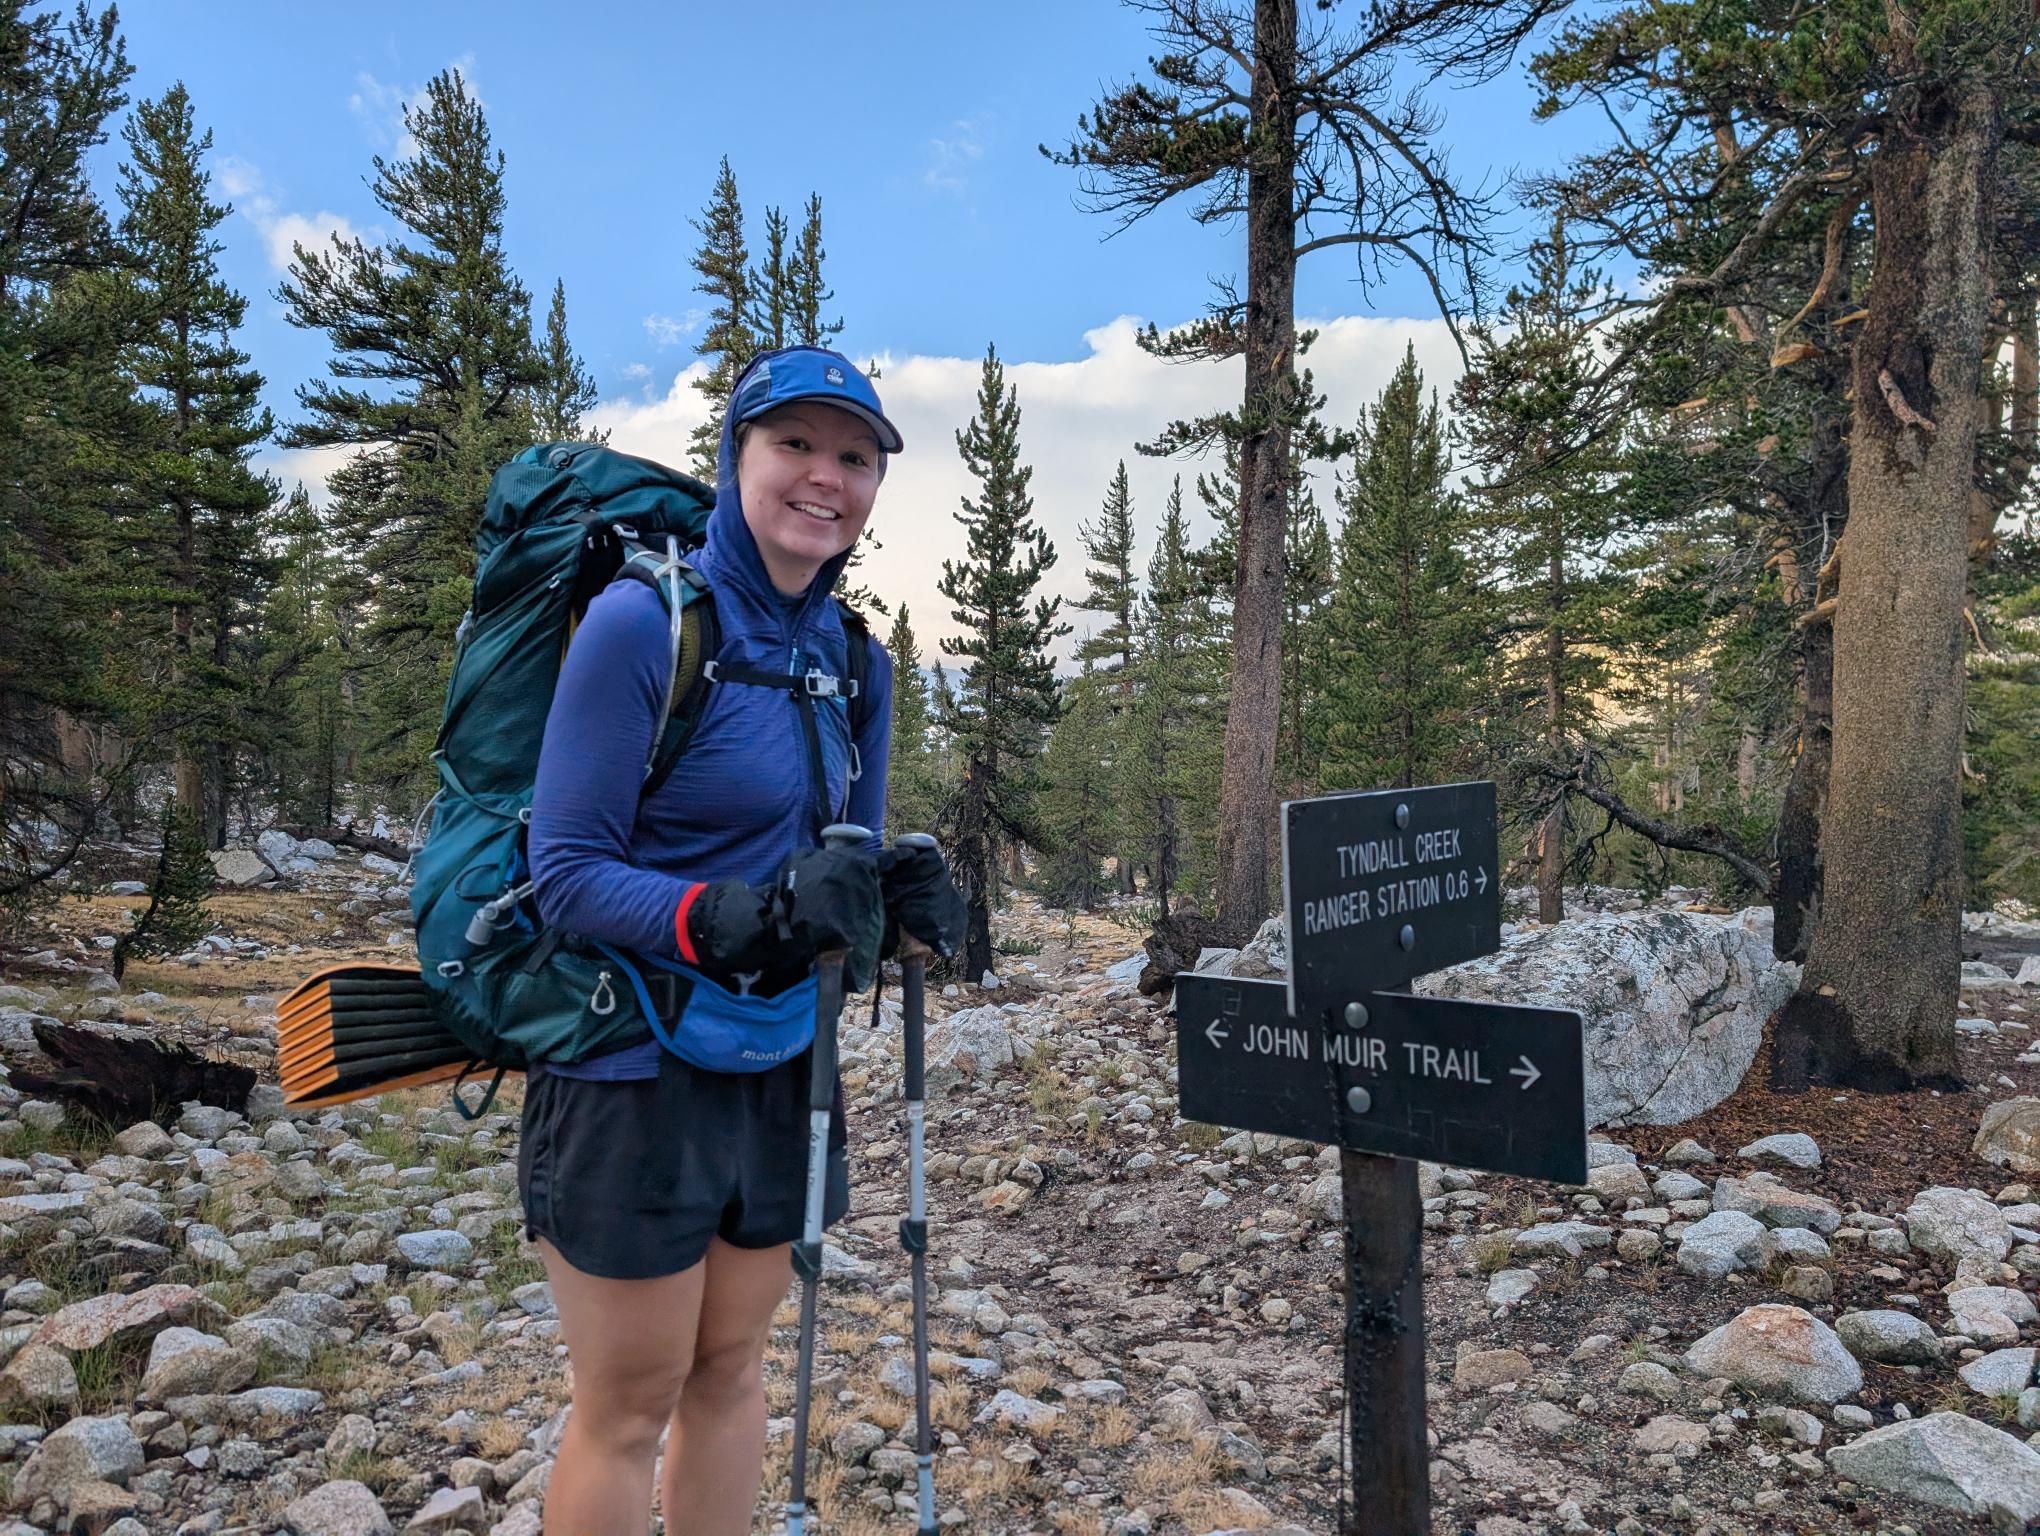
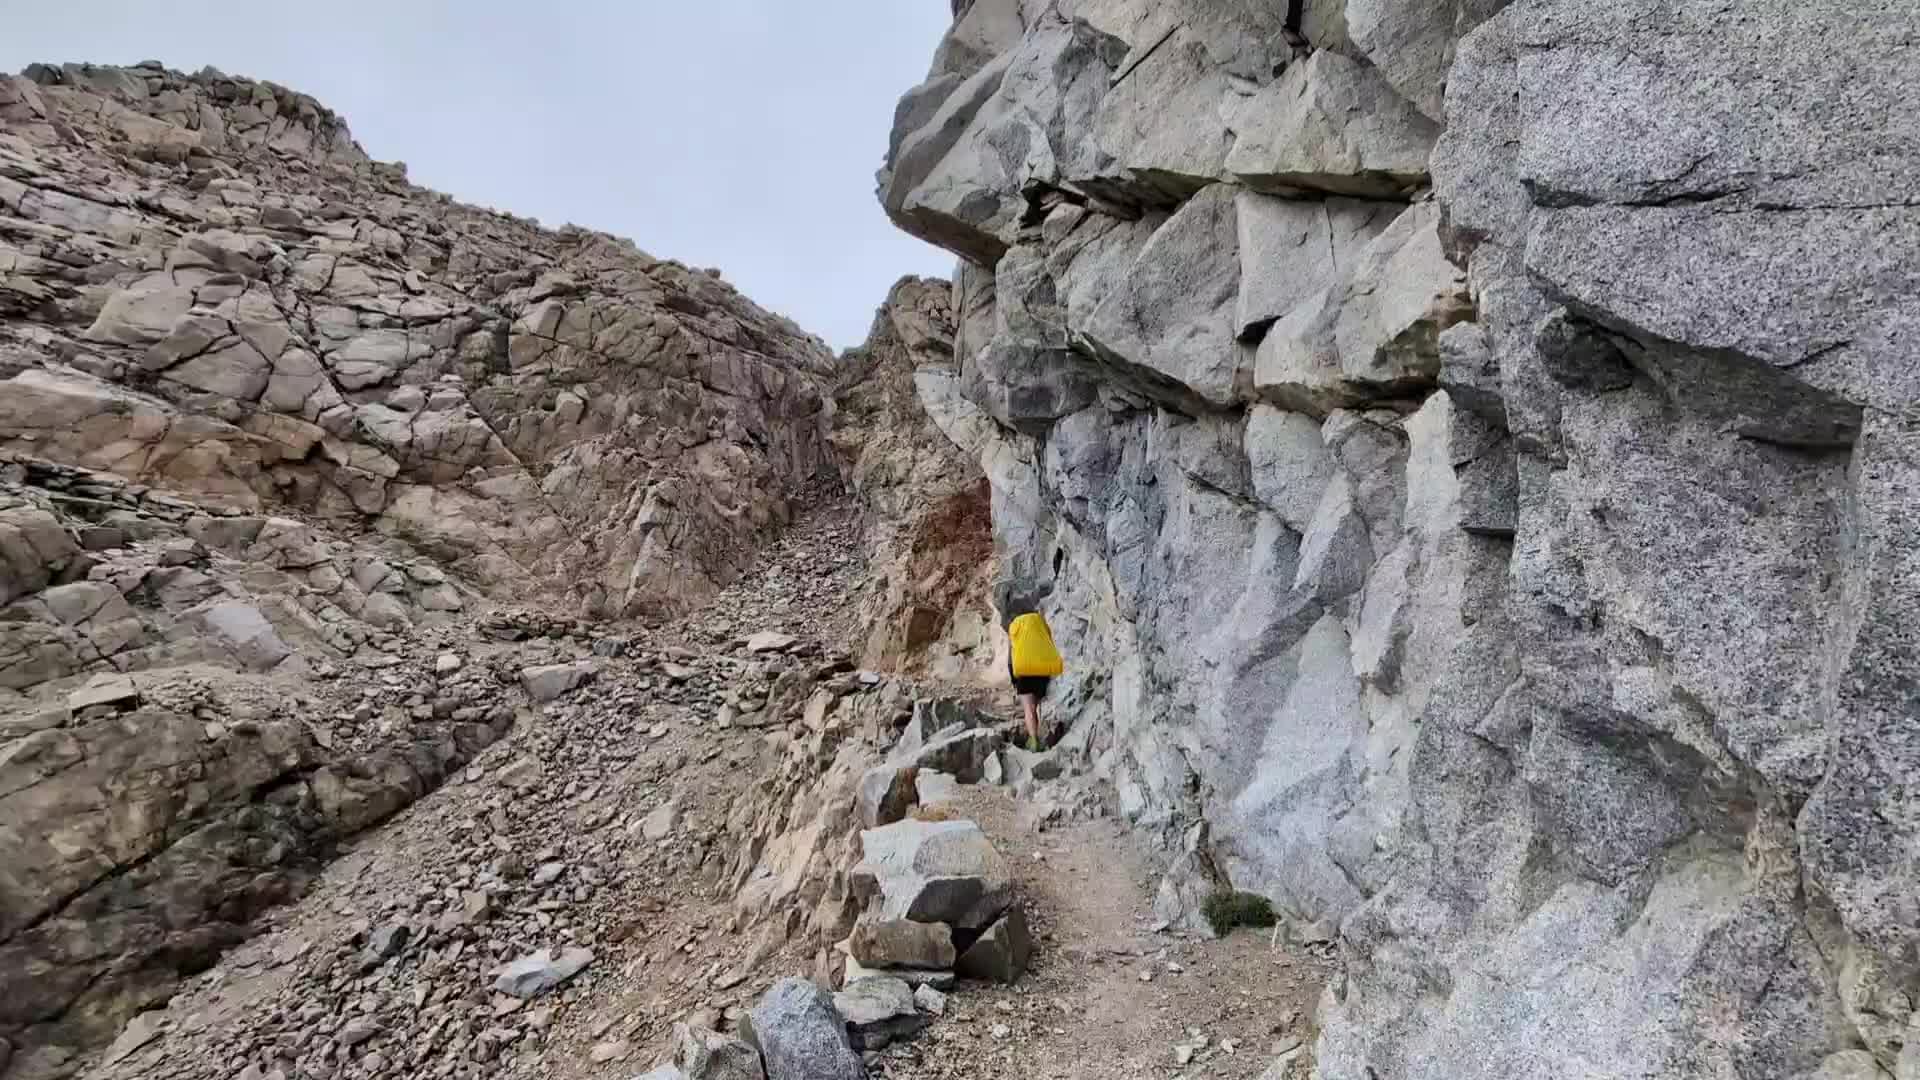
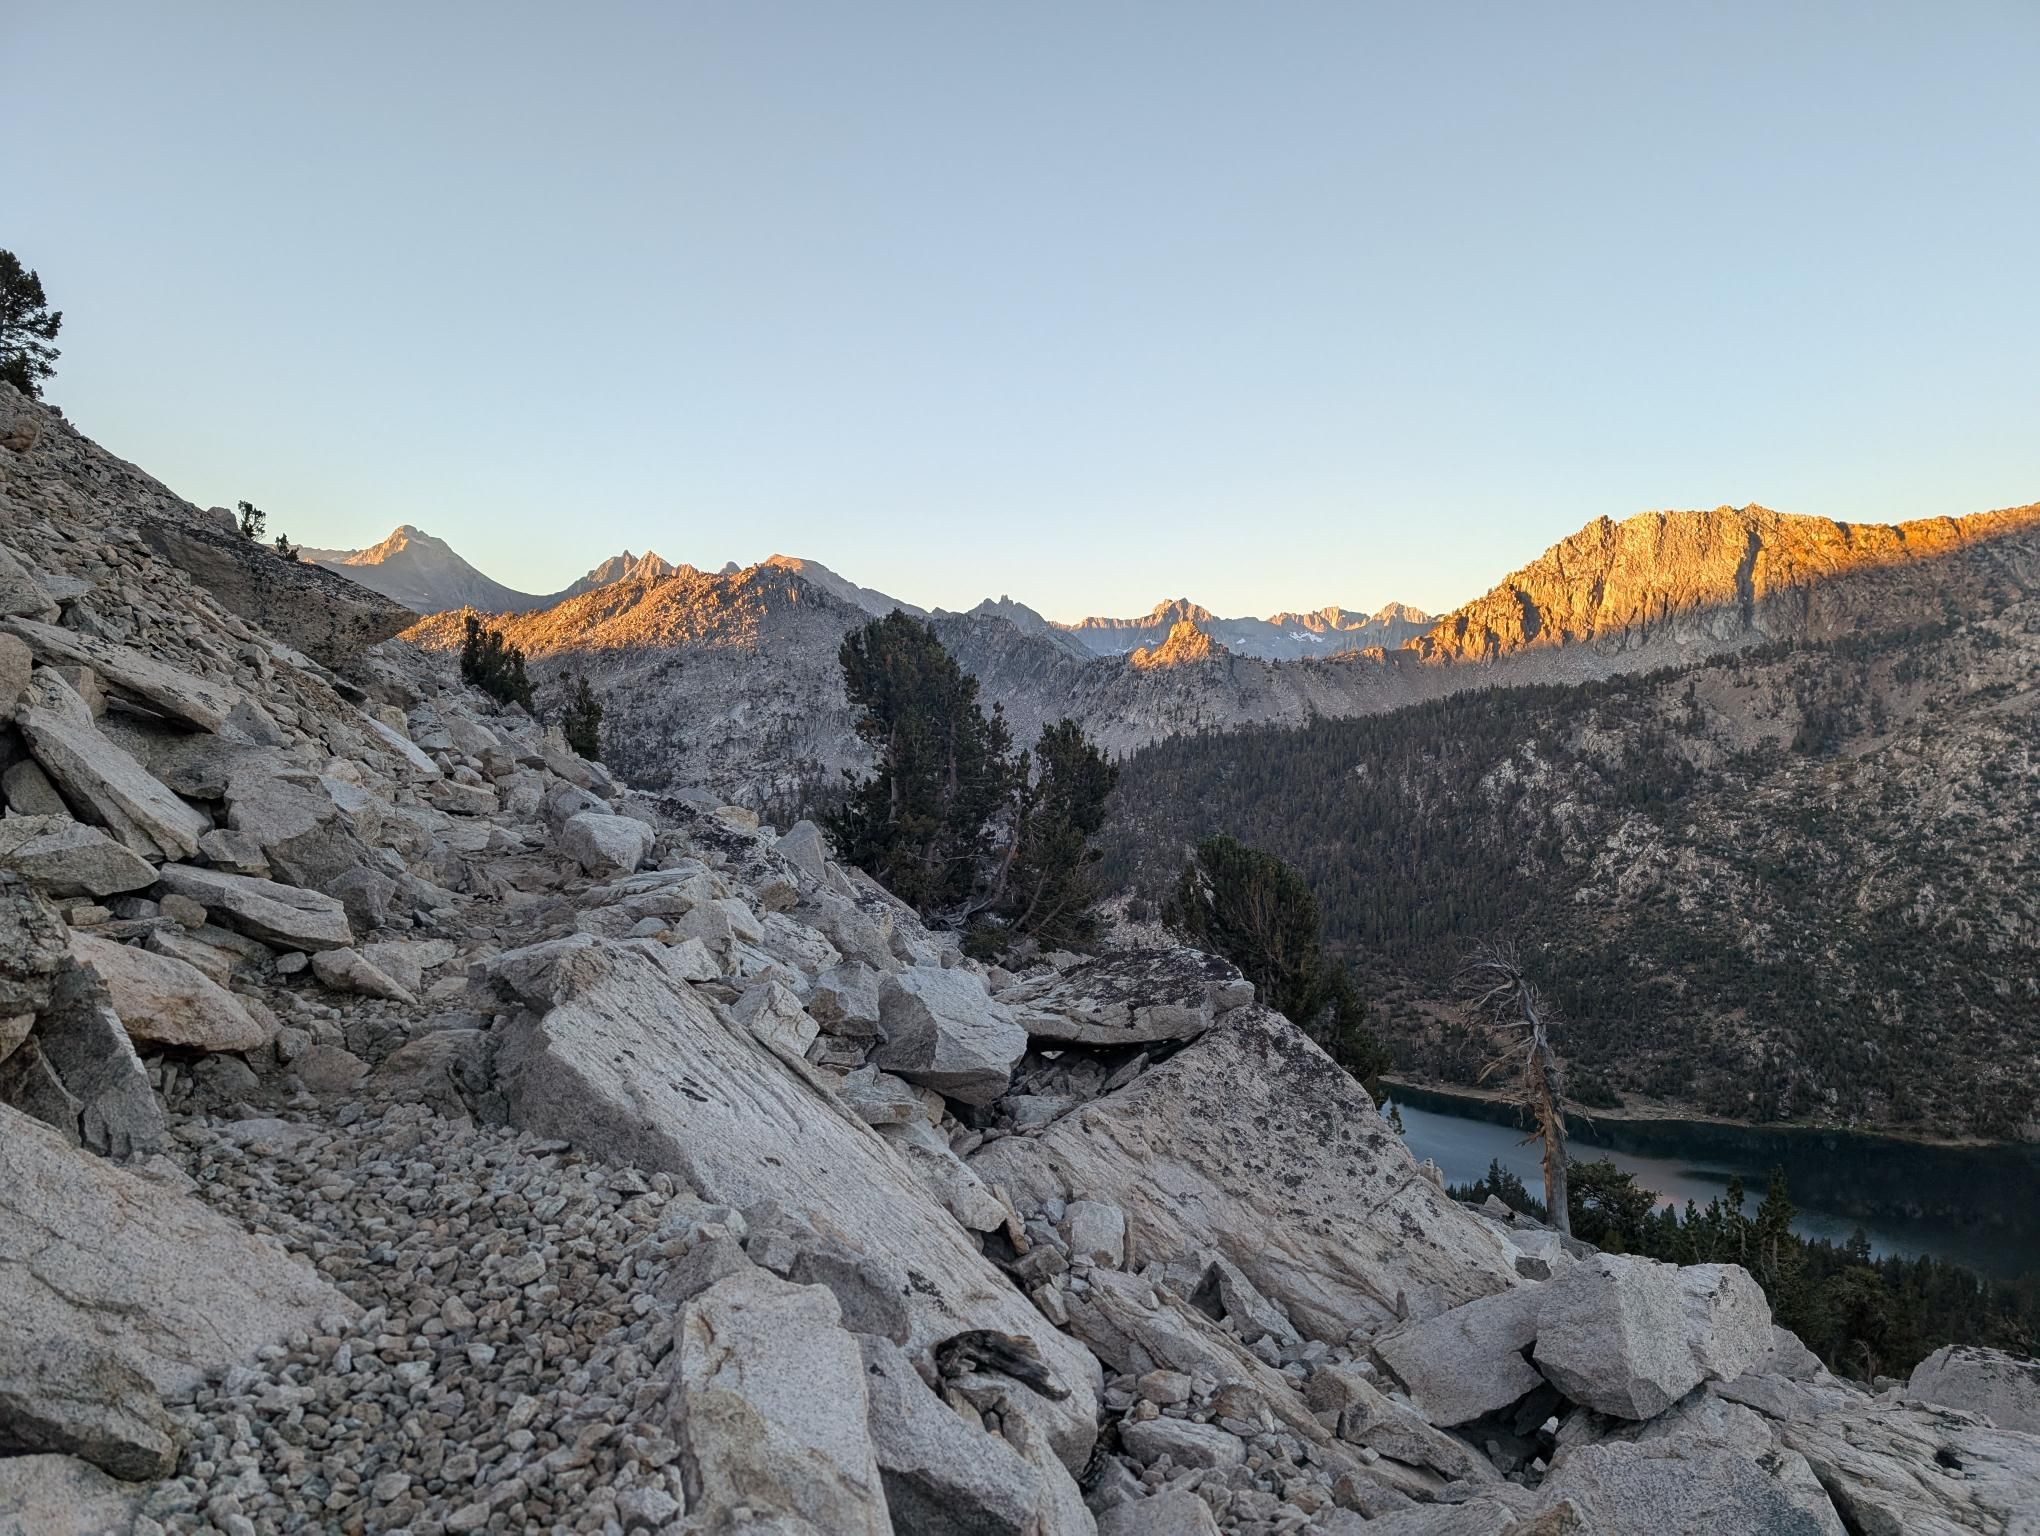
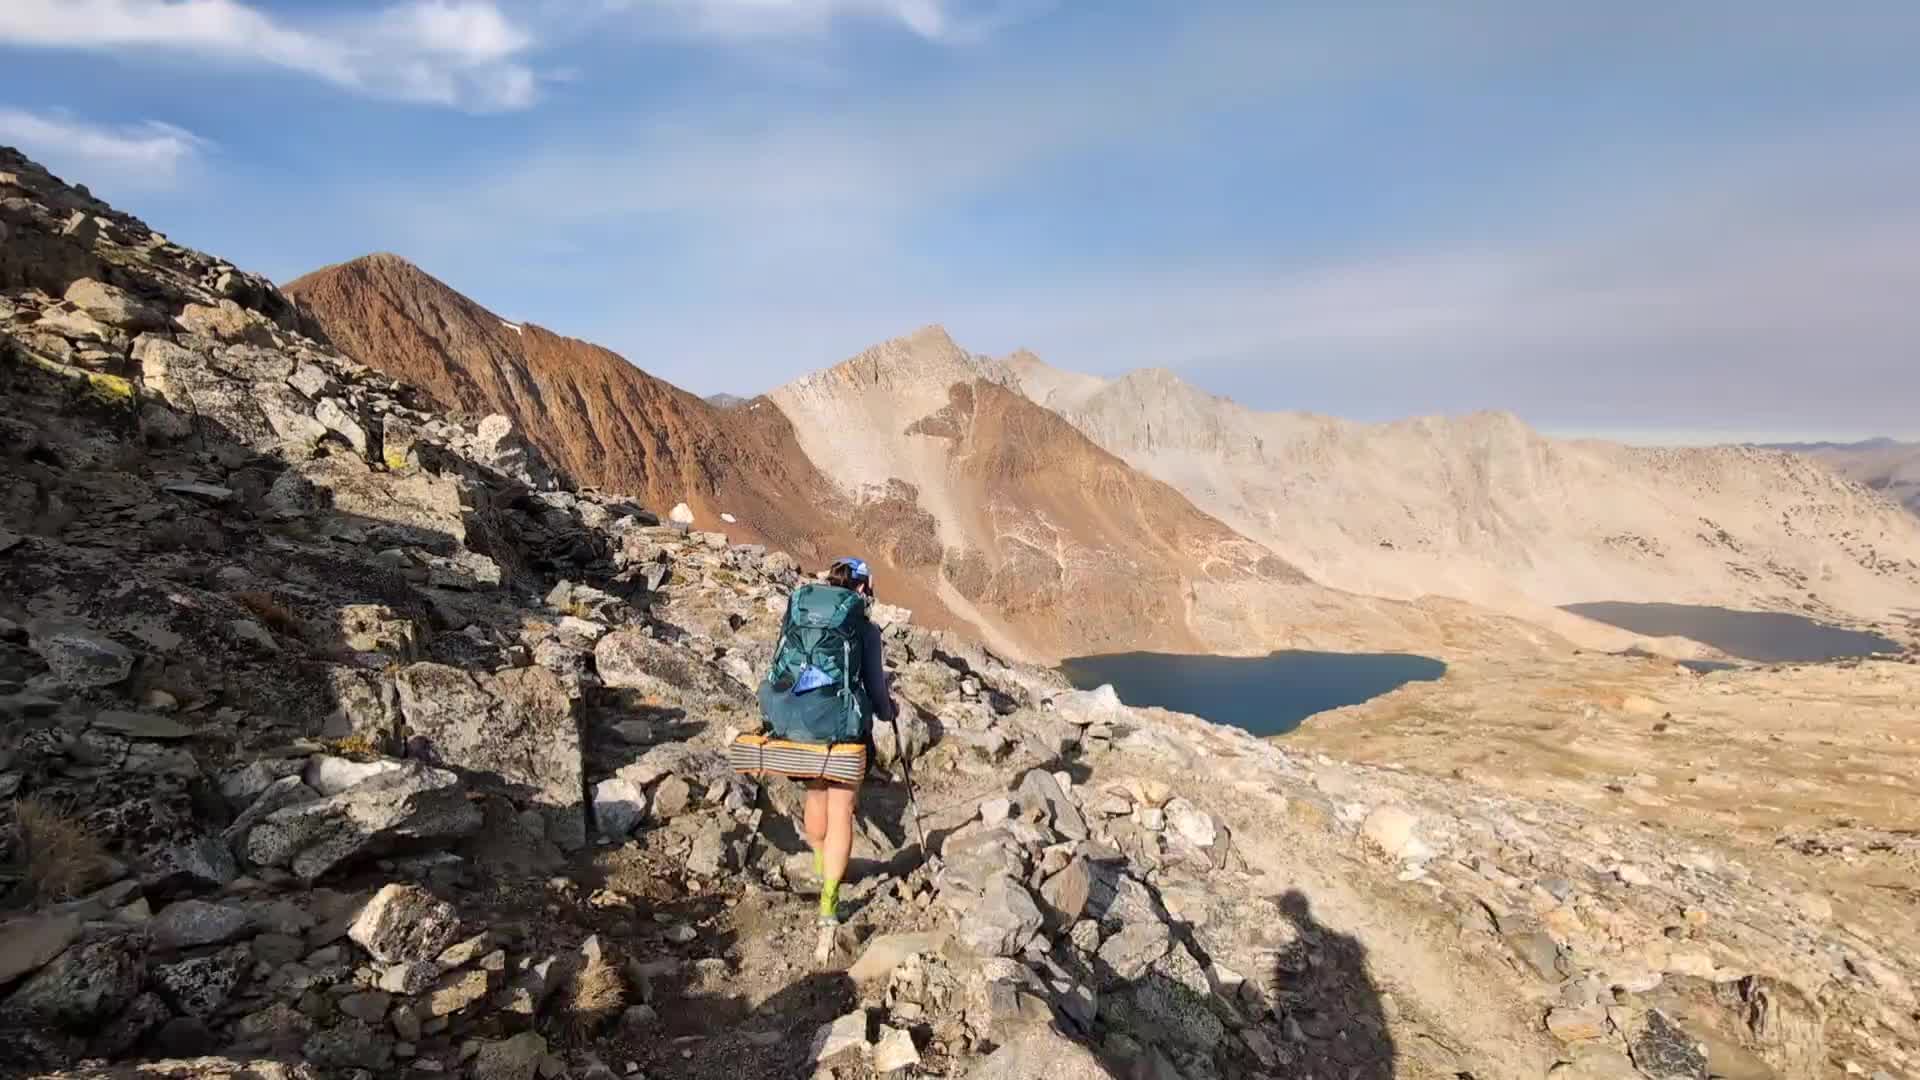
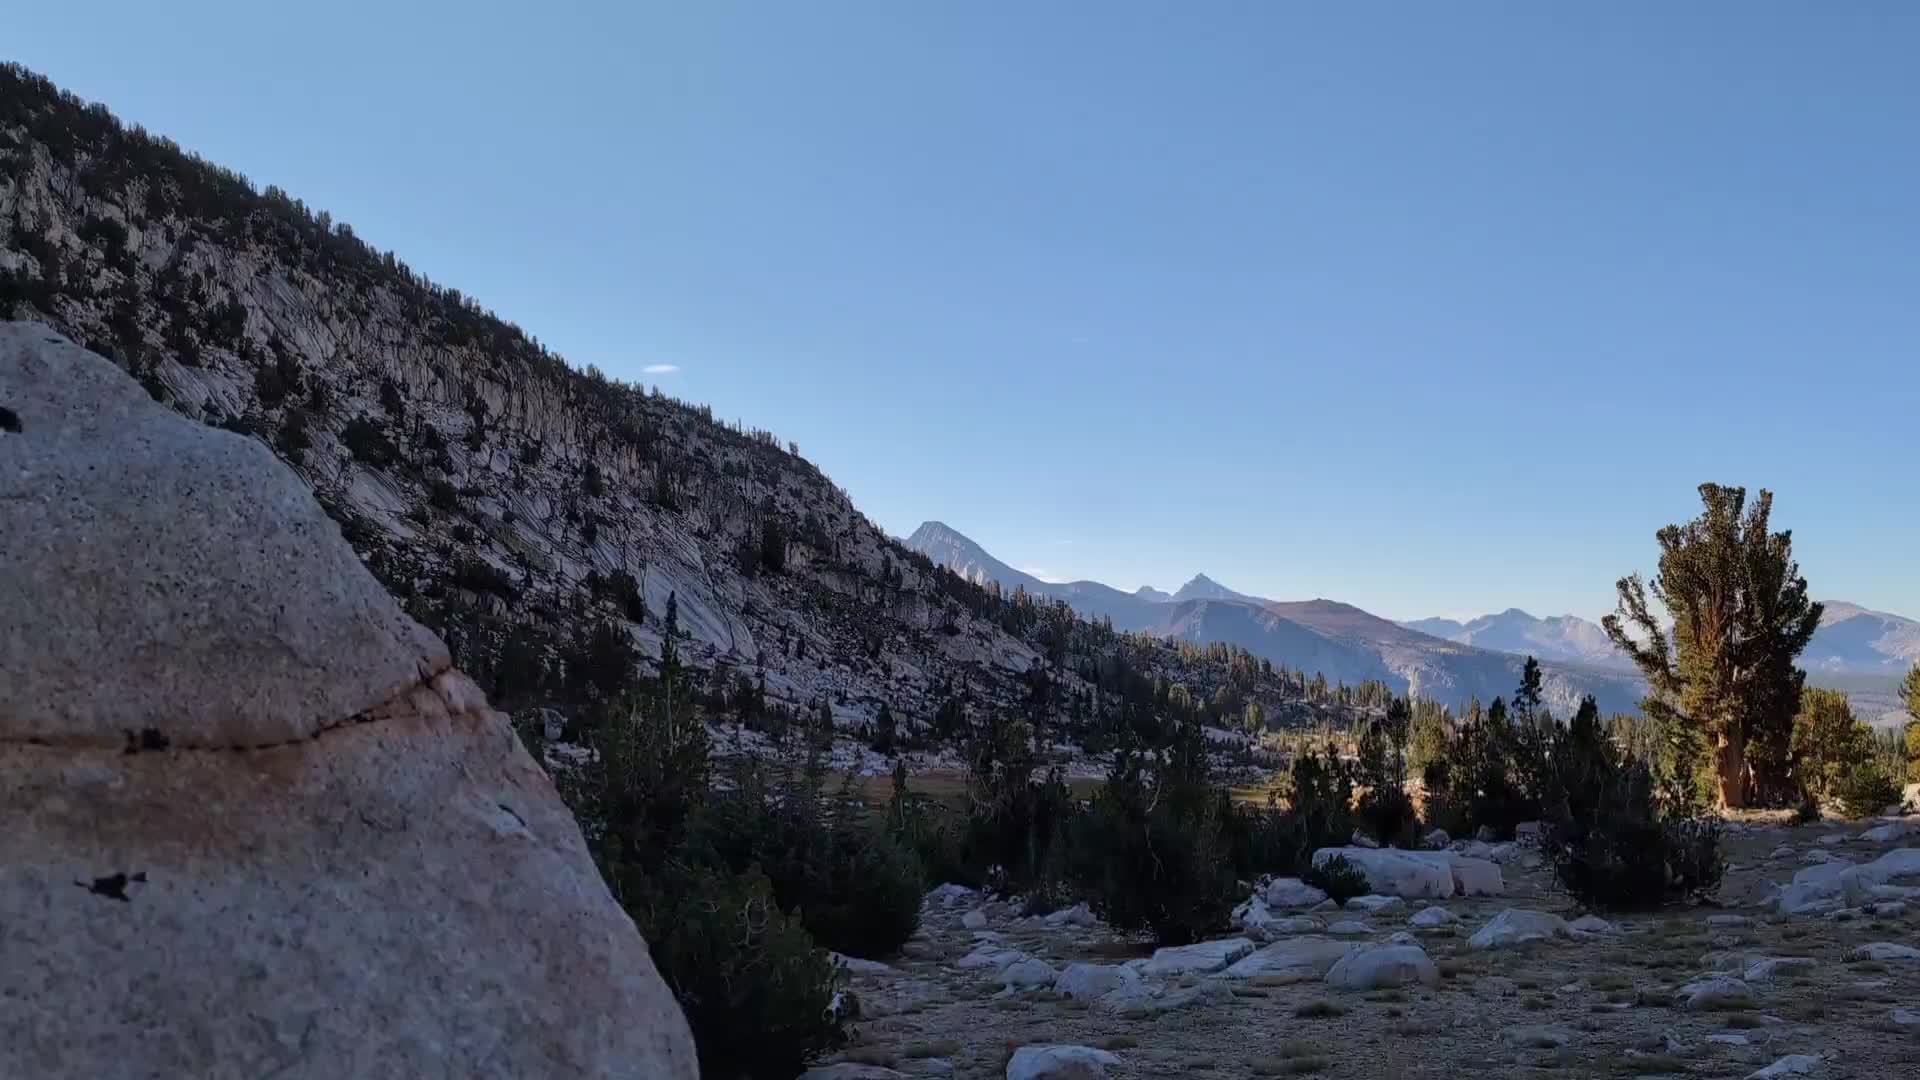
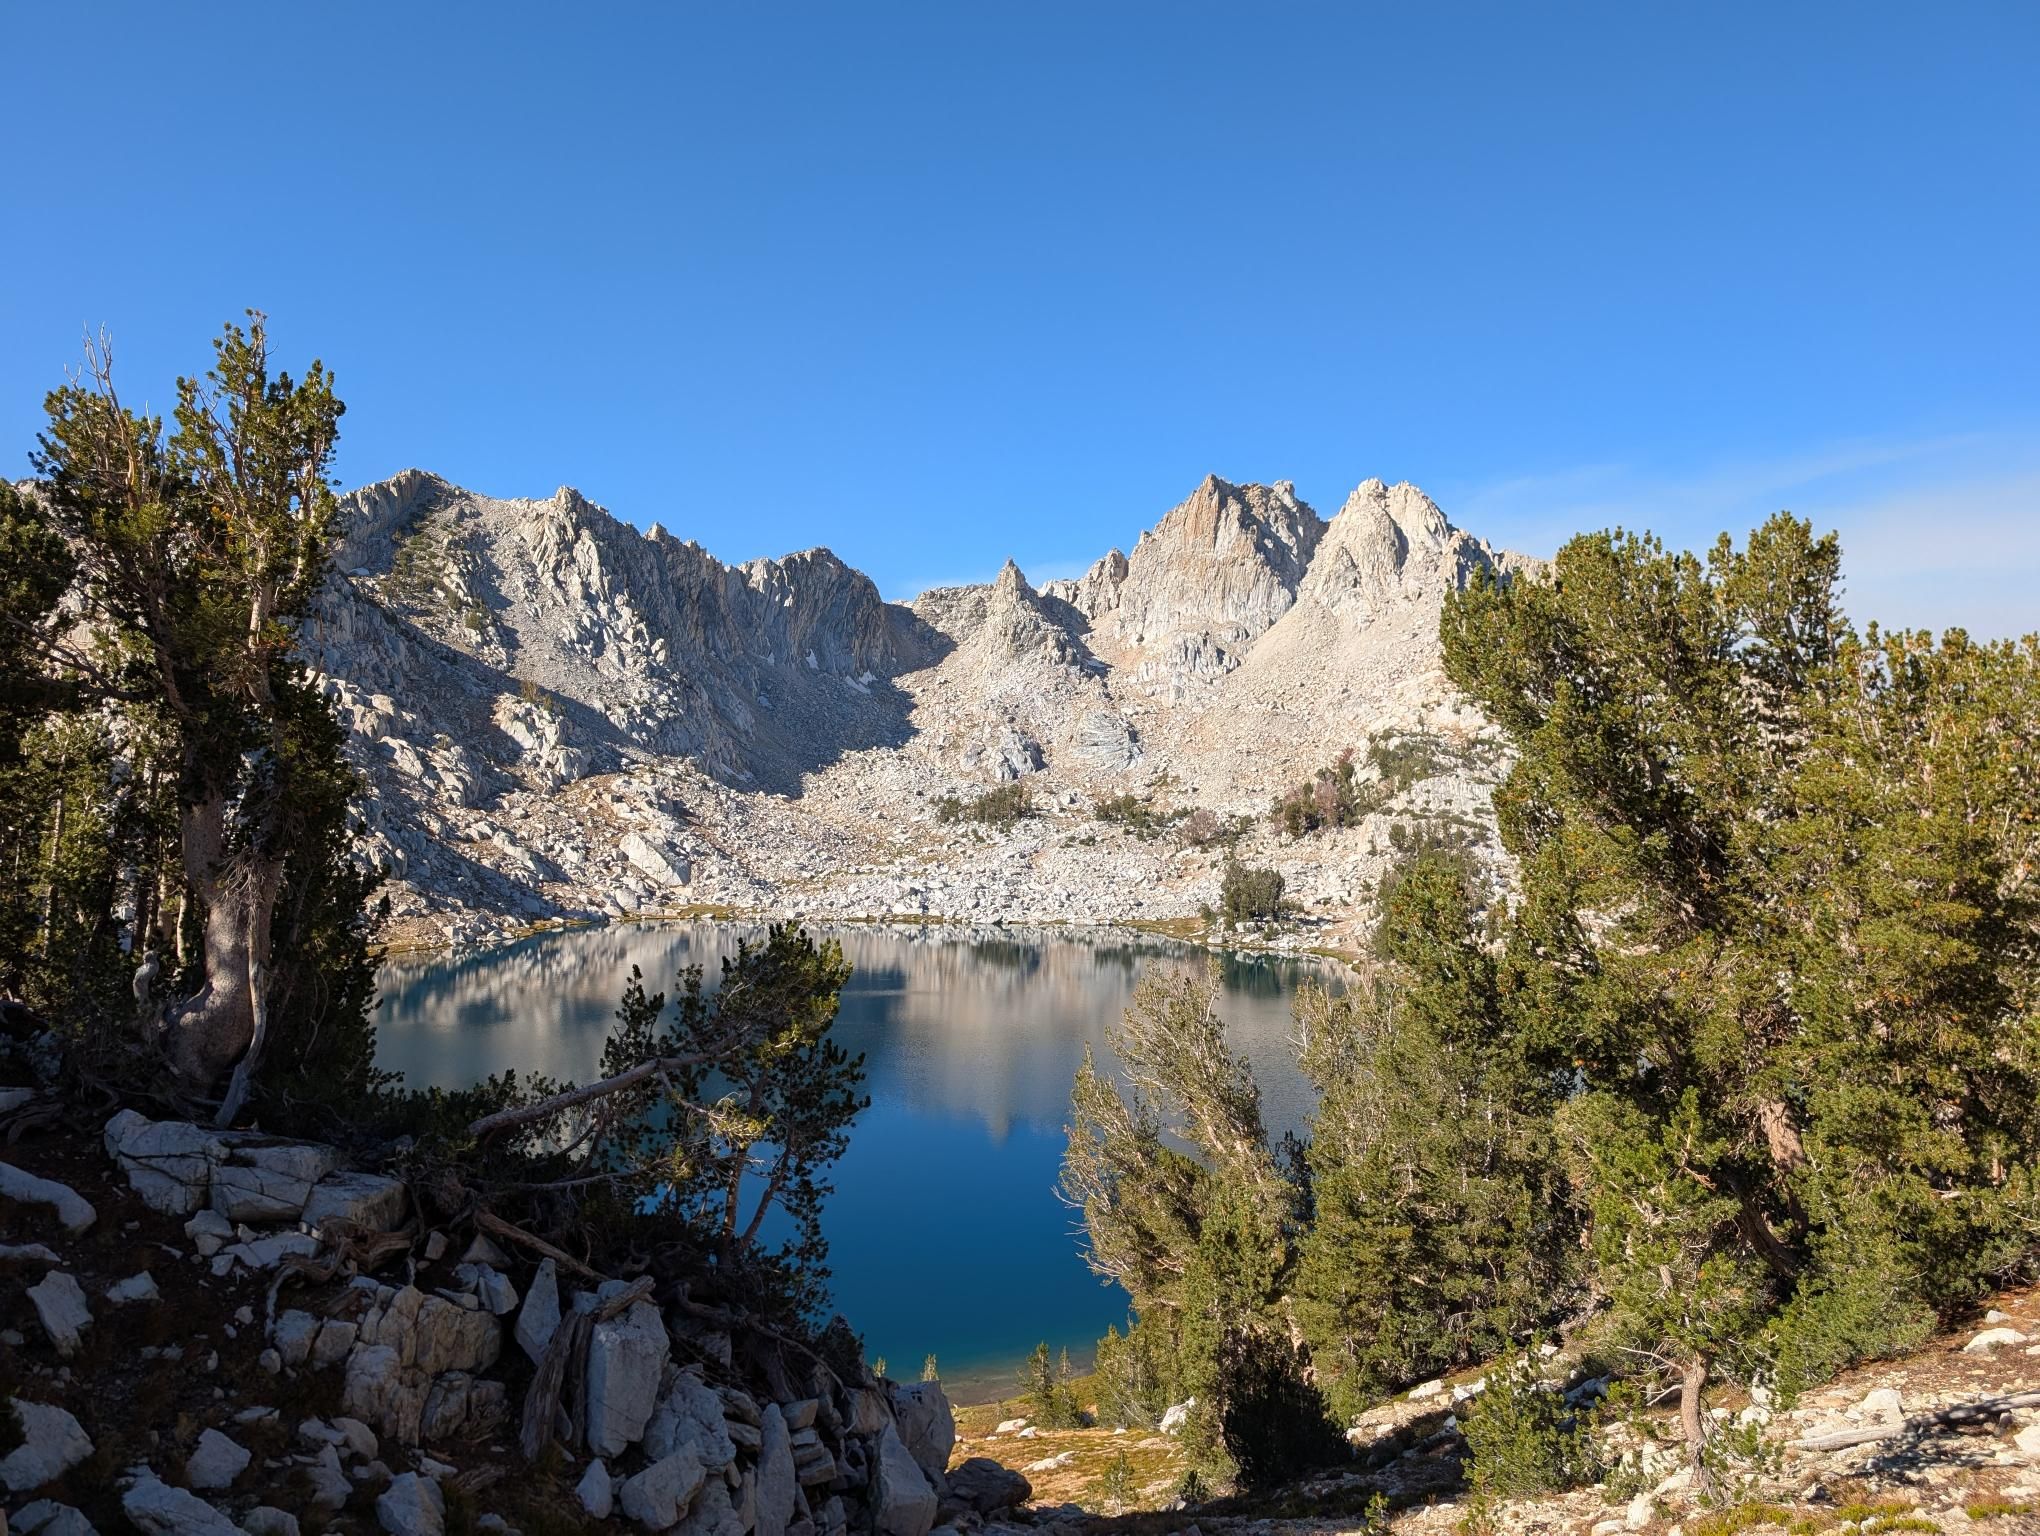
From there we kept moving north through the big pass sequence that really defines this route. Bighorn Plateau made for a longer second day to Tyndall Creek, and then Forester Pass marked the highest point of the trip. What stood out there was how well built the trail felt, even in serious terrain. After that came Glen Pass and Rae Lakes, which were among the most enjoyable stretches of the whole walk.
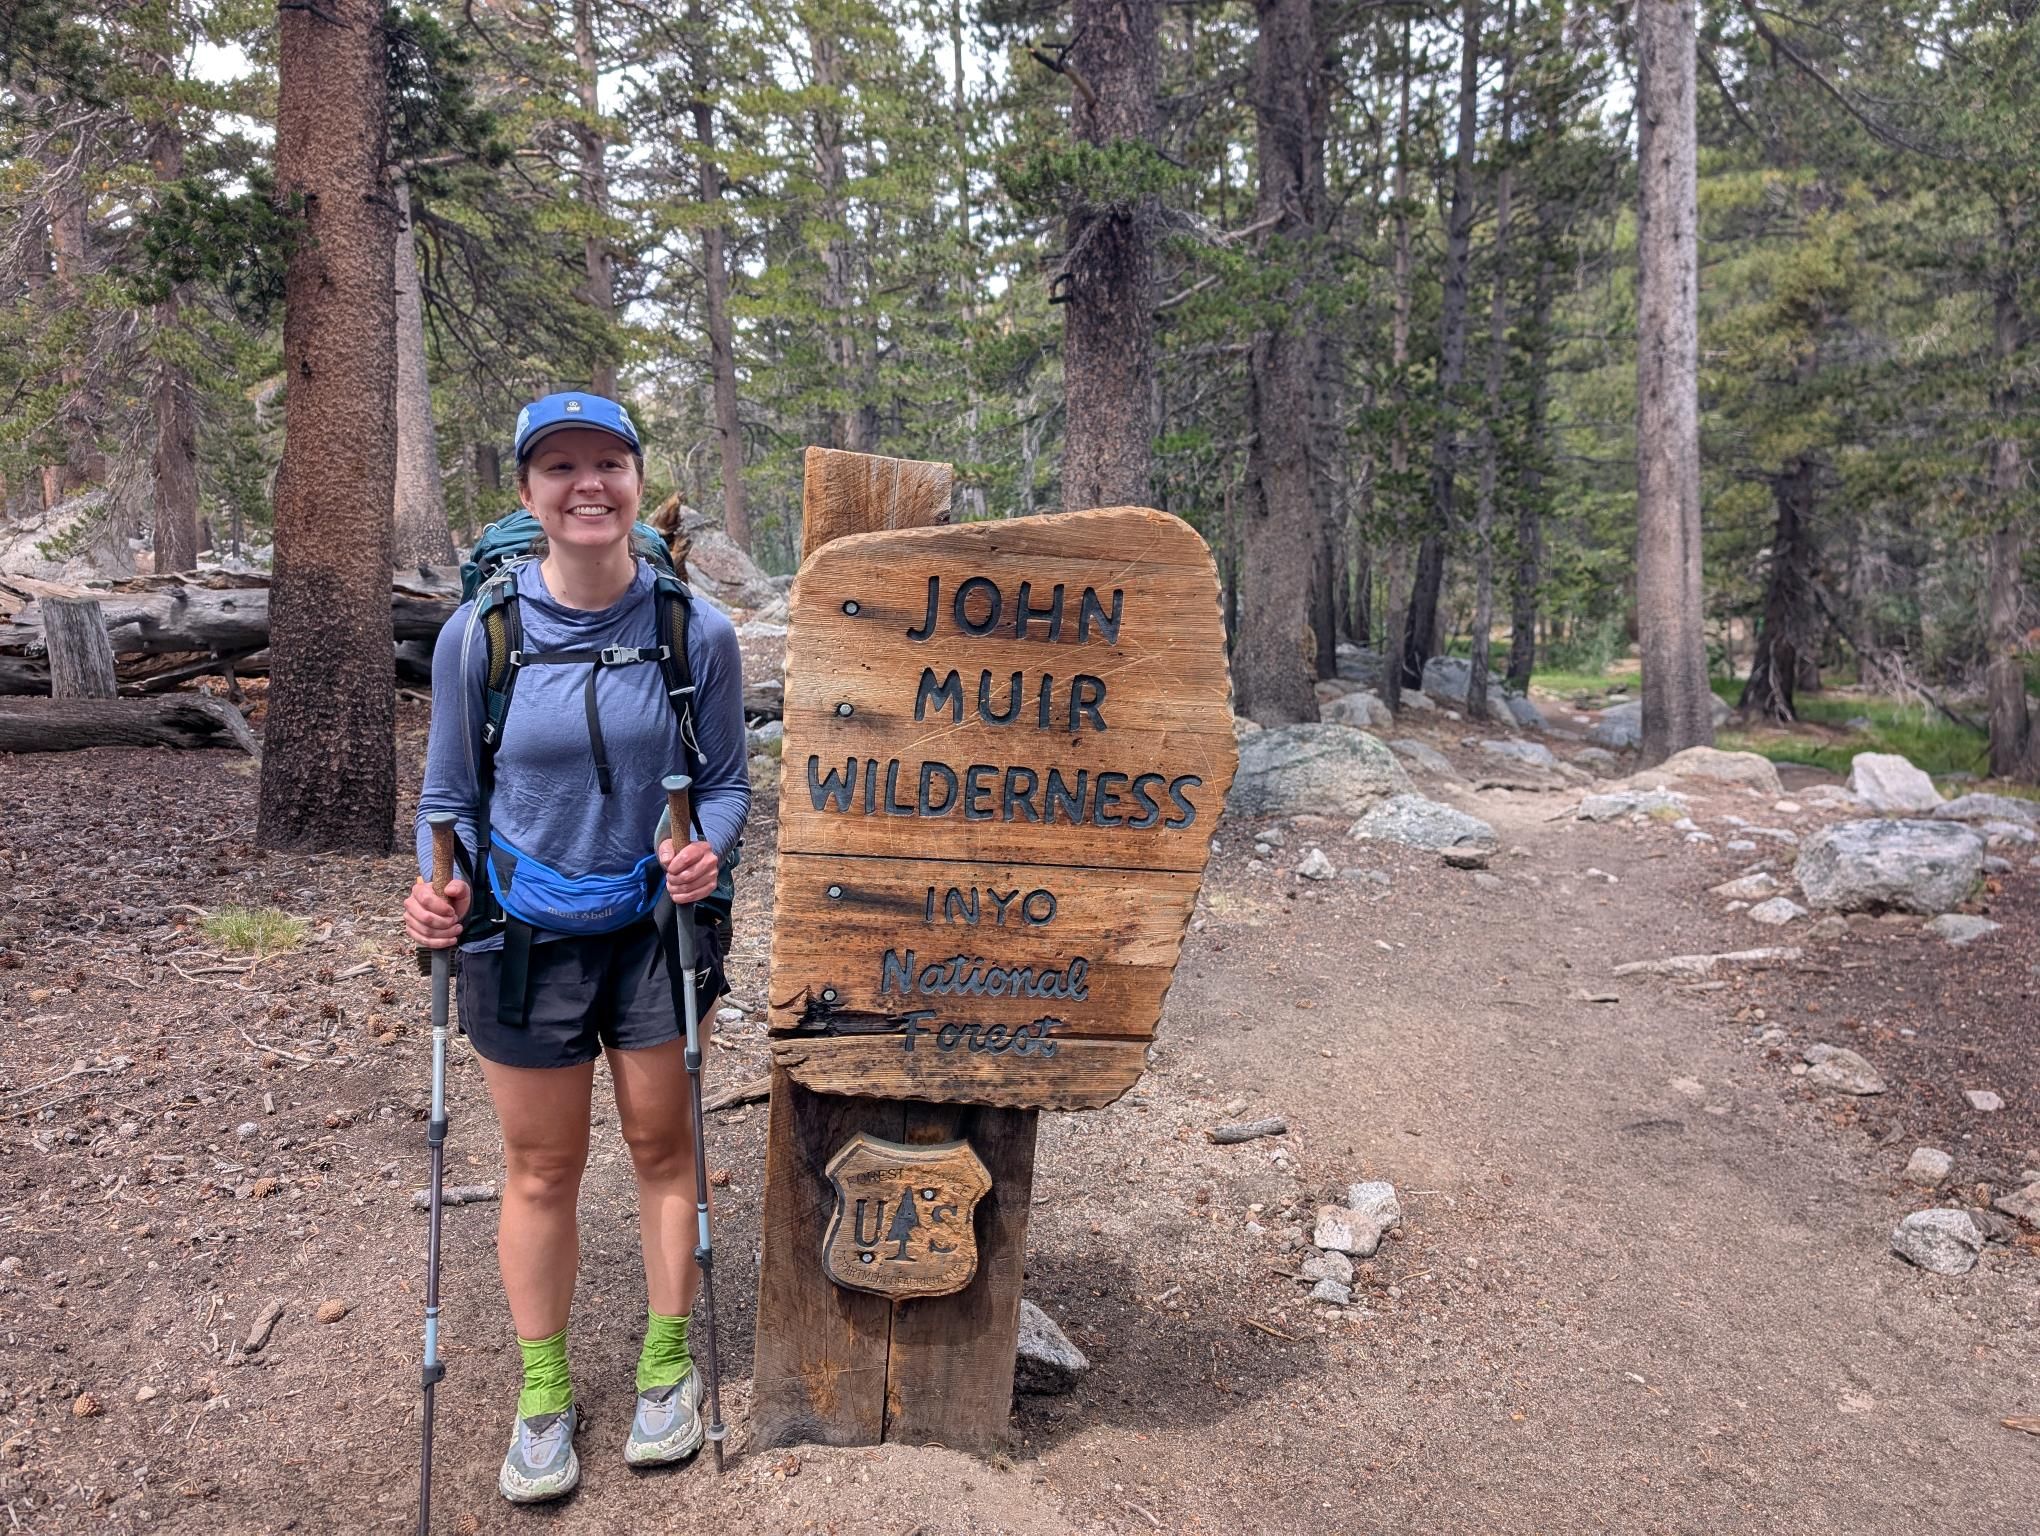
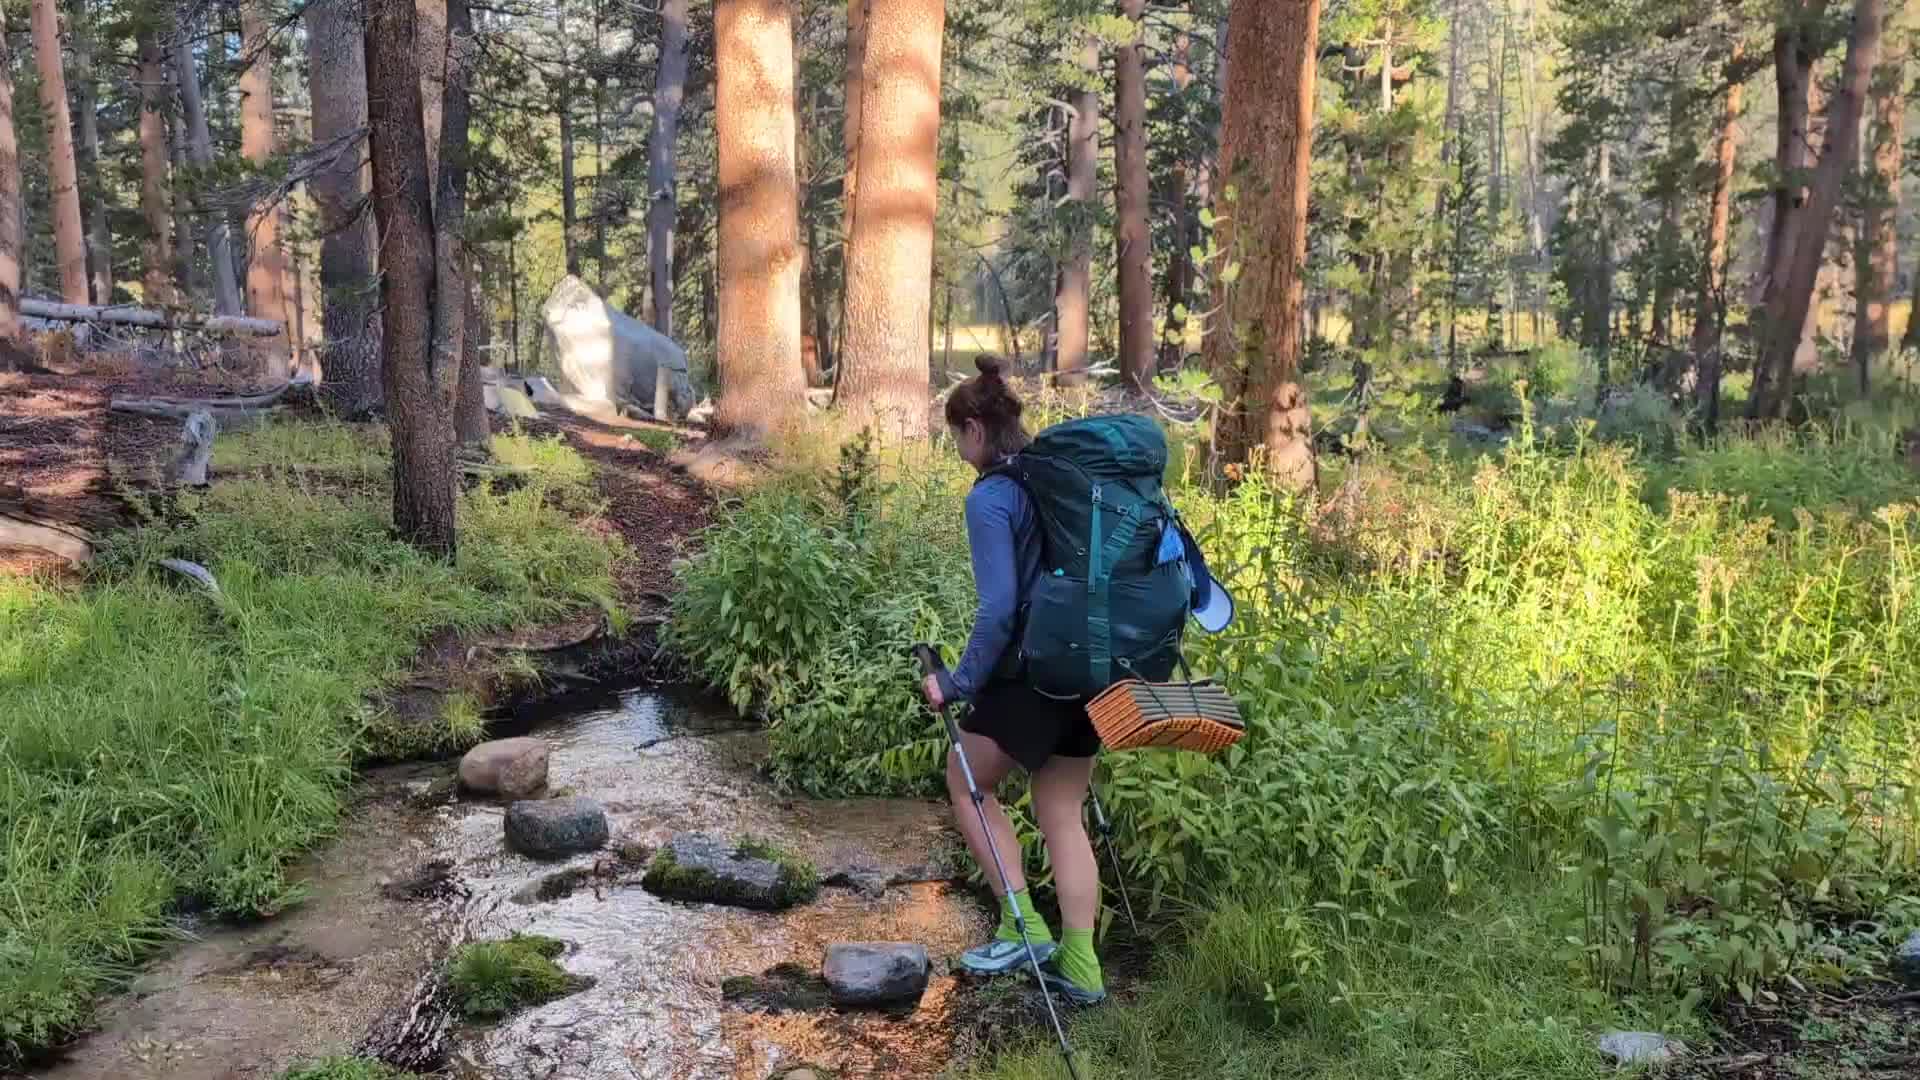
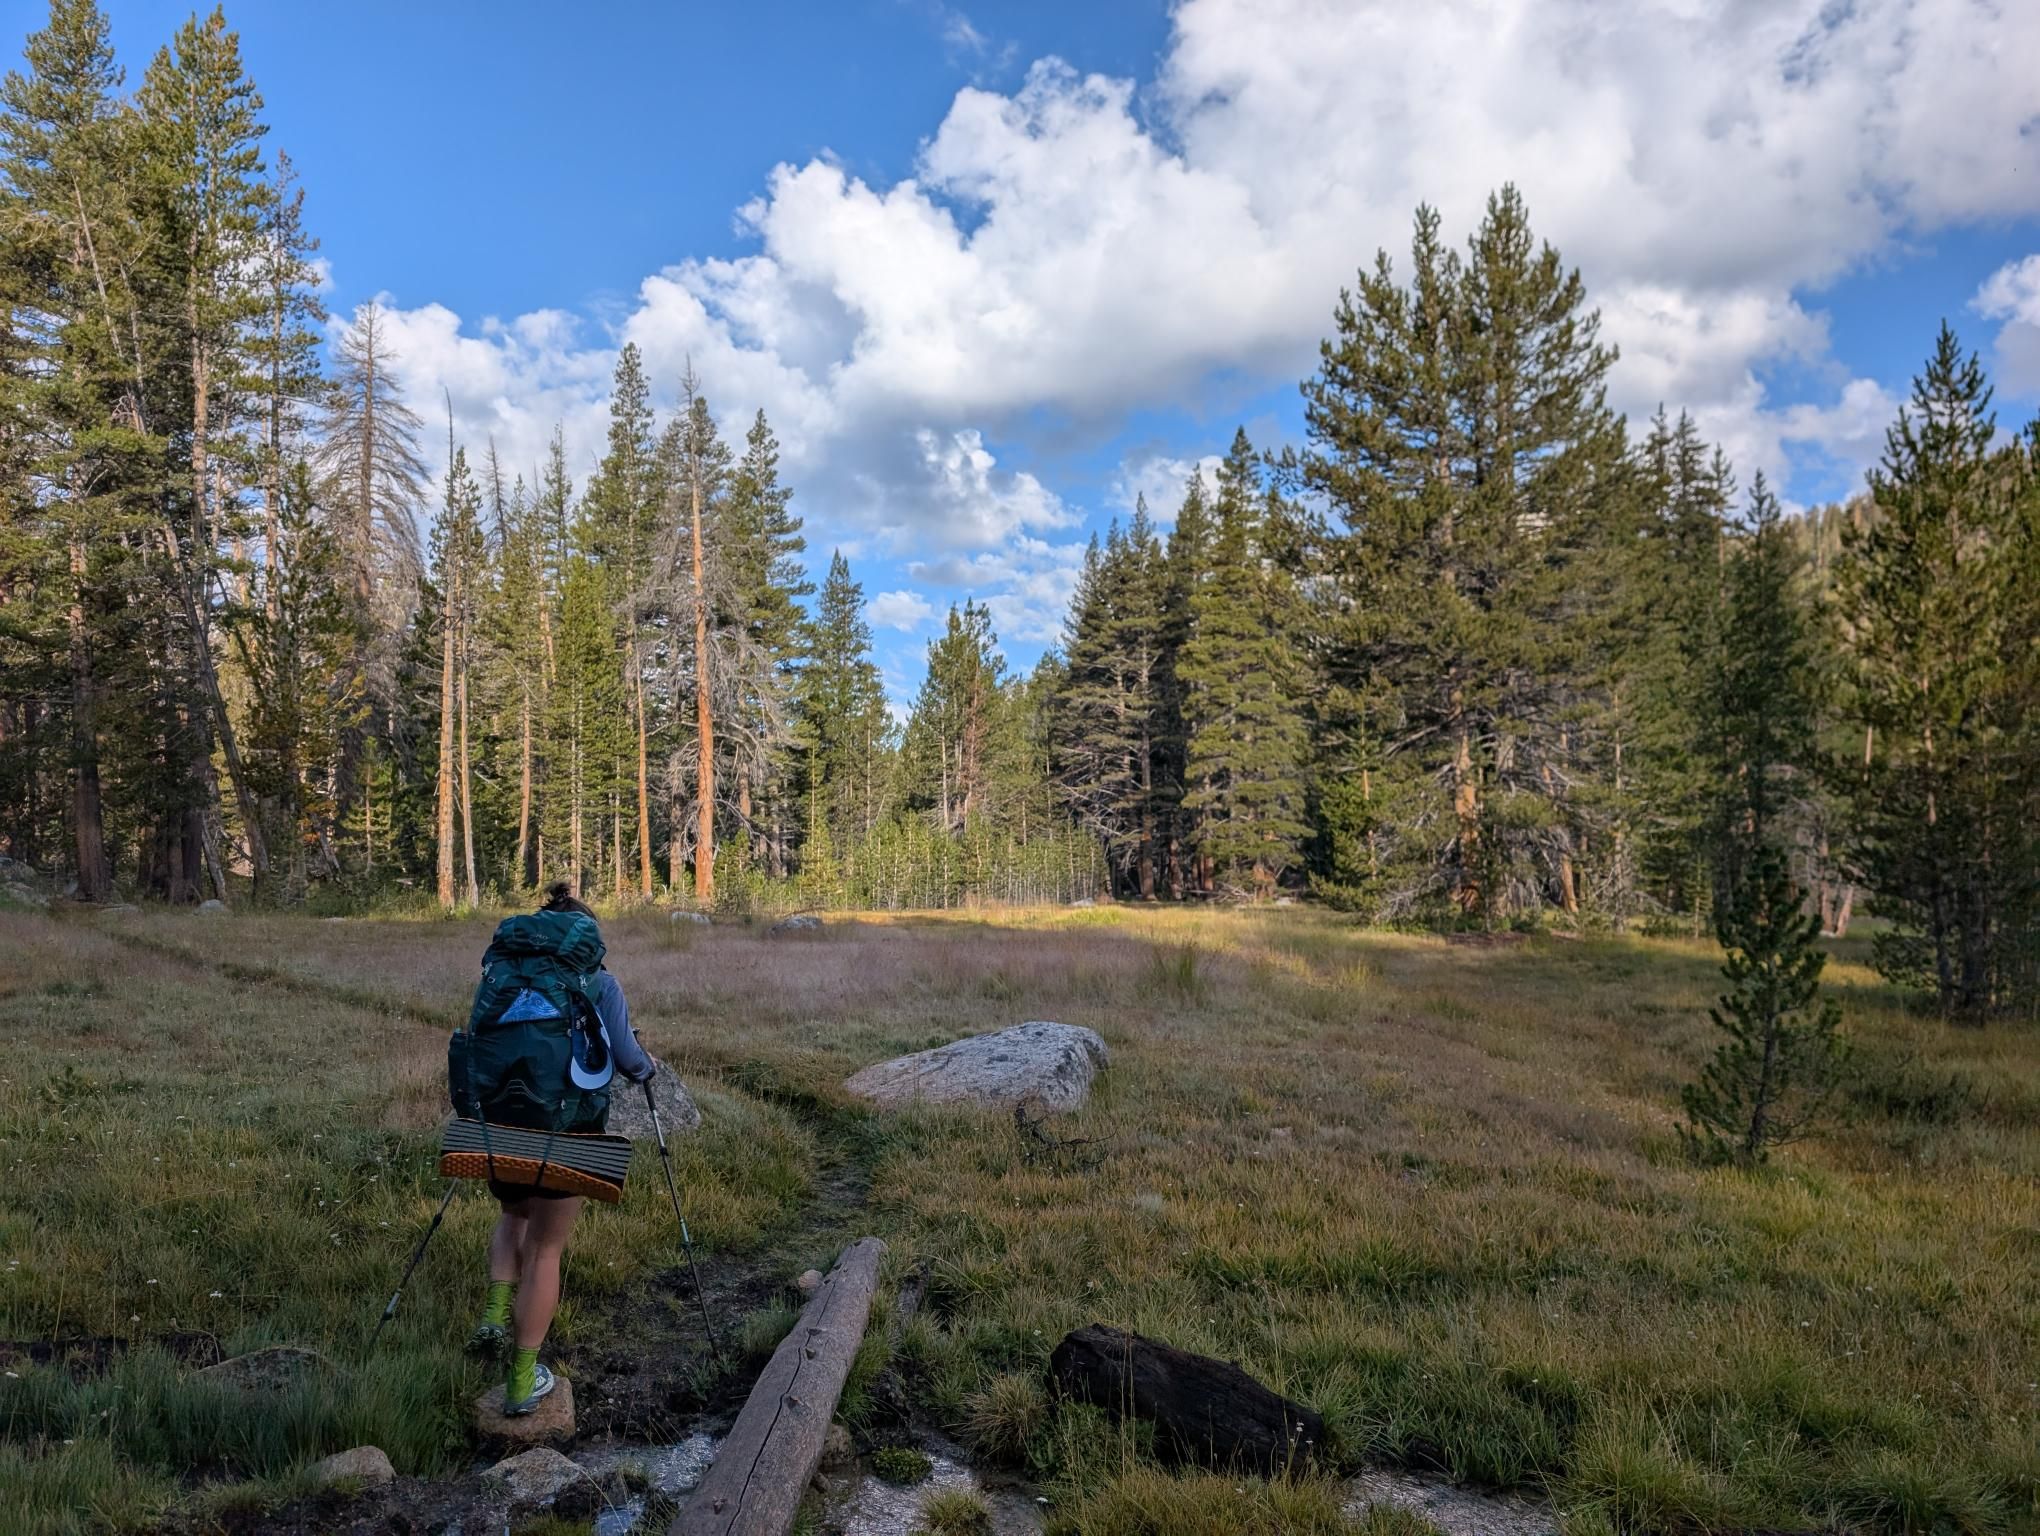
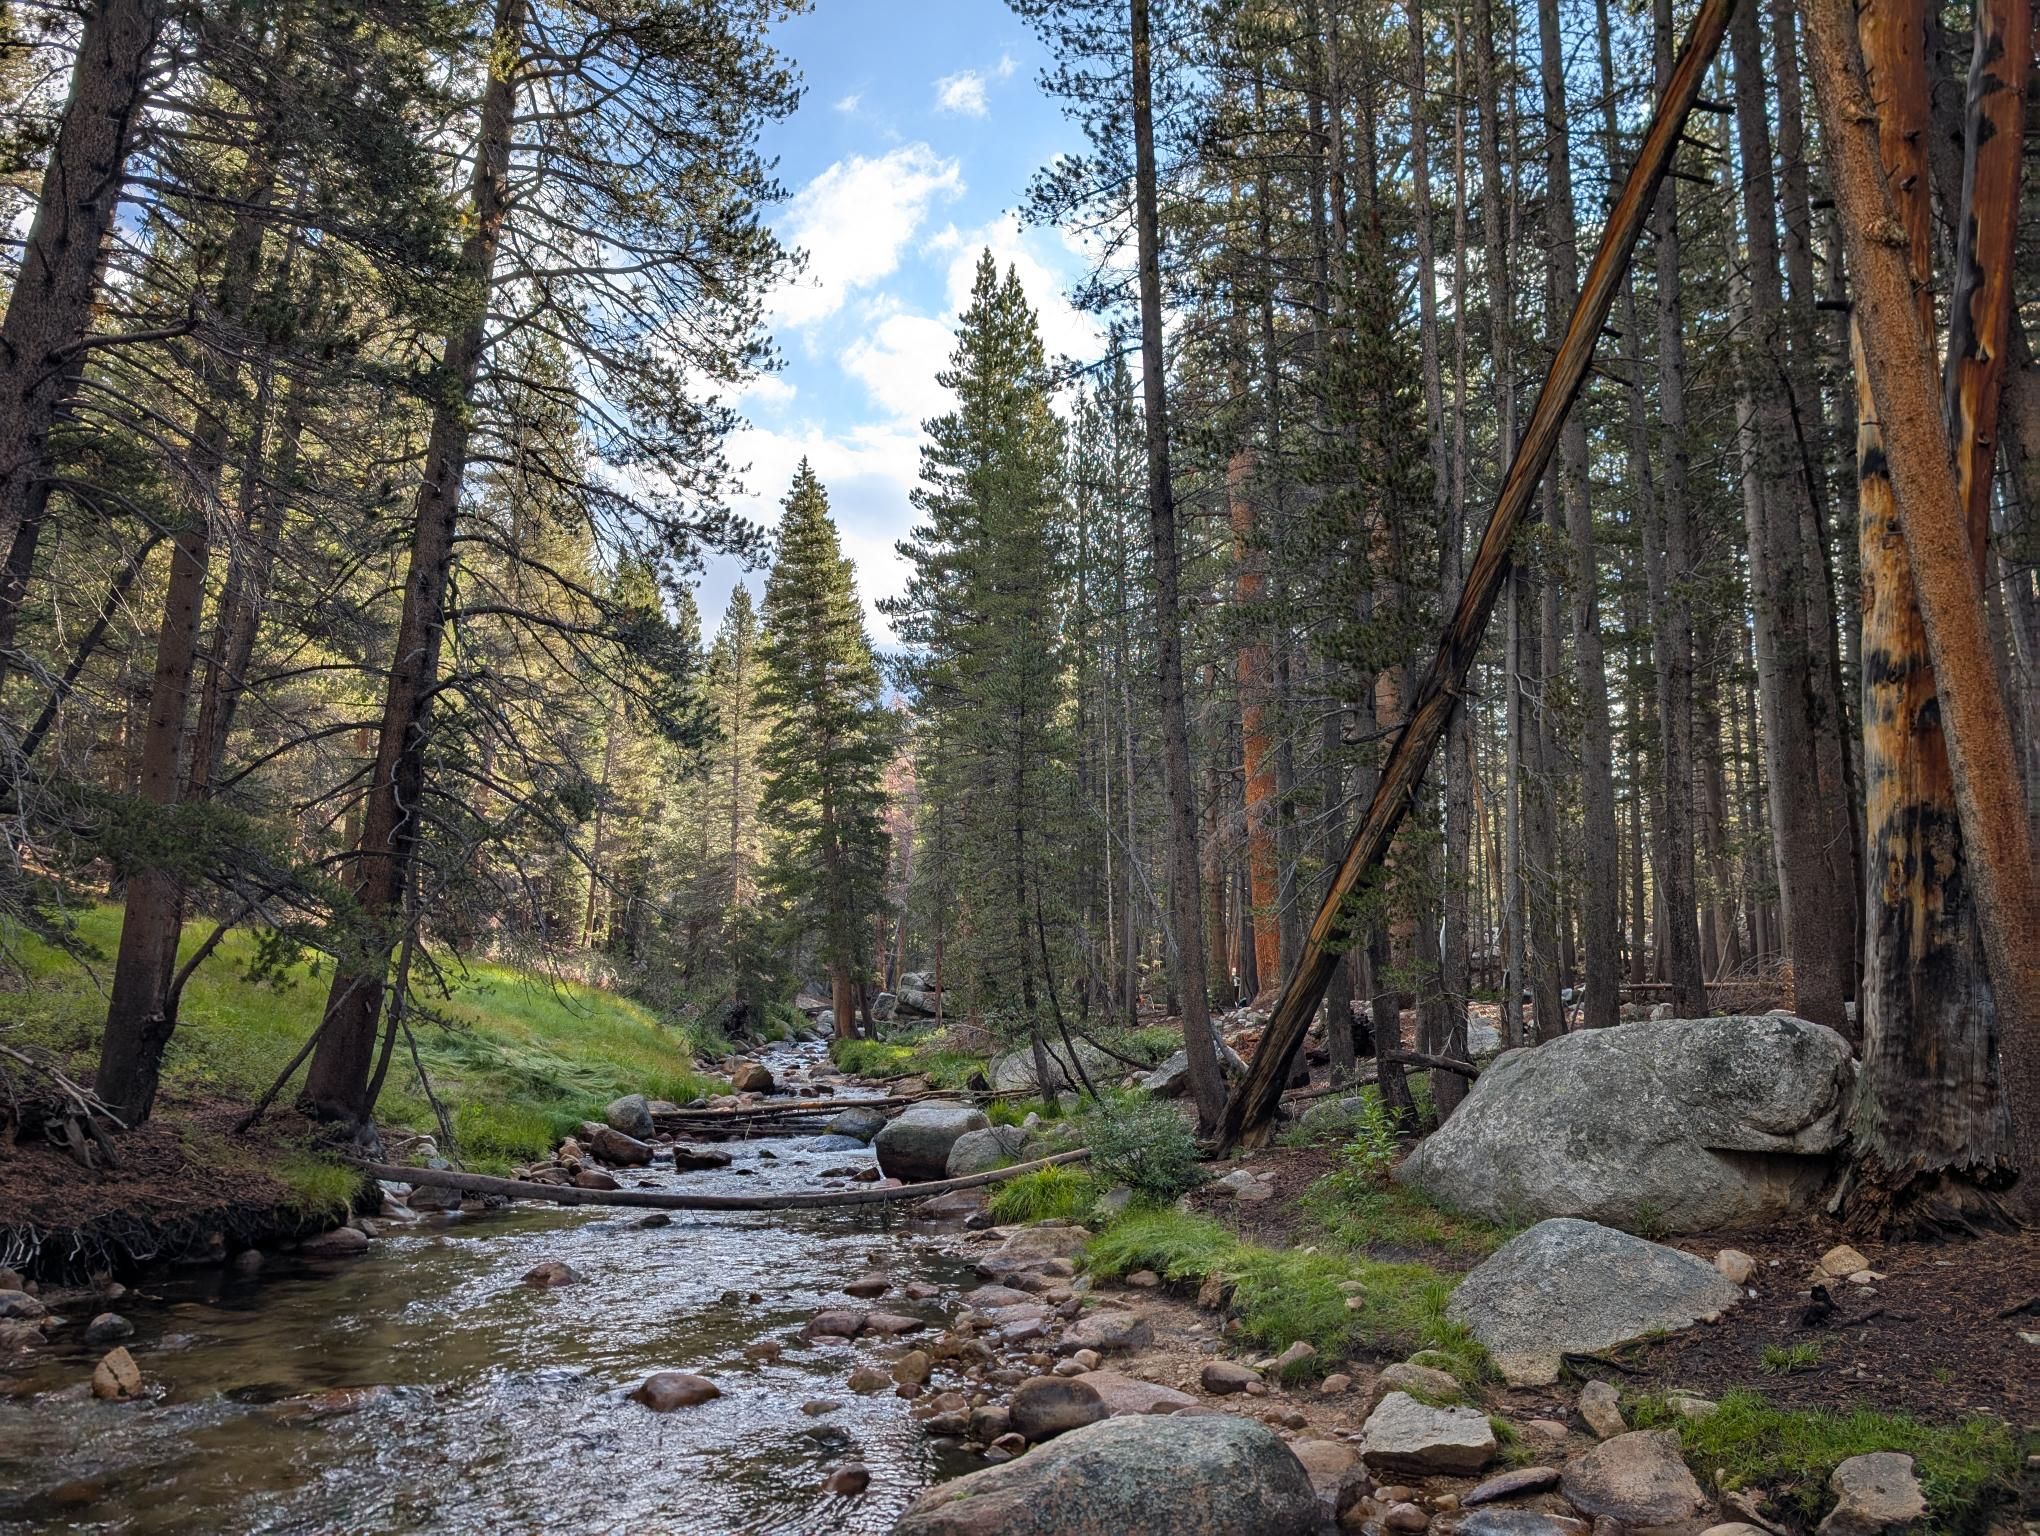
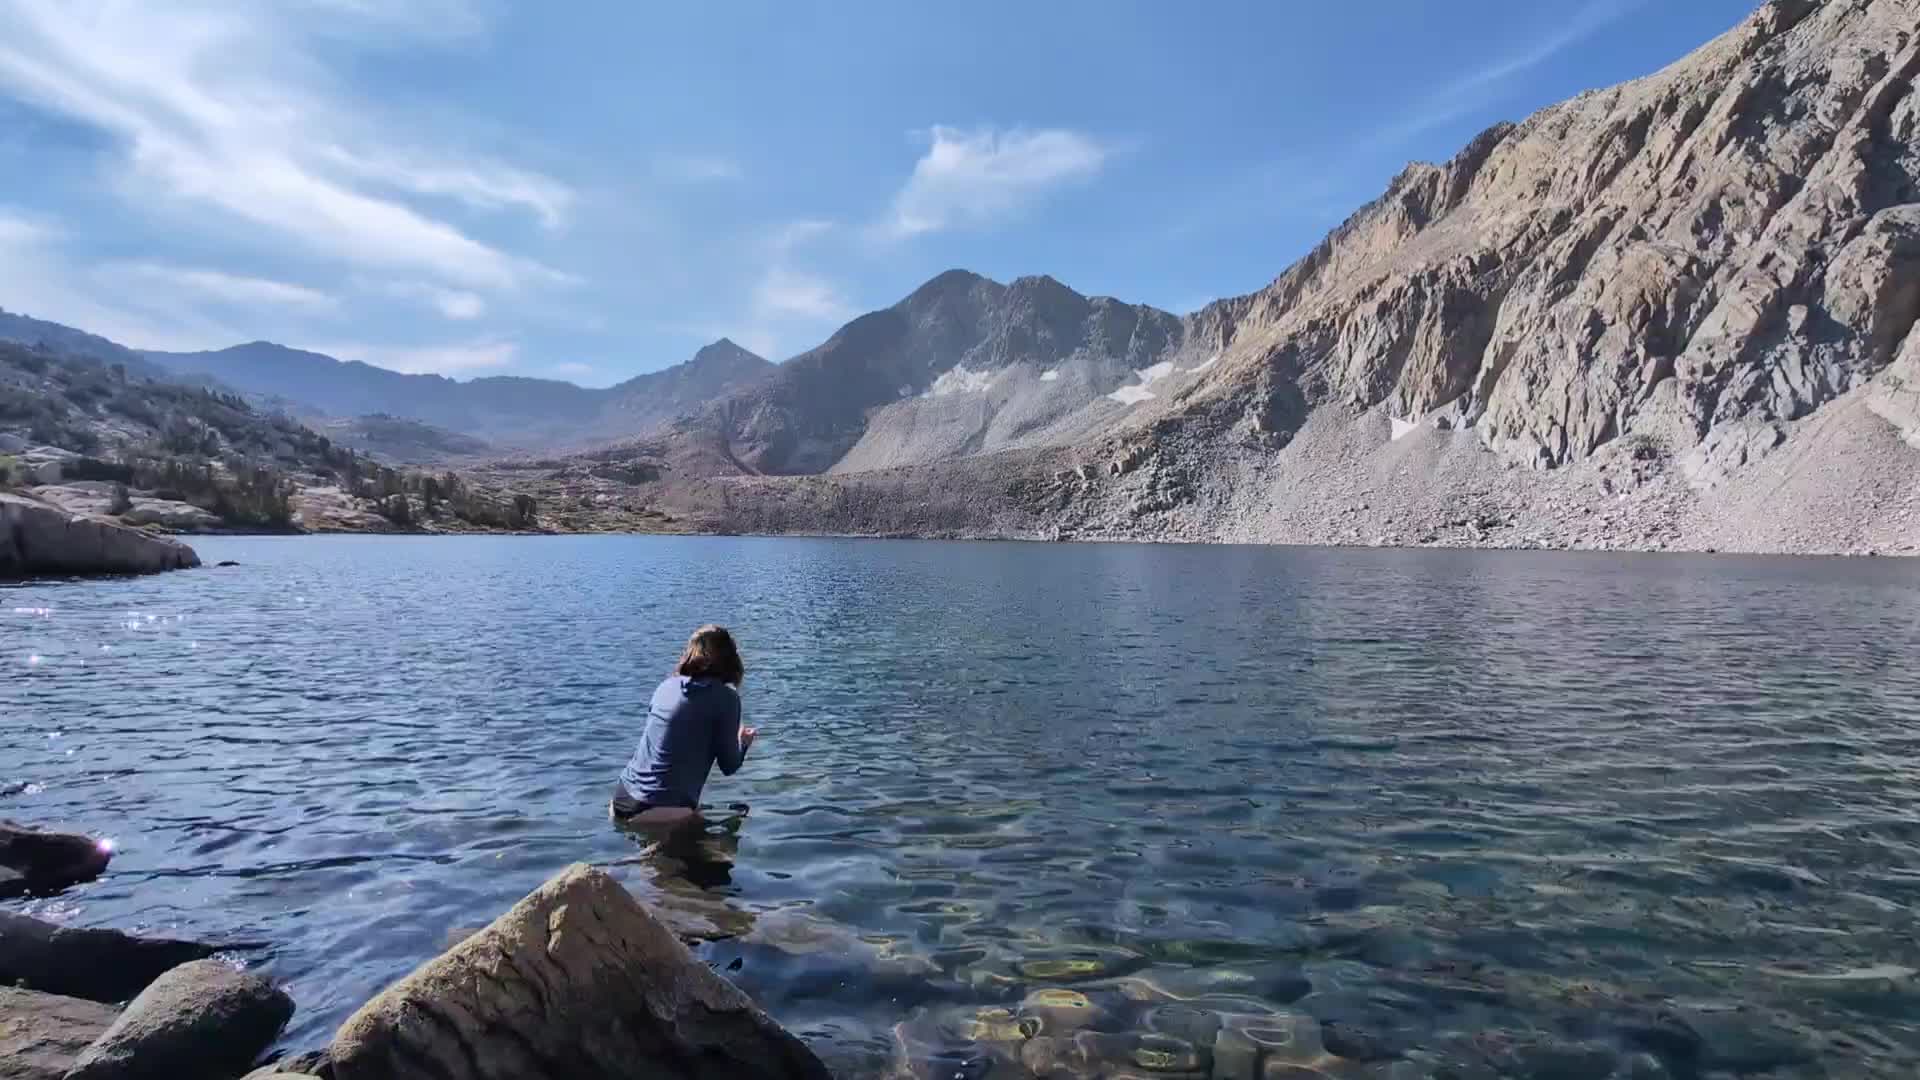
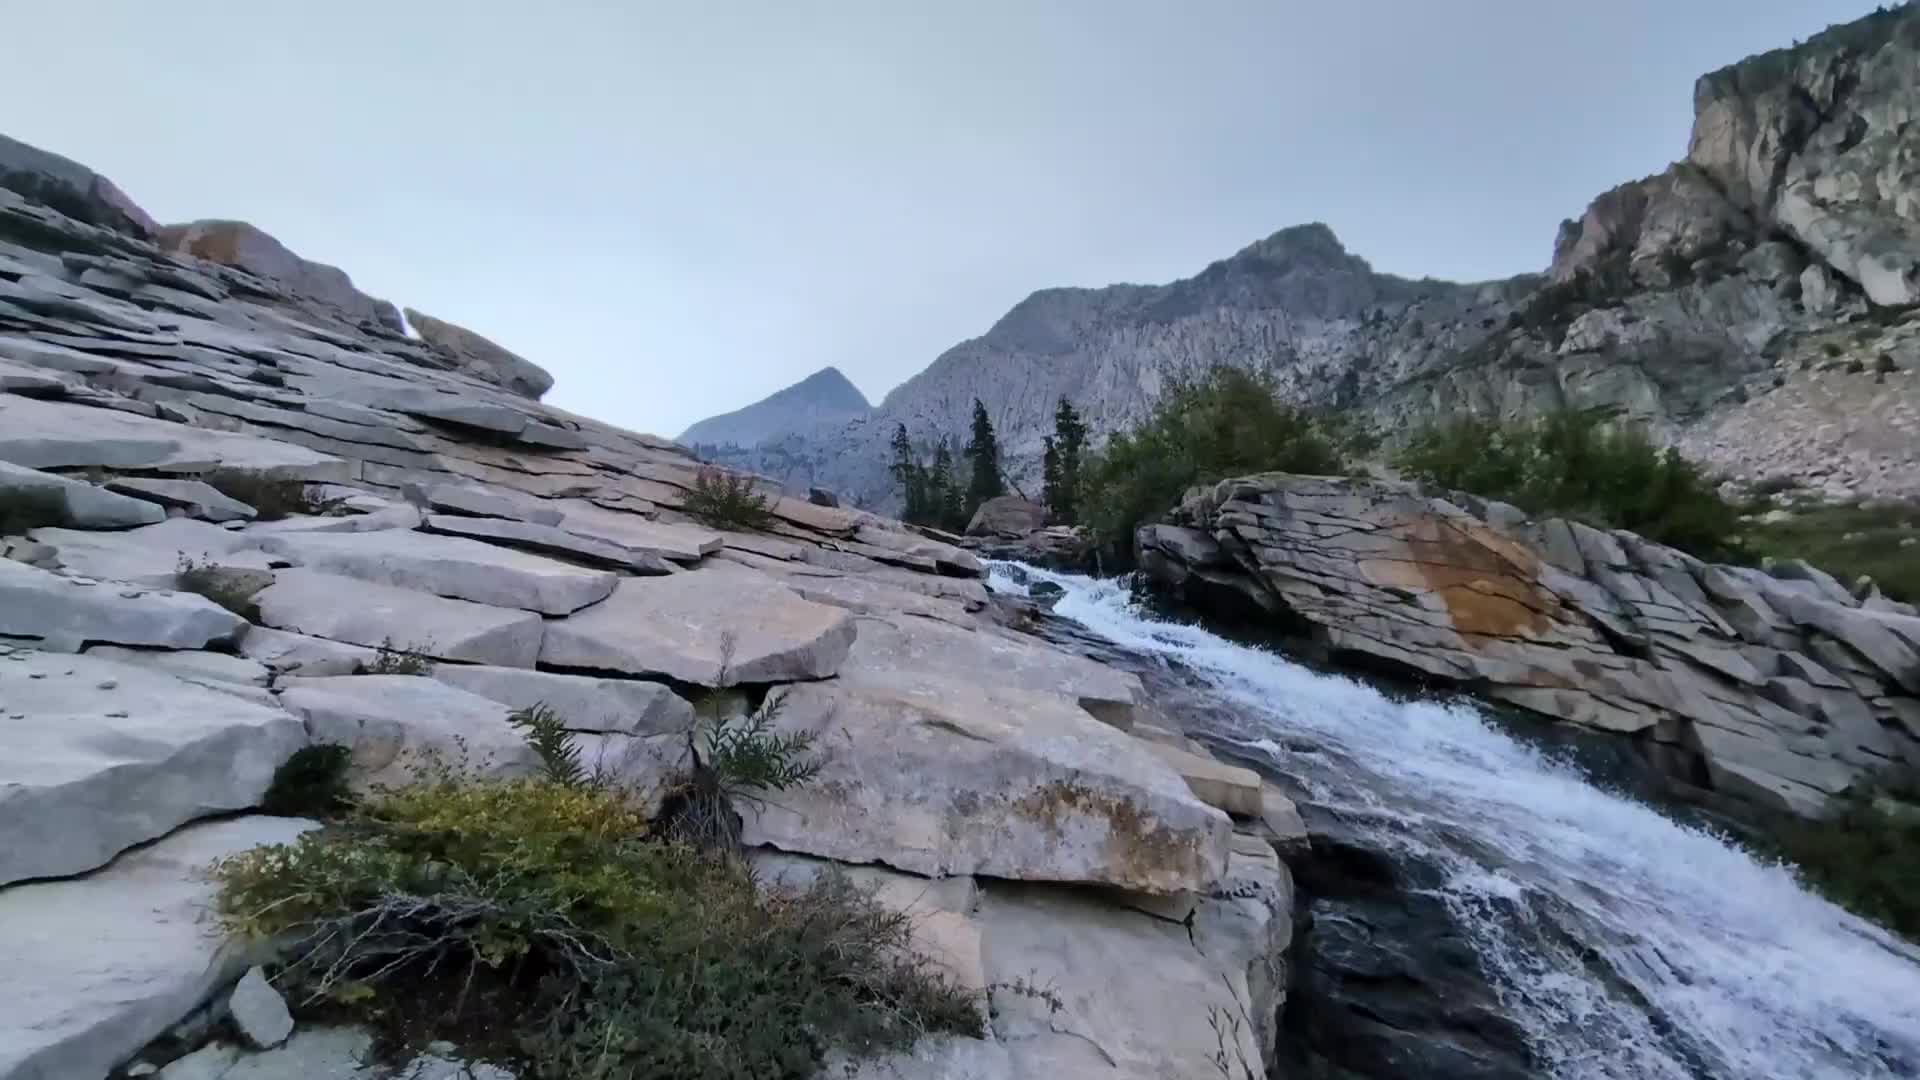
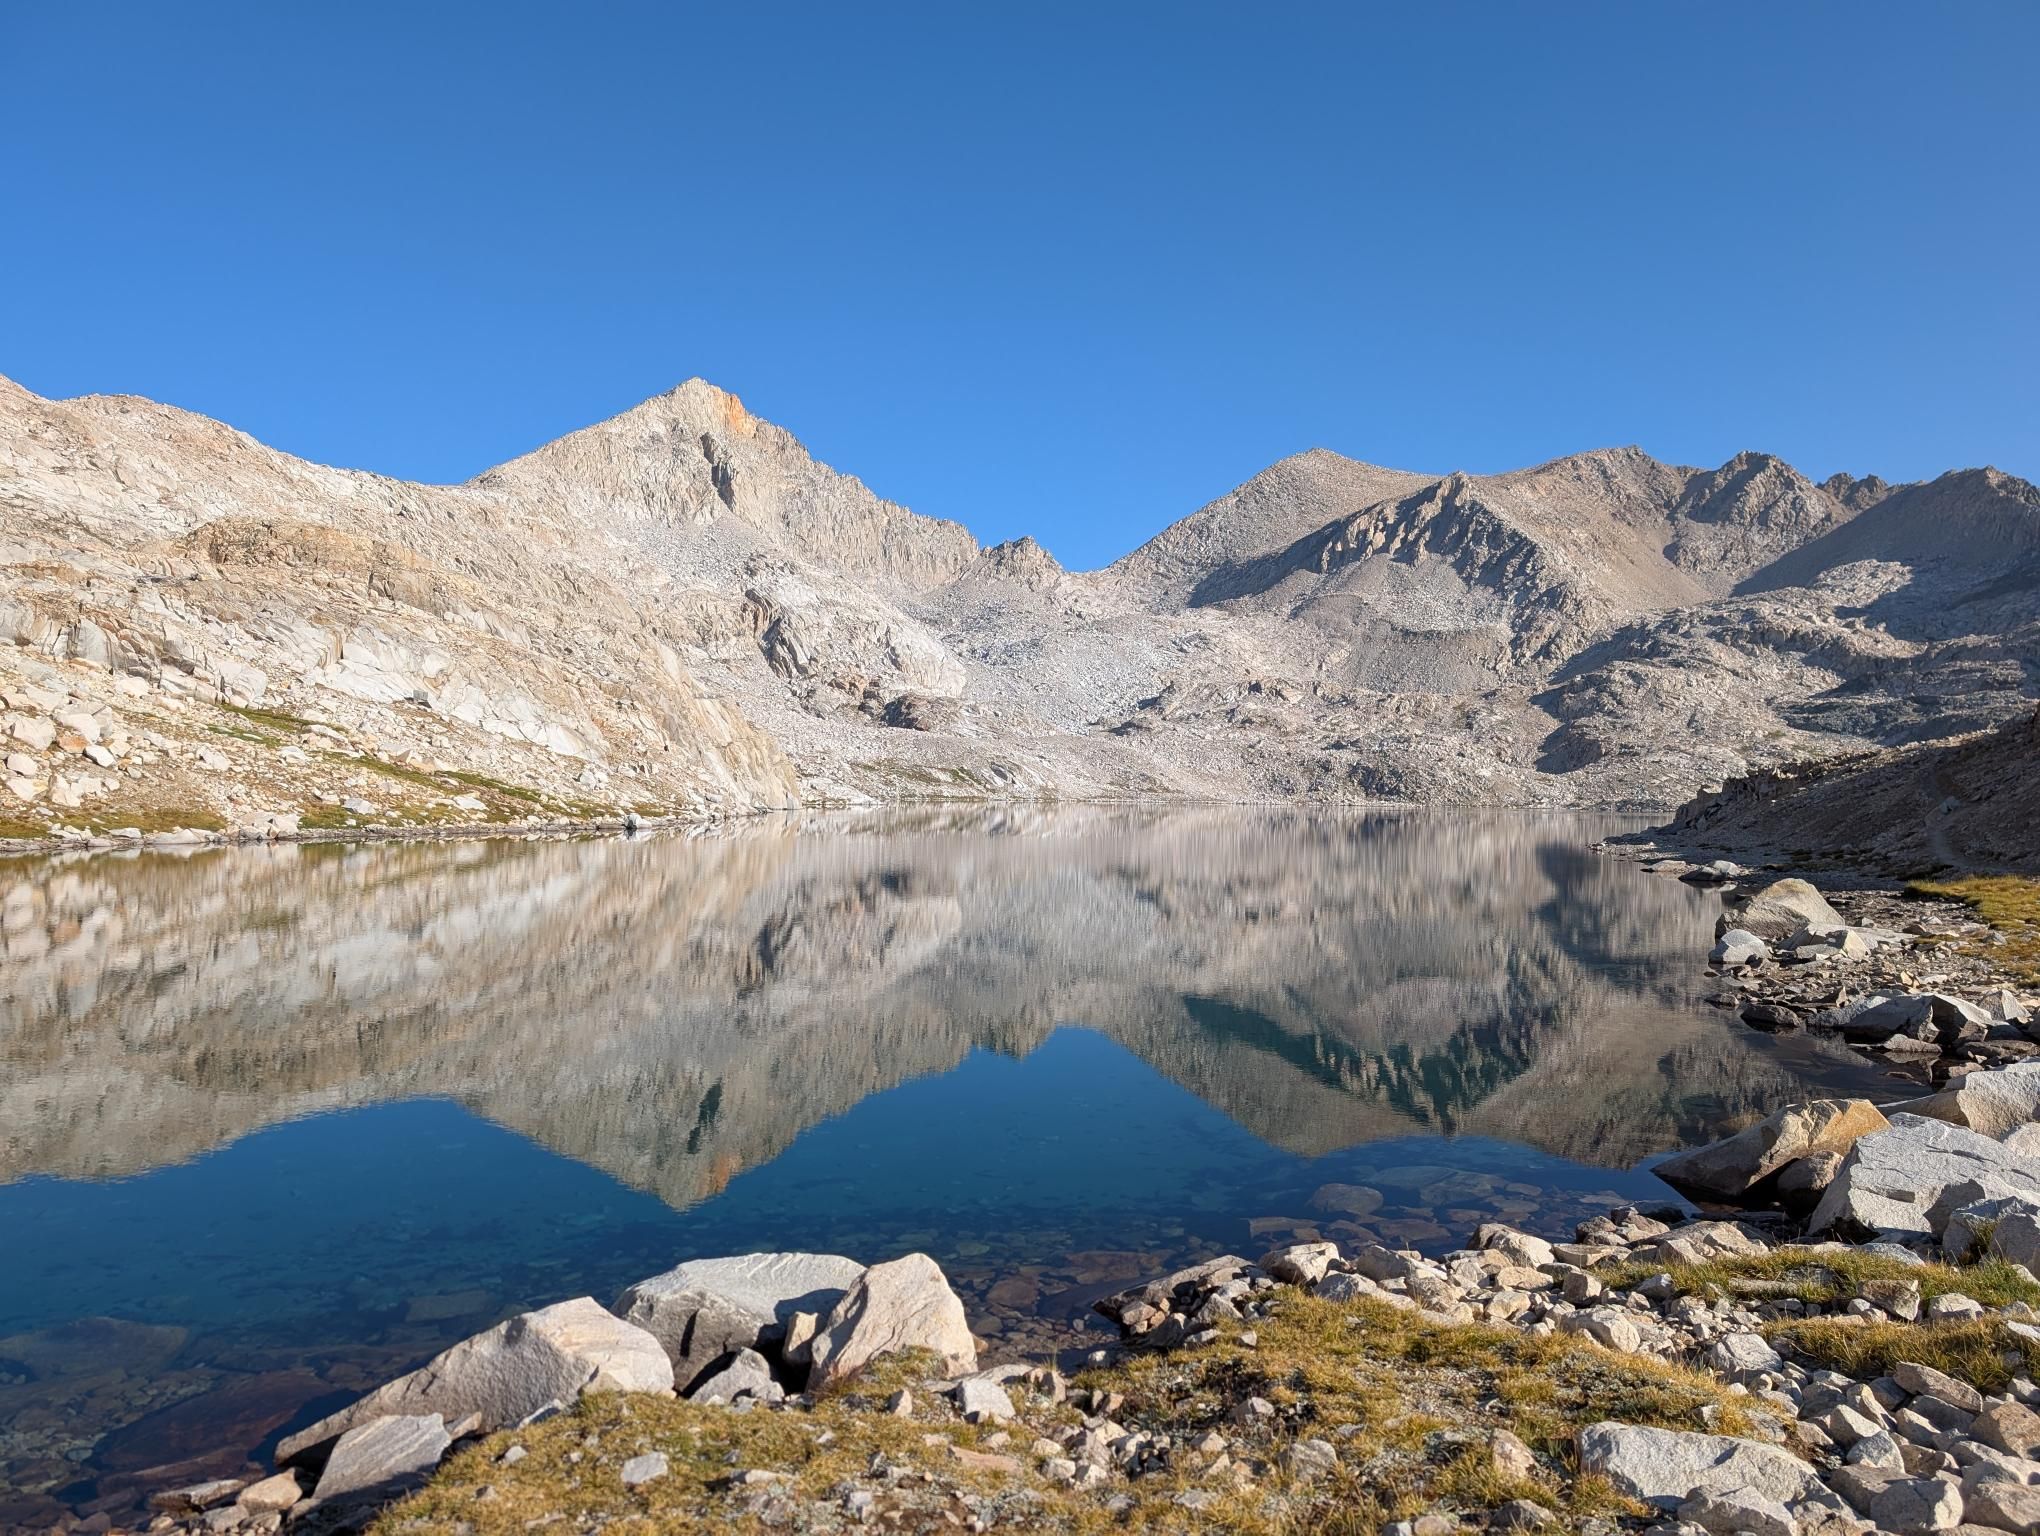
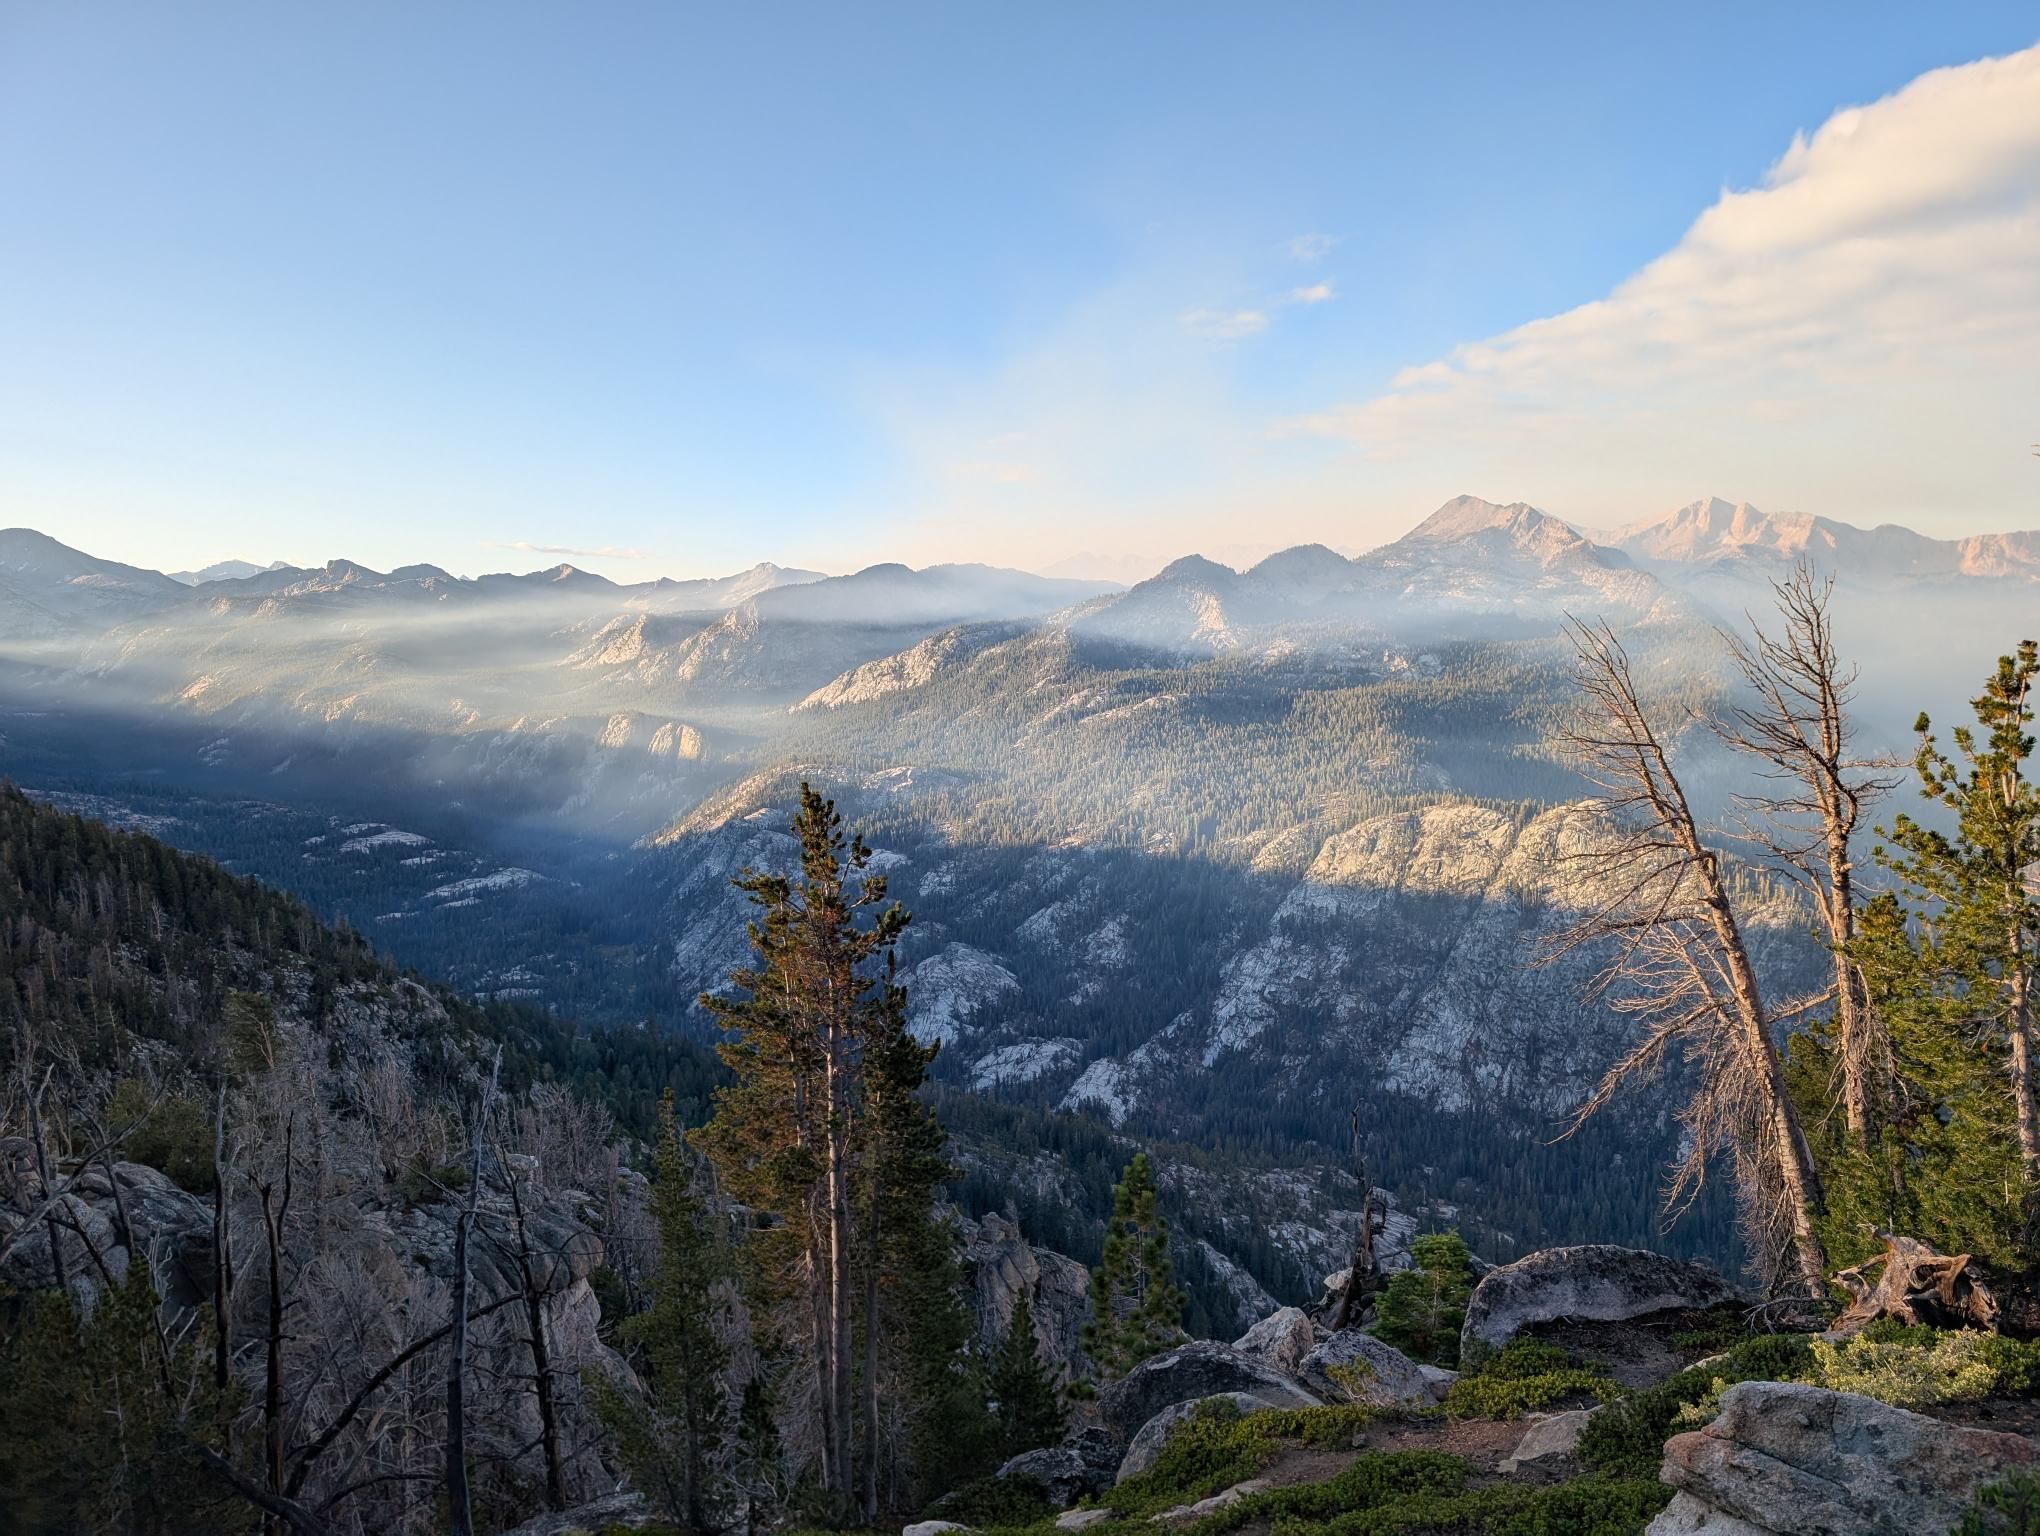
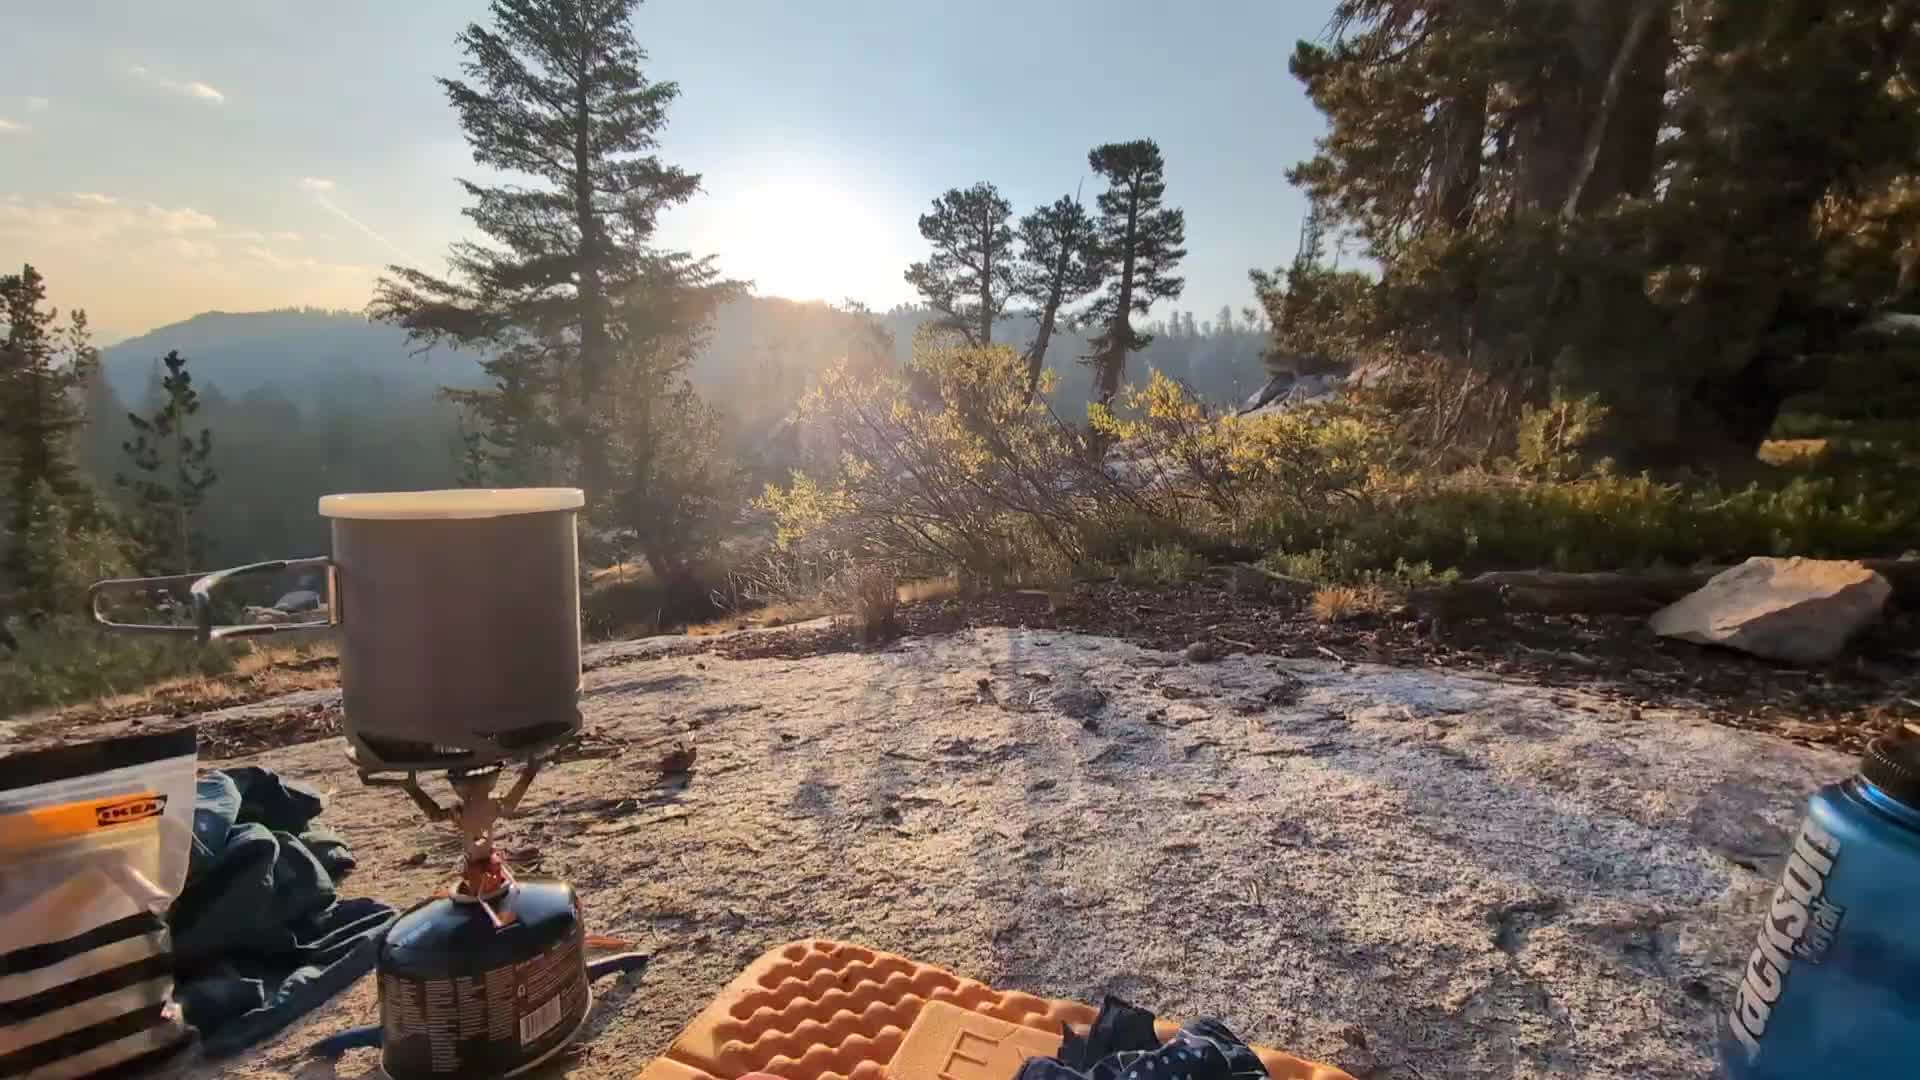
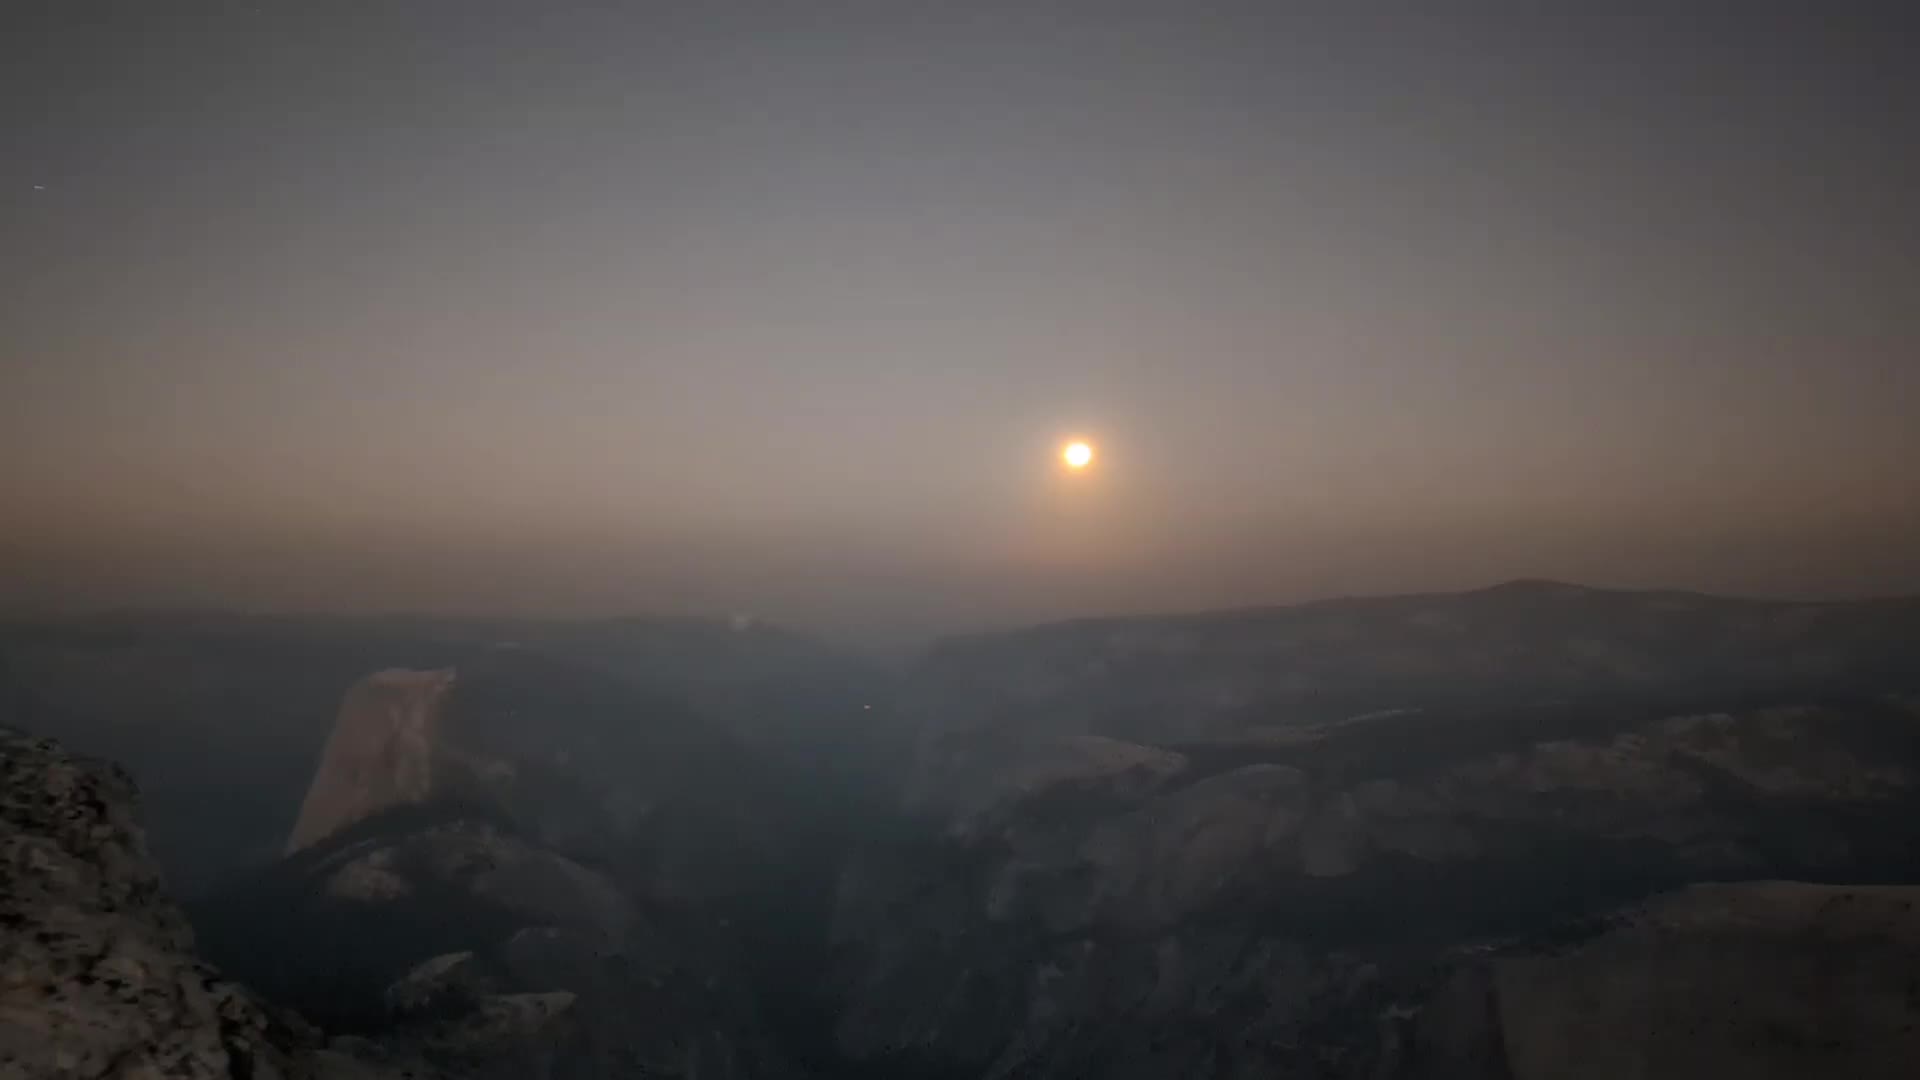
The middle section packed in a lot: Pinchot Pass, Mather Pass, the Middle Fork of the Kings River, Muir Pass, Wanda Lake, Evolution Lake, Evolution Creek, and then the push to Muir Trail Ranch for our first resupply. We had one smoky morning from a large wildfire, one especially memorable swim and clothes wash near Evolution Lake, and plenty of those long Sierra days where the trail kept drawing us onward.
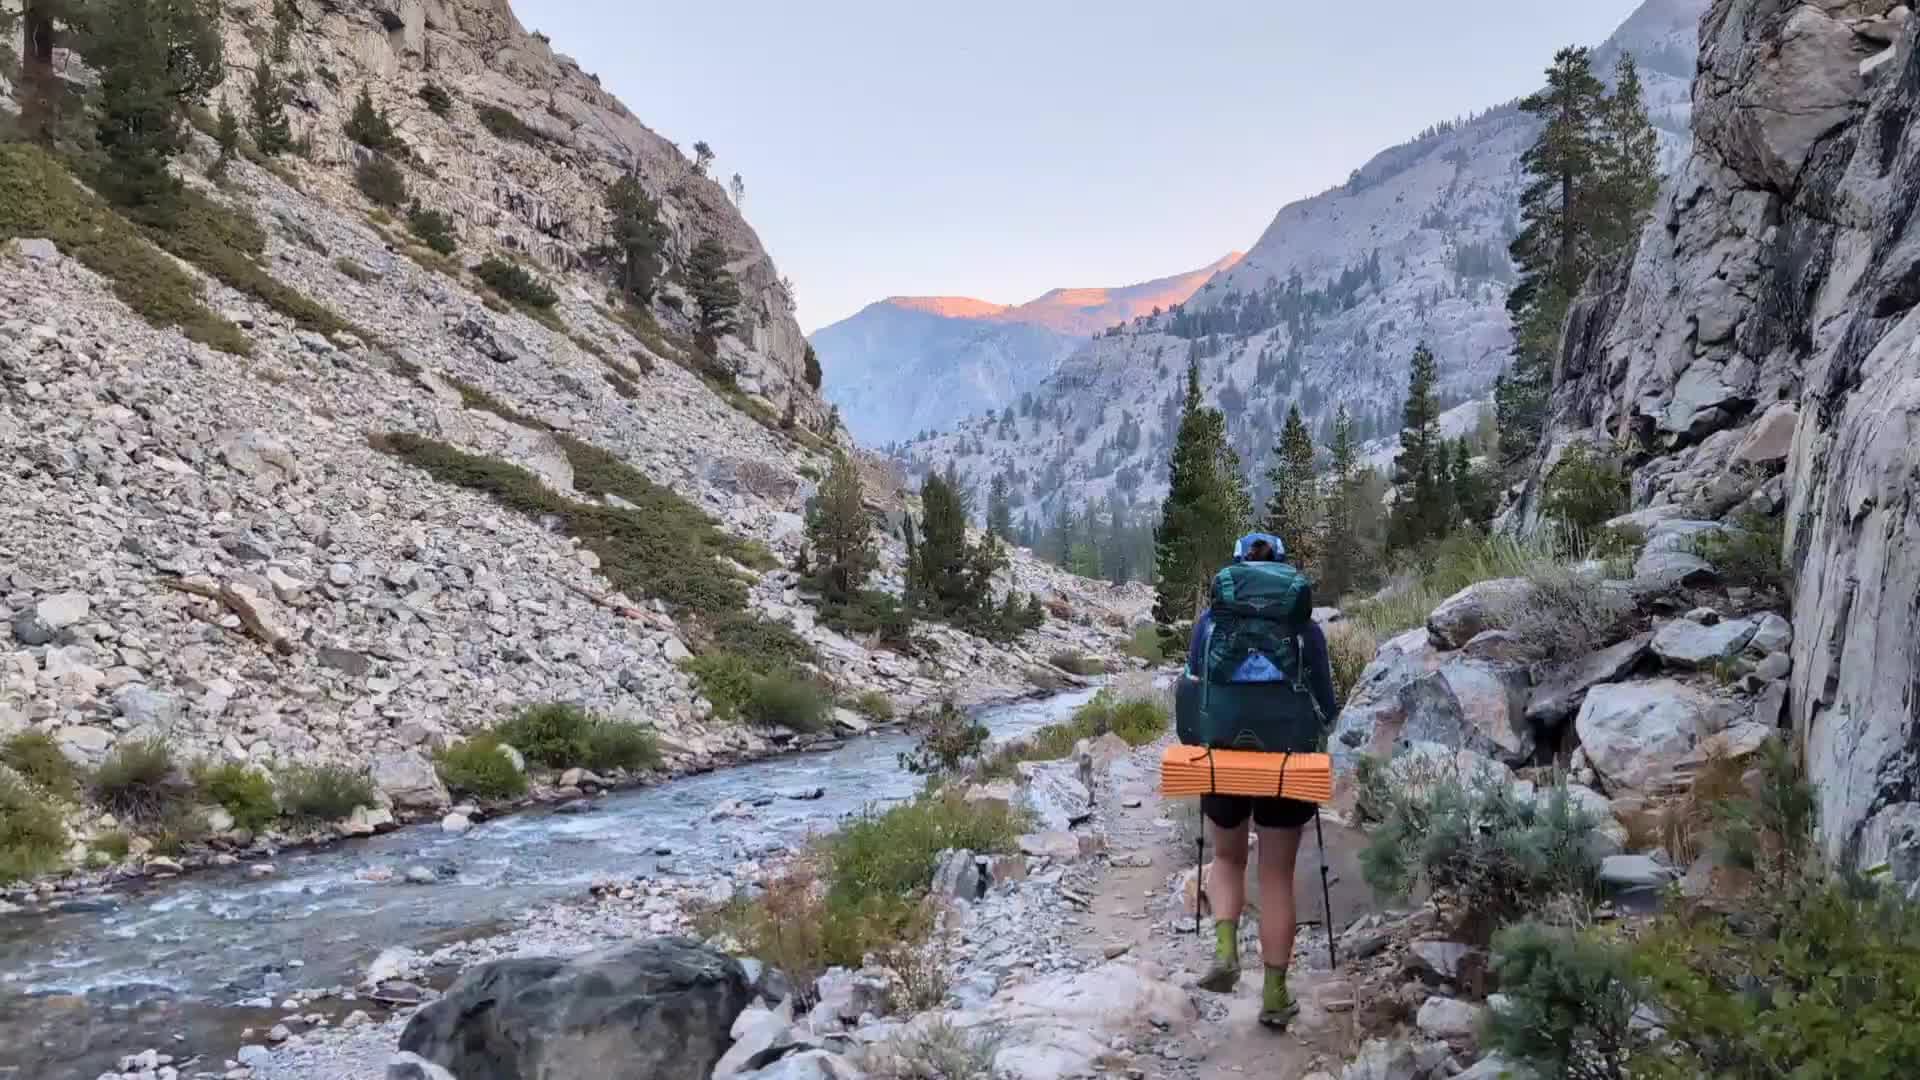
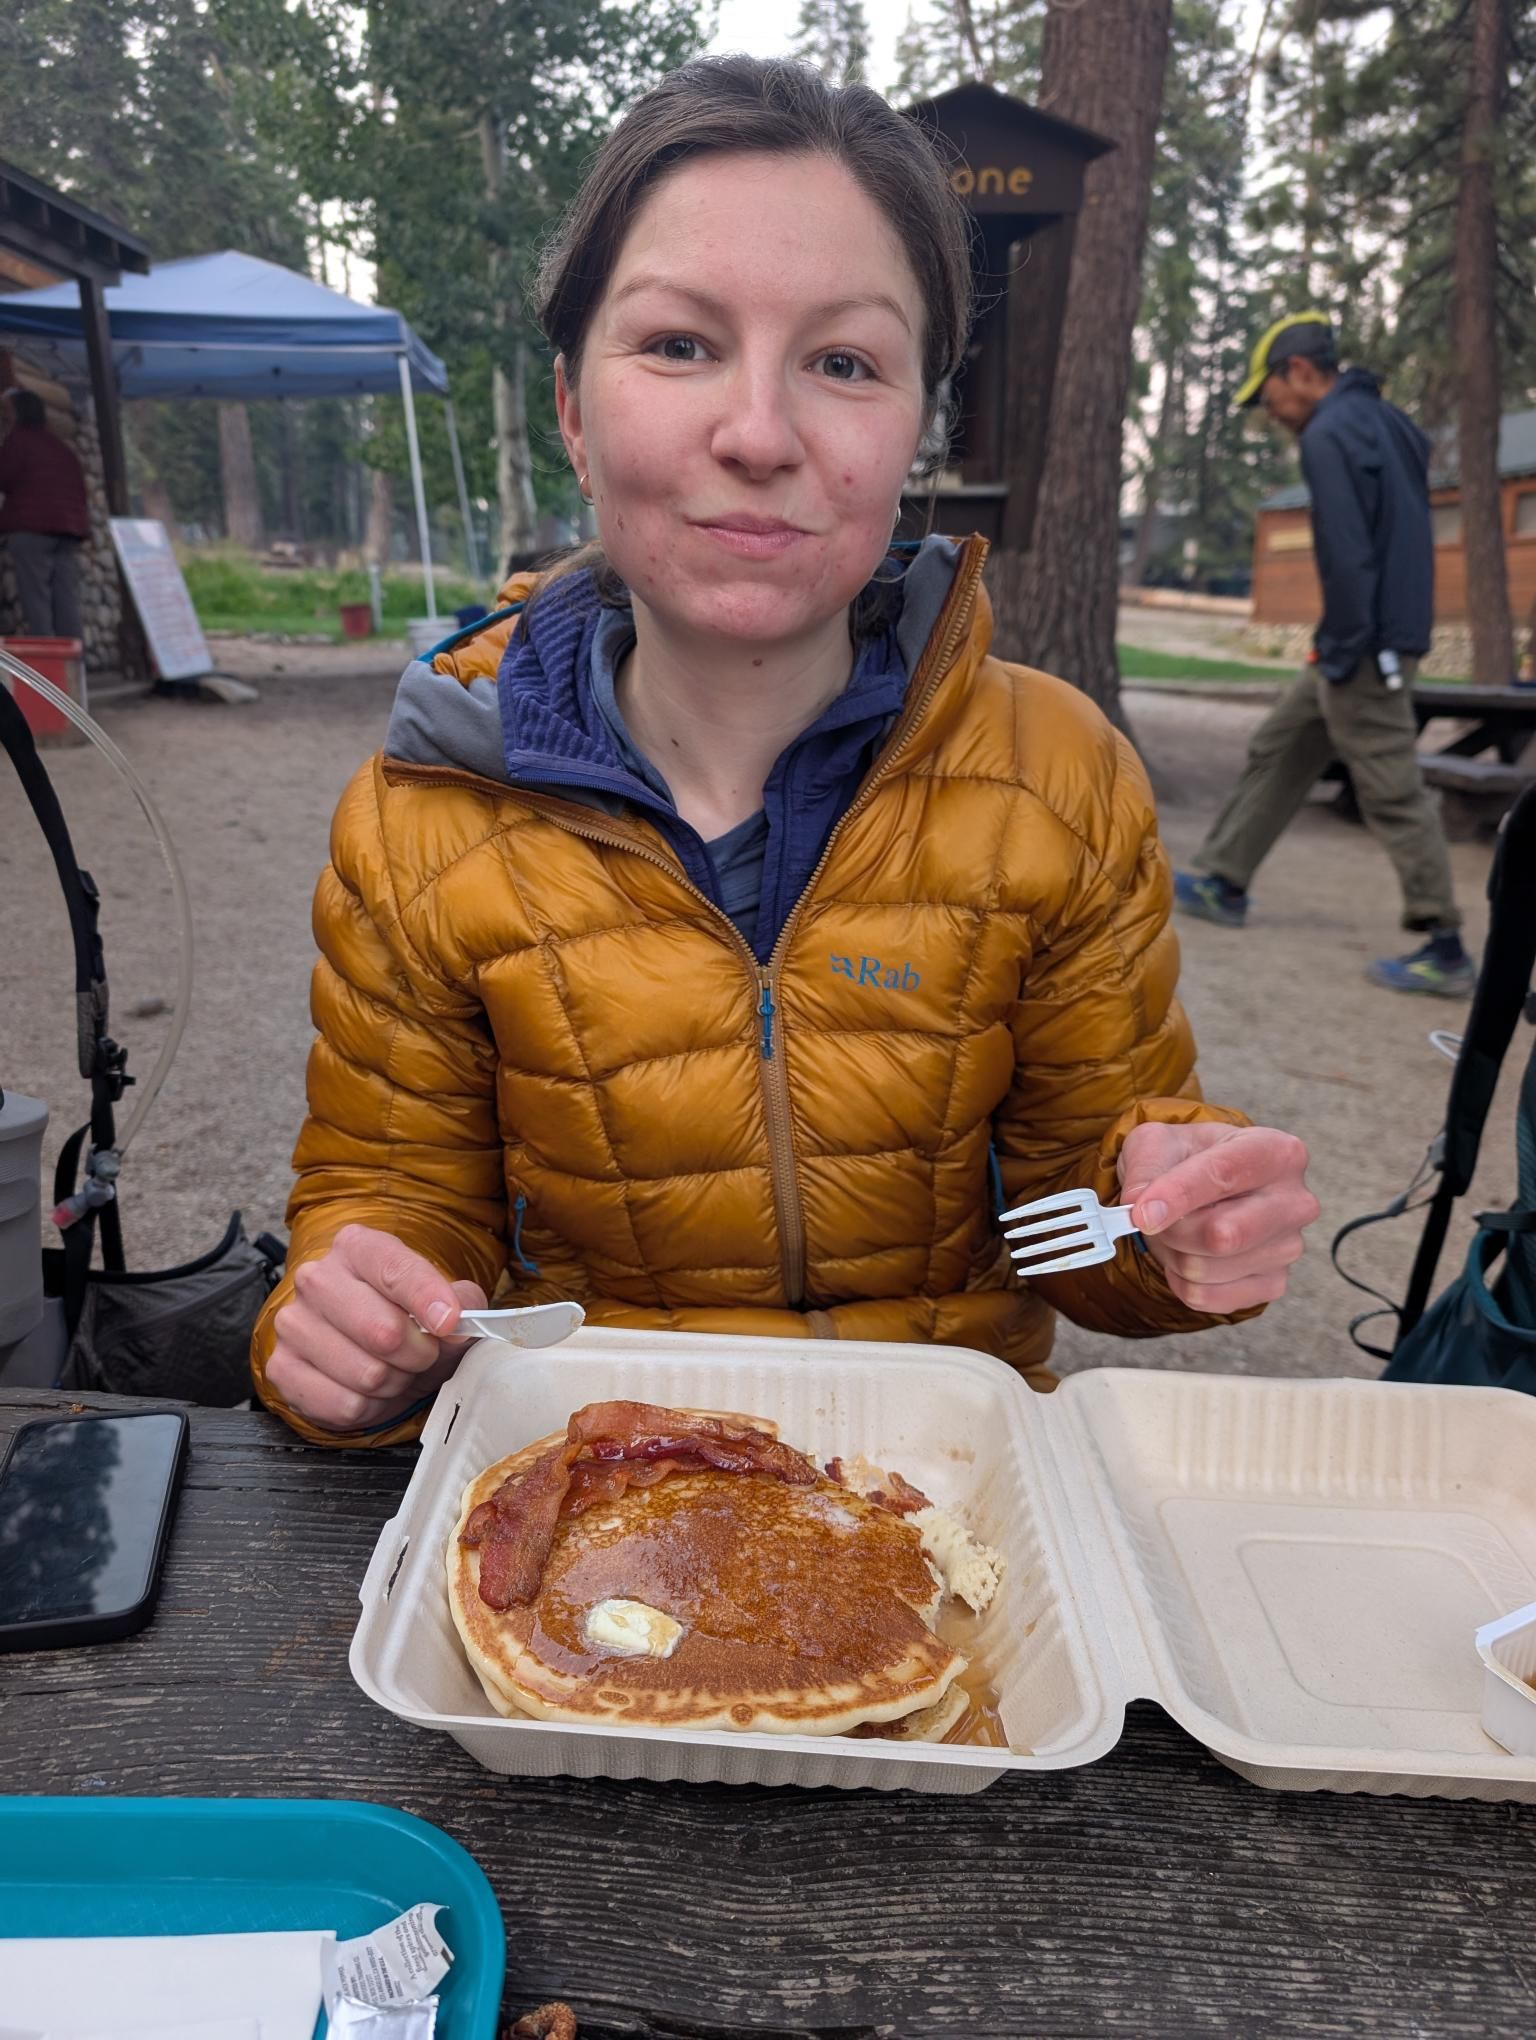
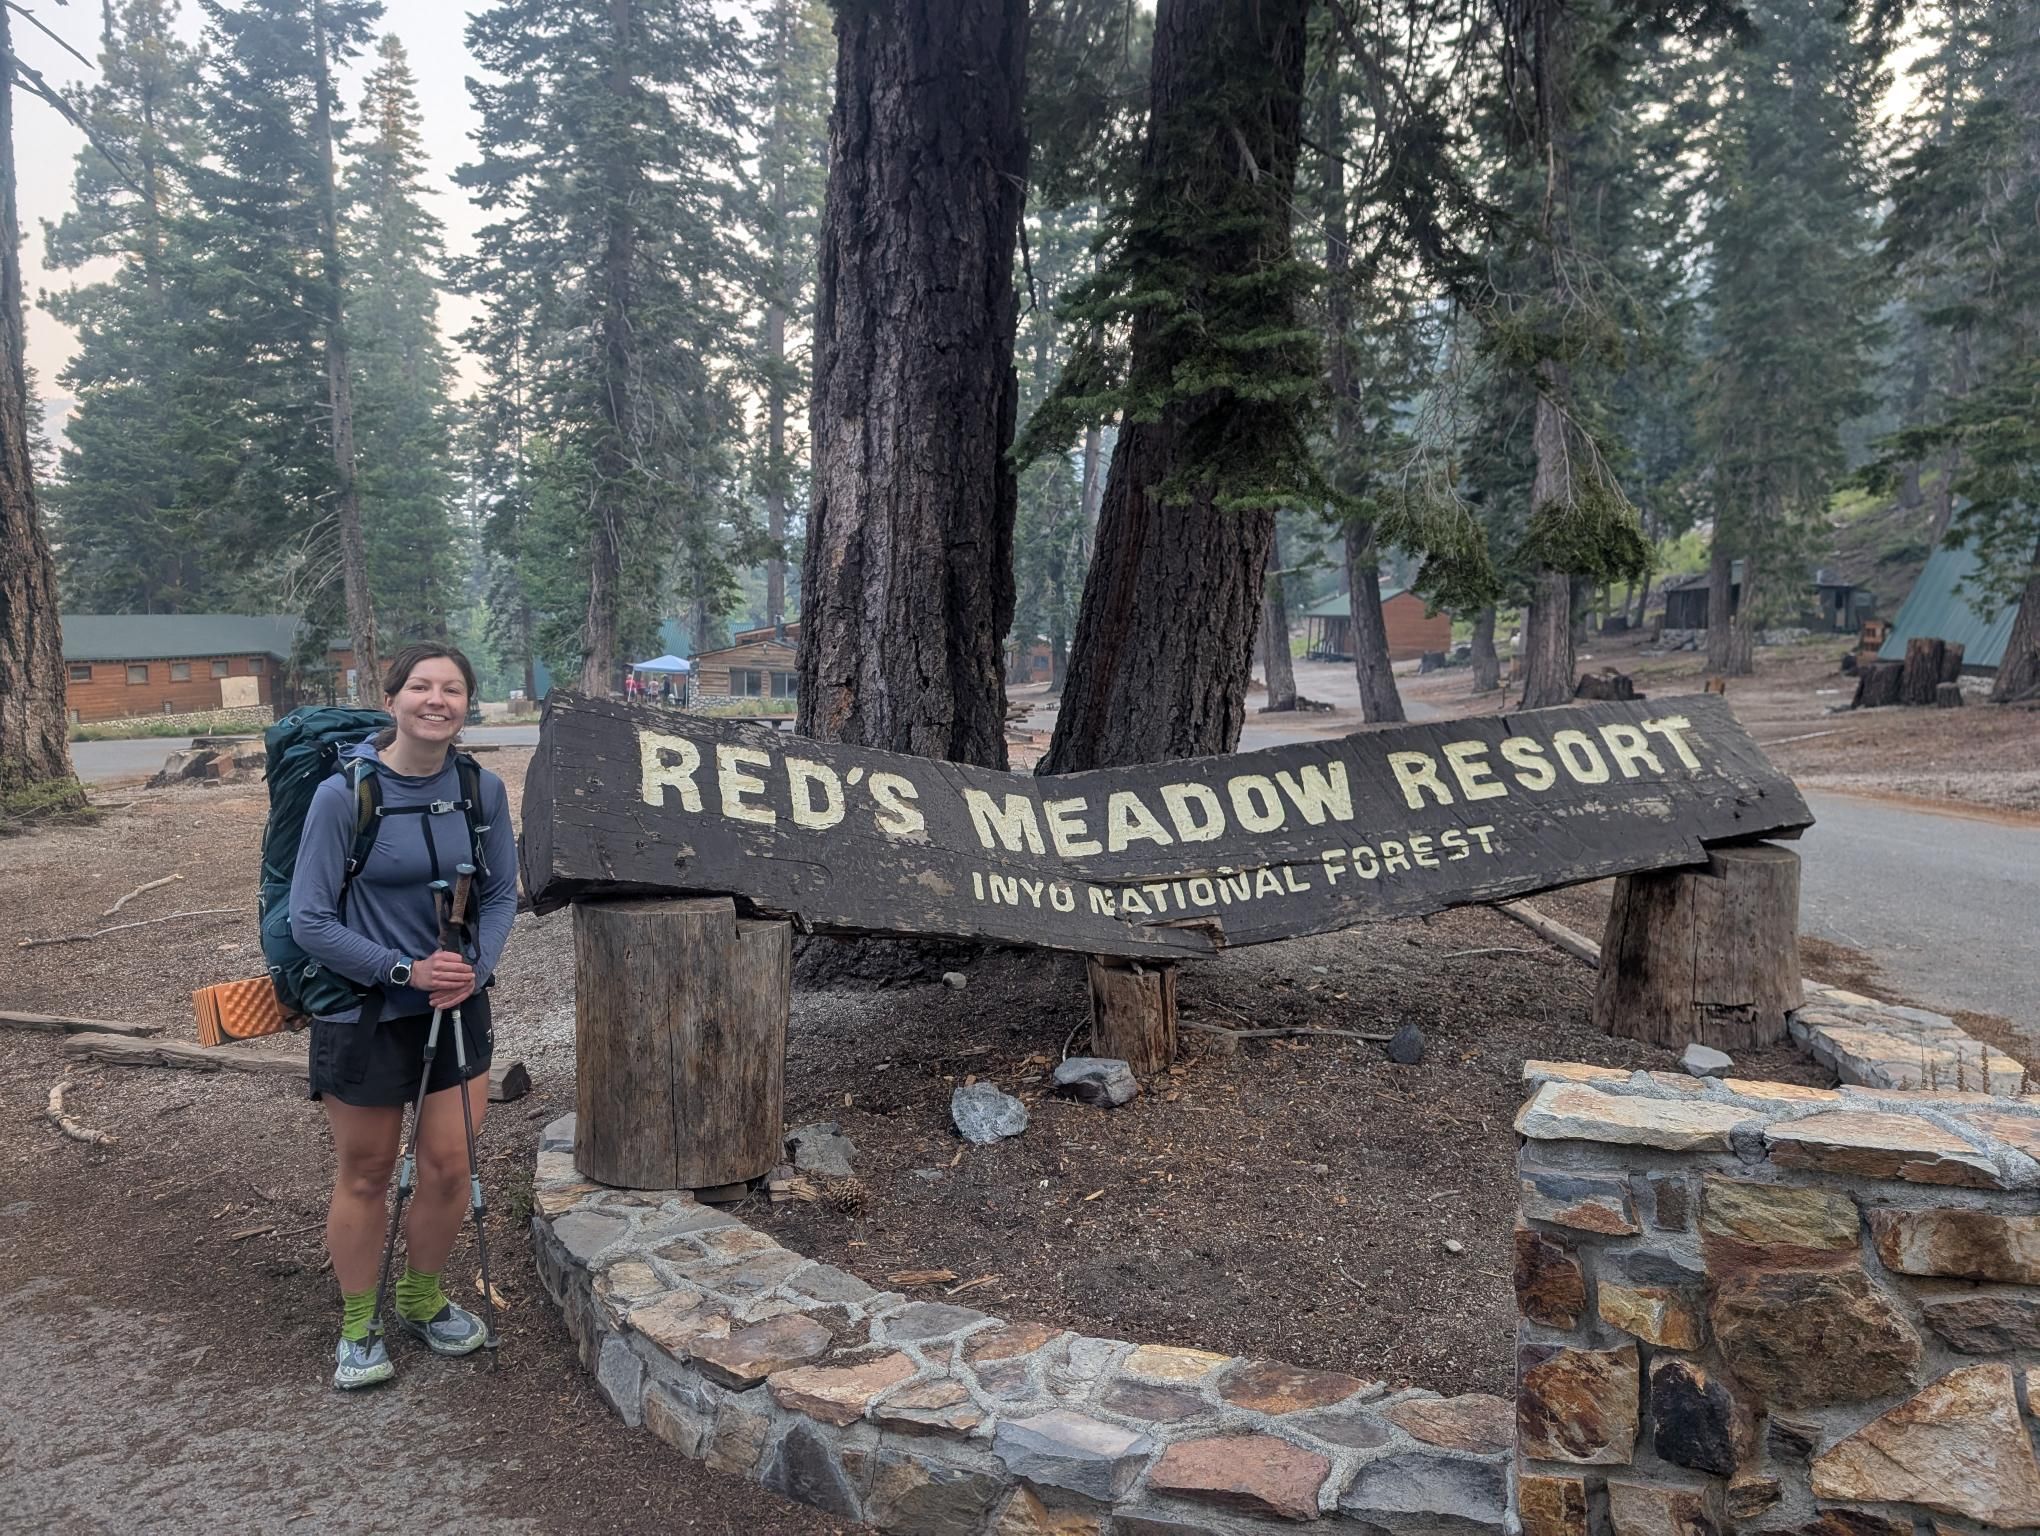
Past Marie Lake and Bear Creek, we crossed Silver Pass and then got hit by a huge afternoon thunderstorm with very close lightning. That changed the mood for a while. The next day into Reds Meadow felt fast by comparison, and we happily took the chance to resupply again, sleep in a cabin, and eat a veggie burger.
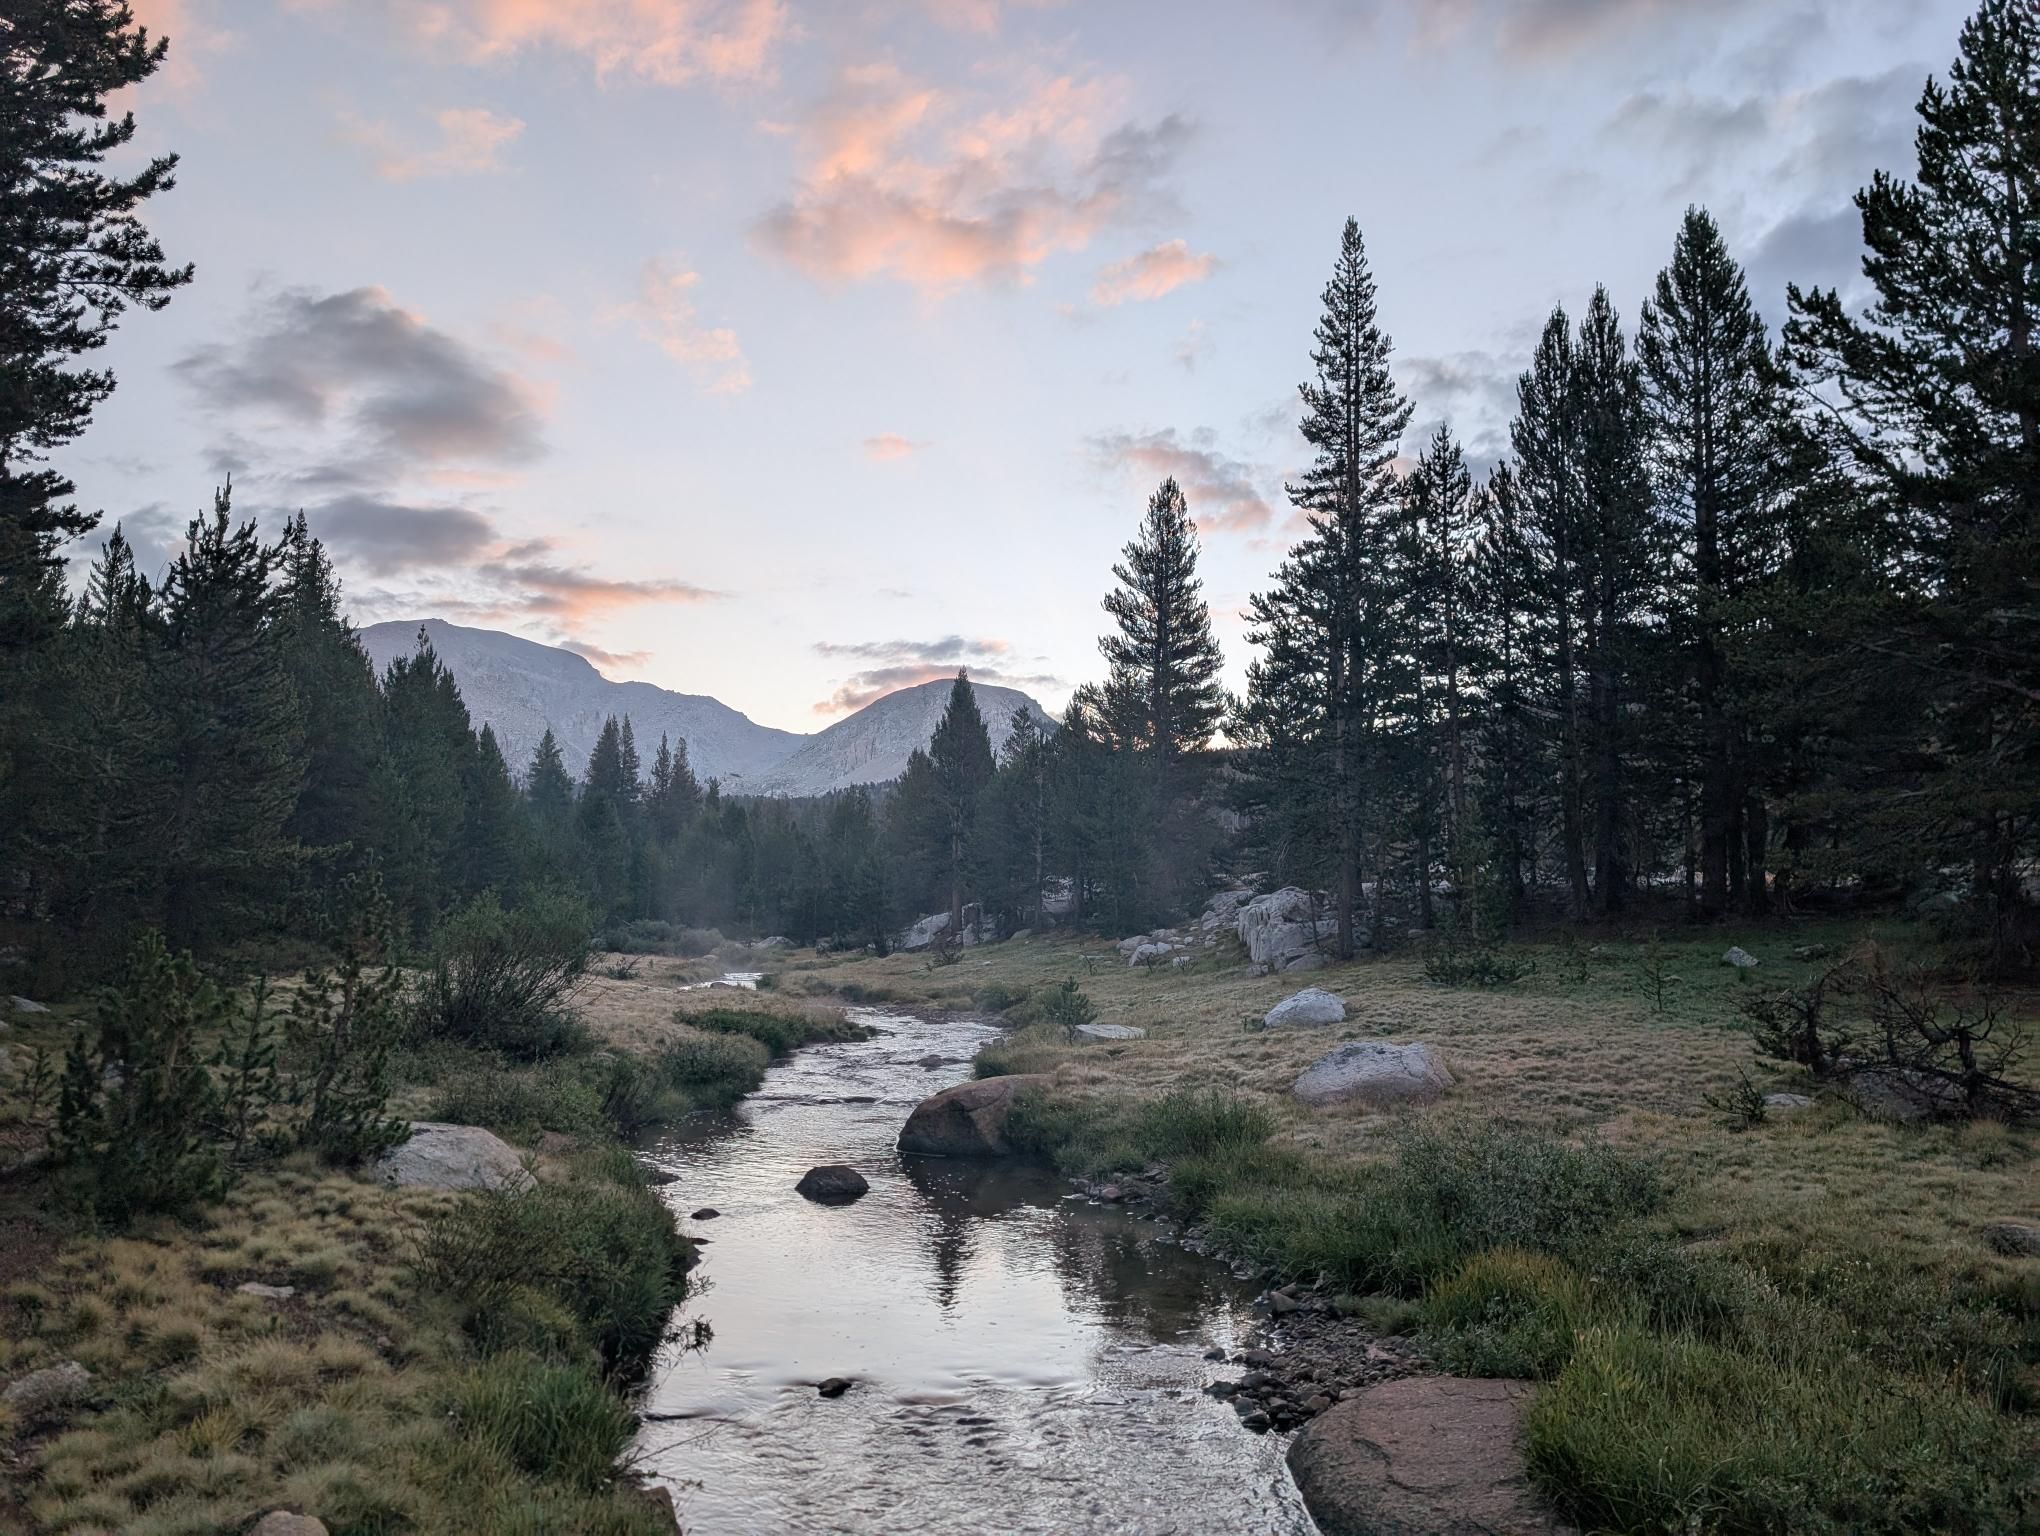
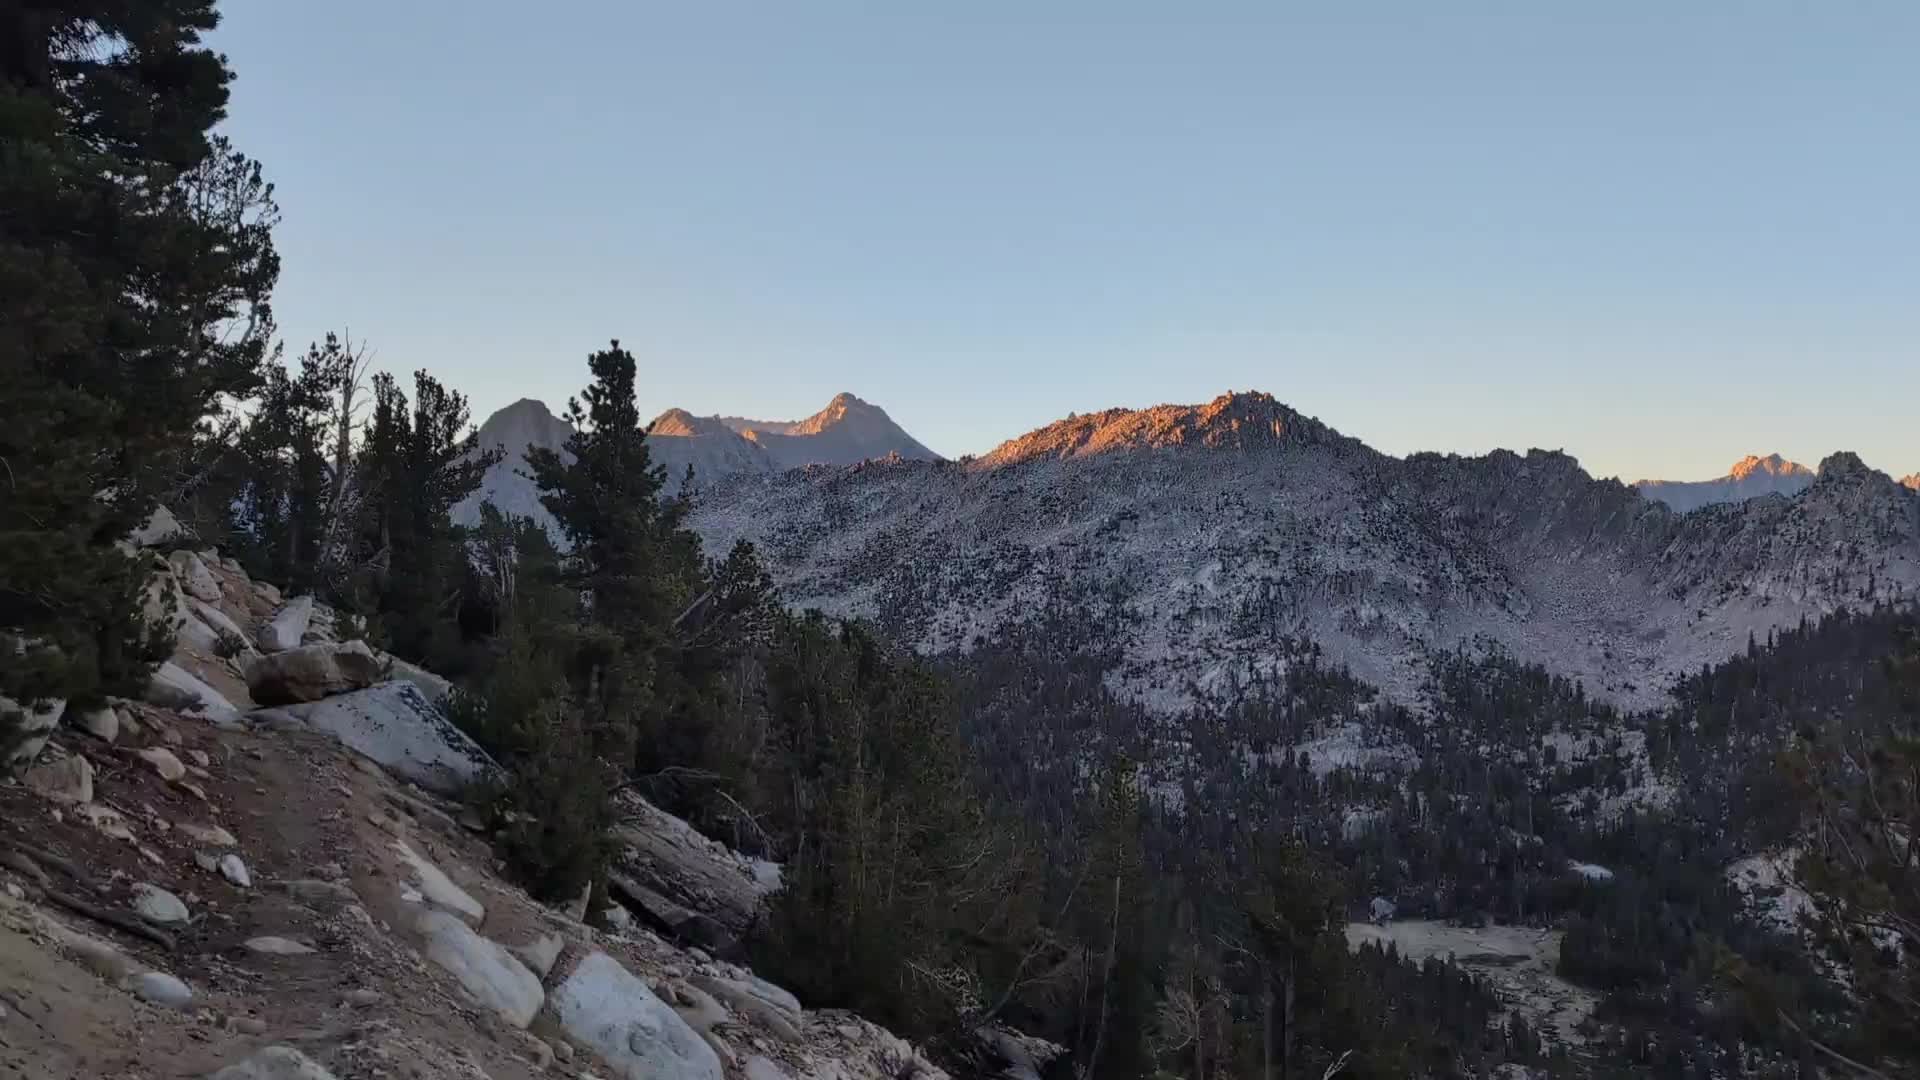
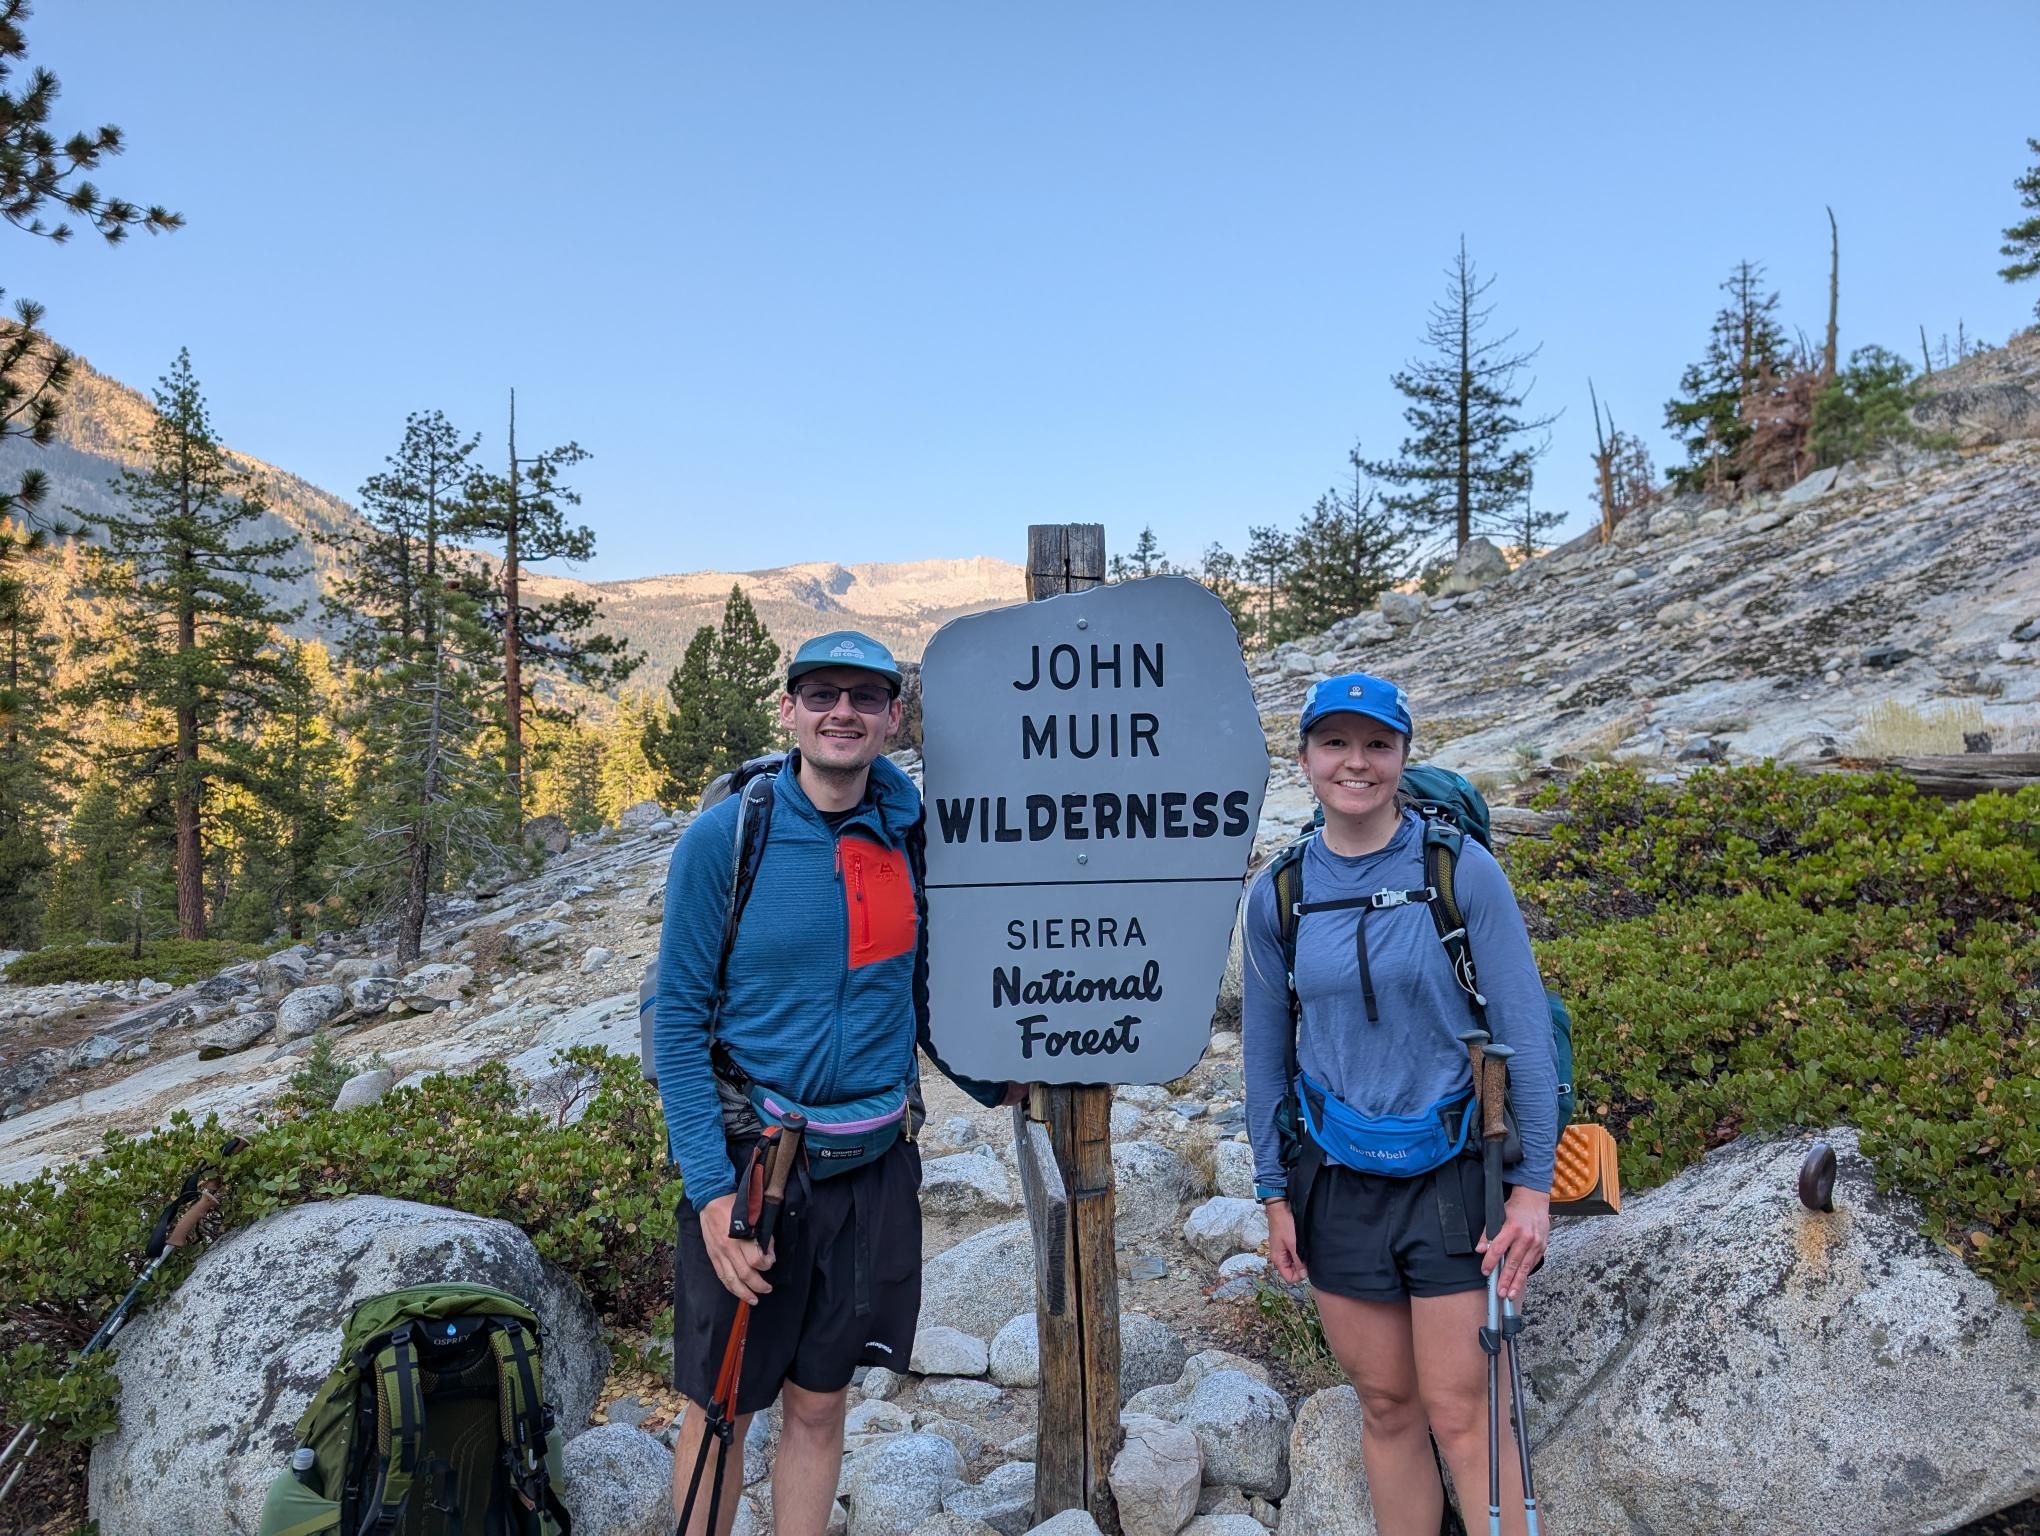
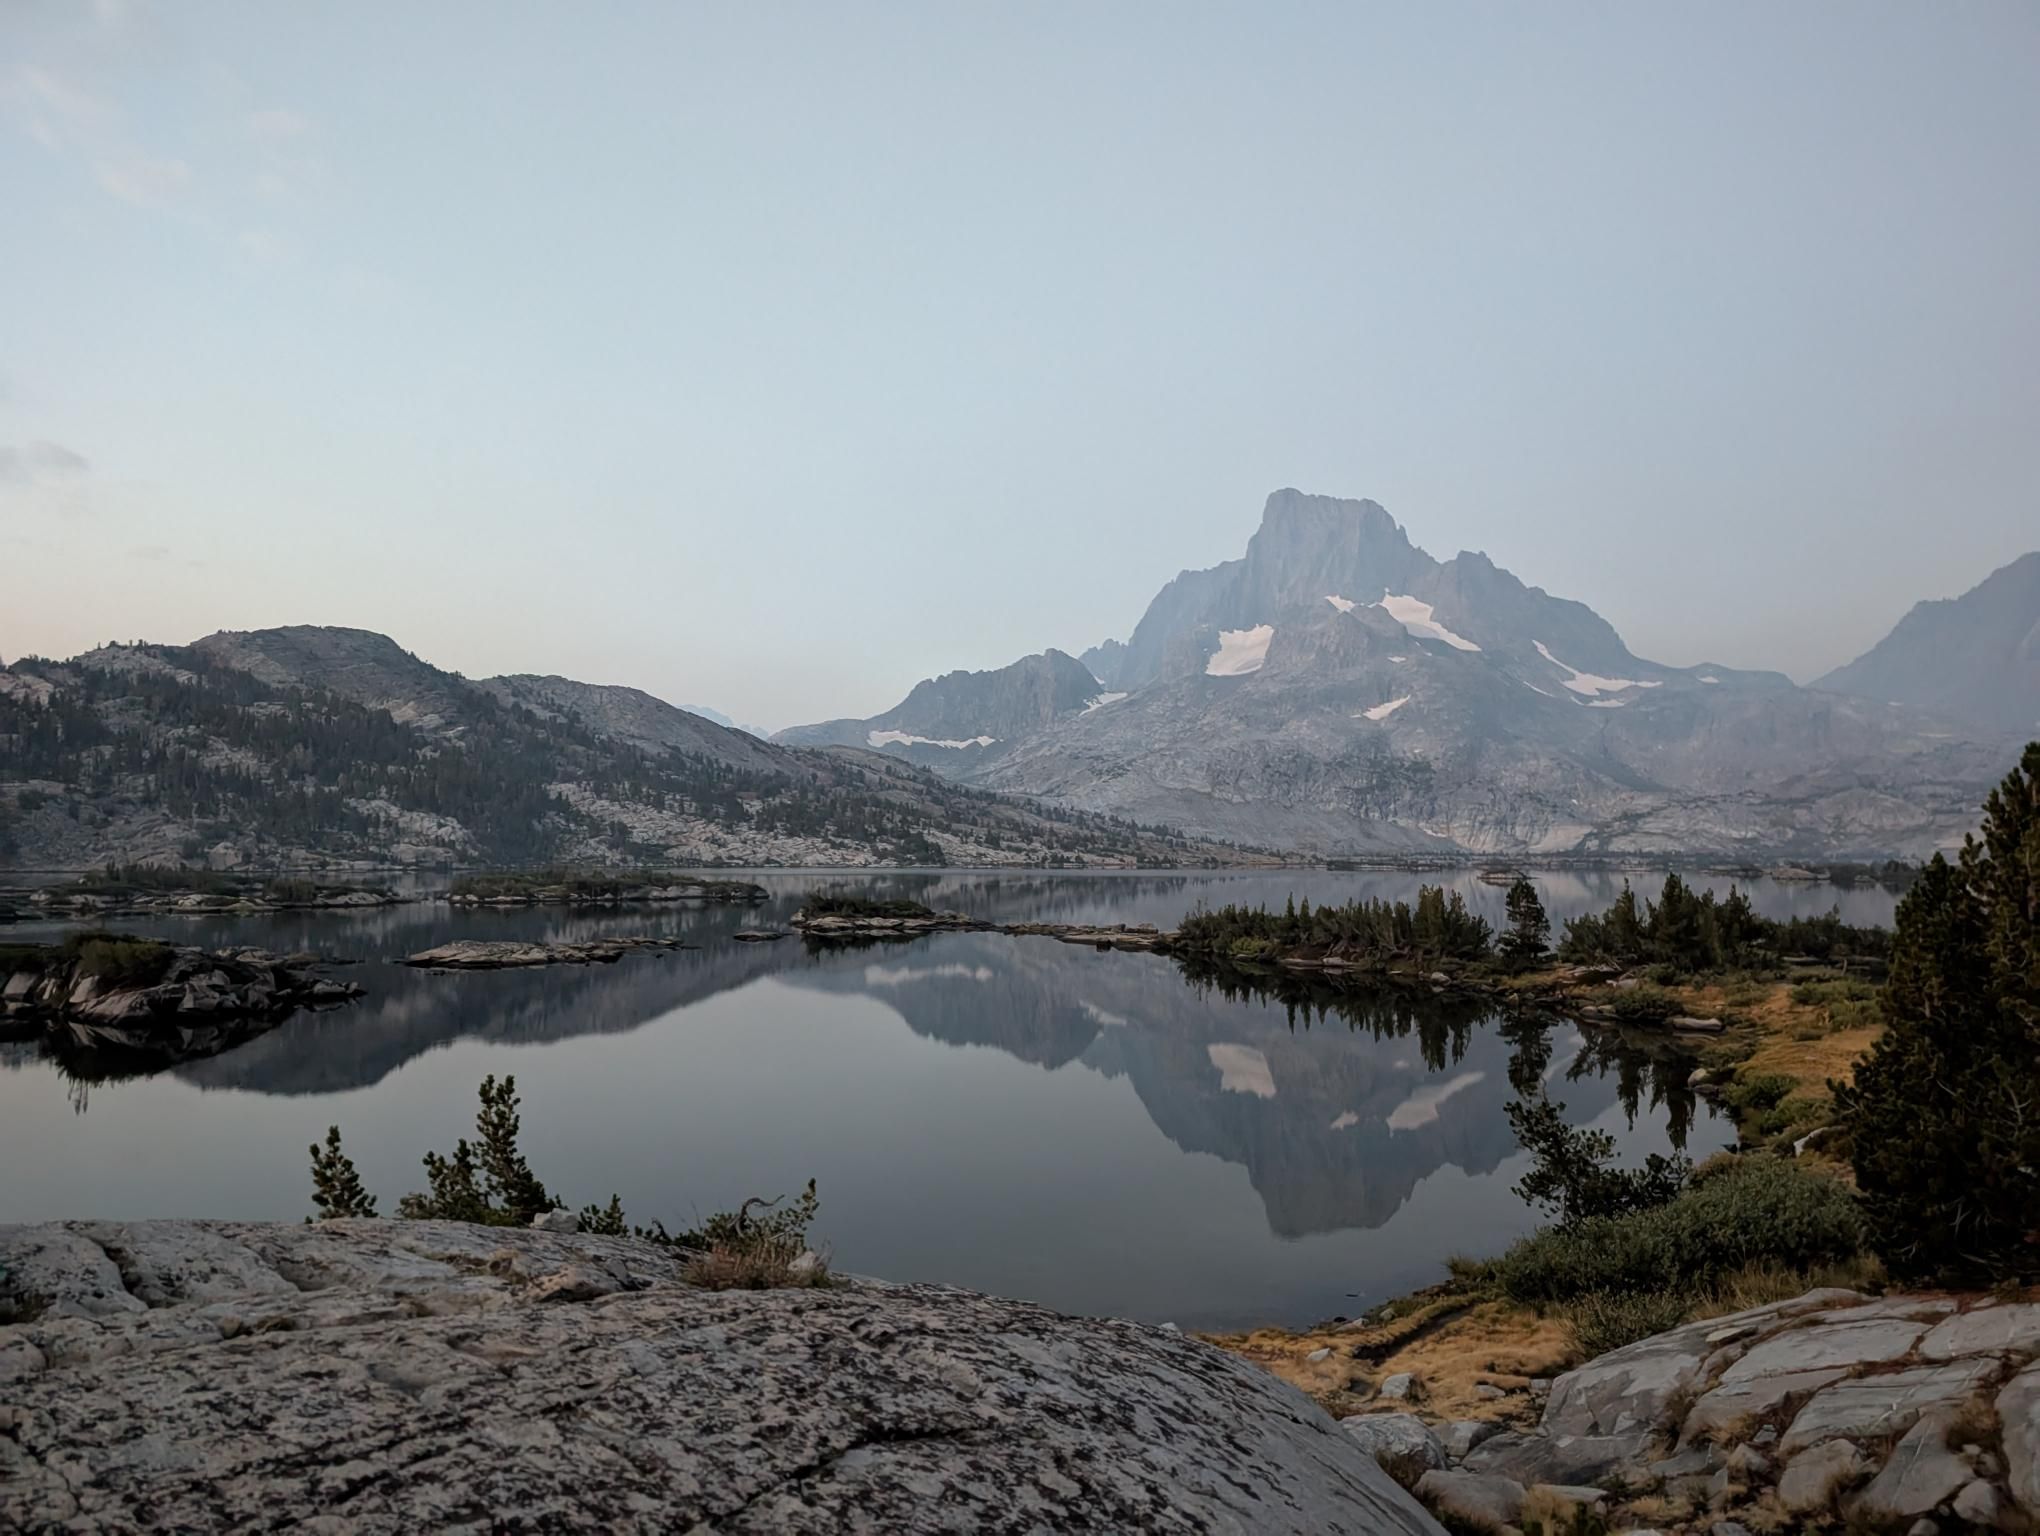
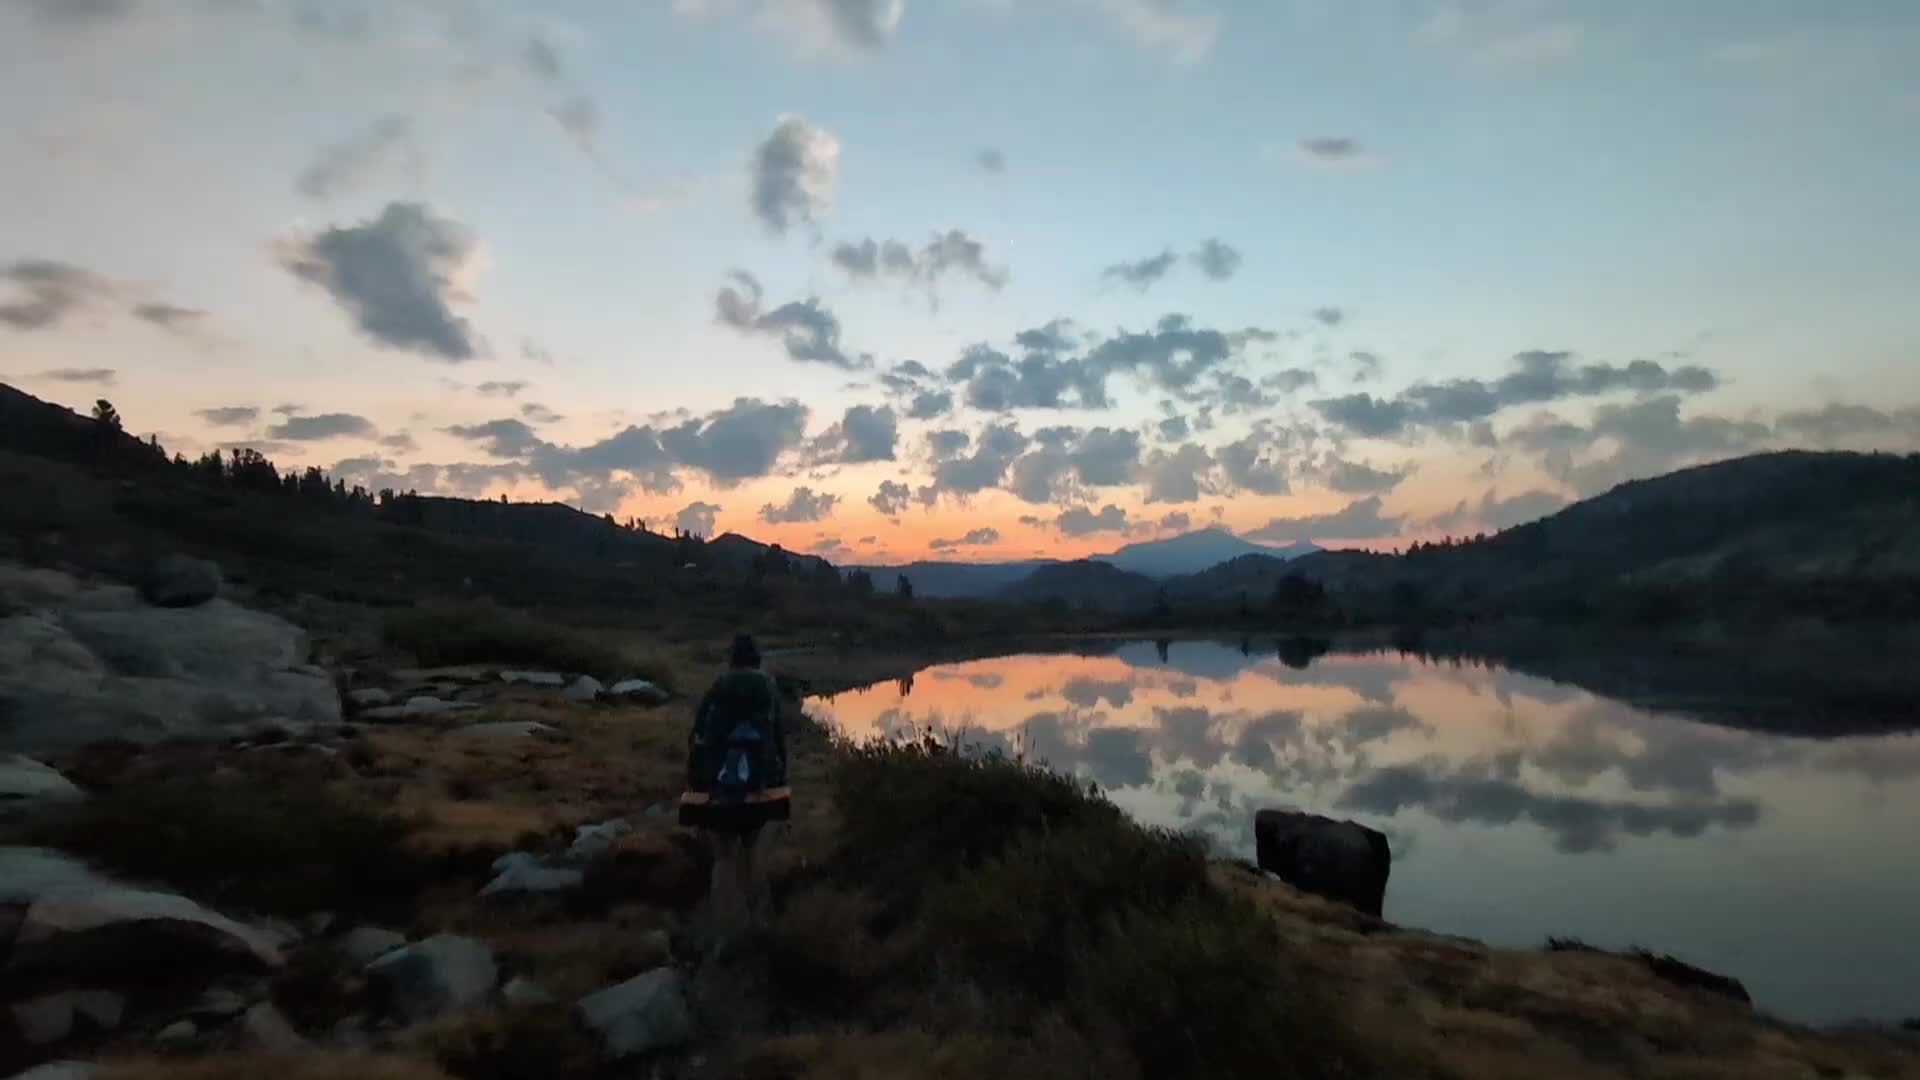
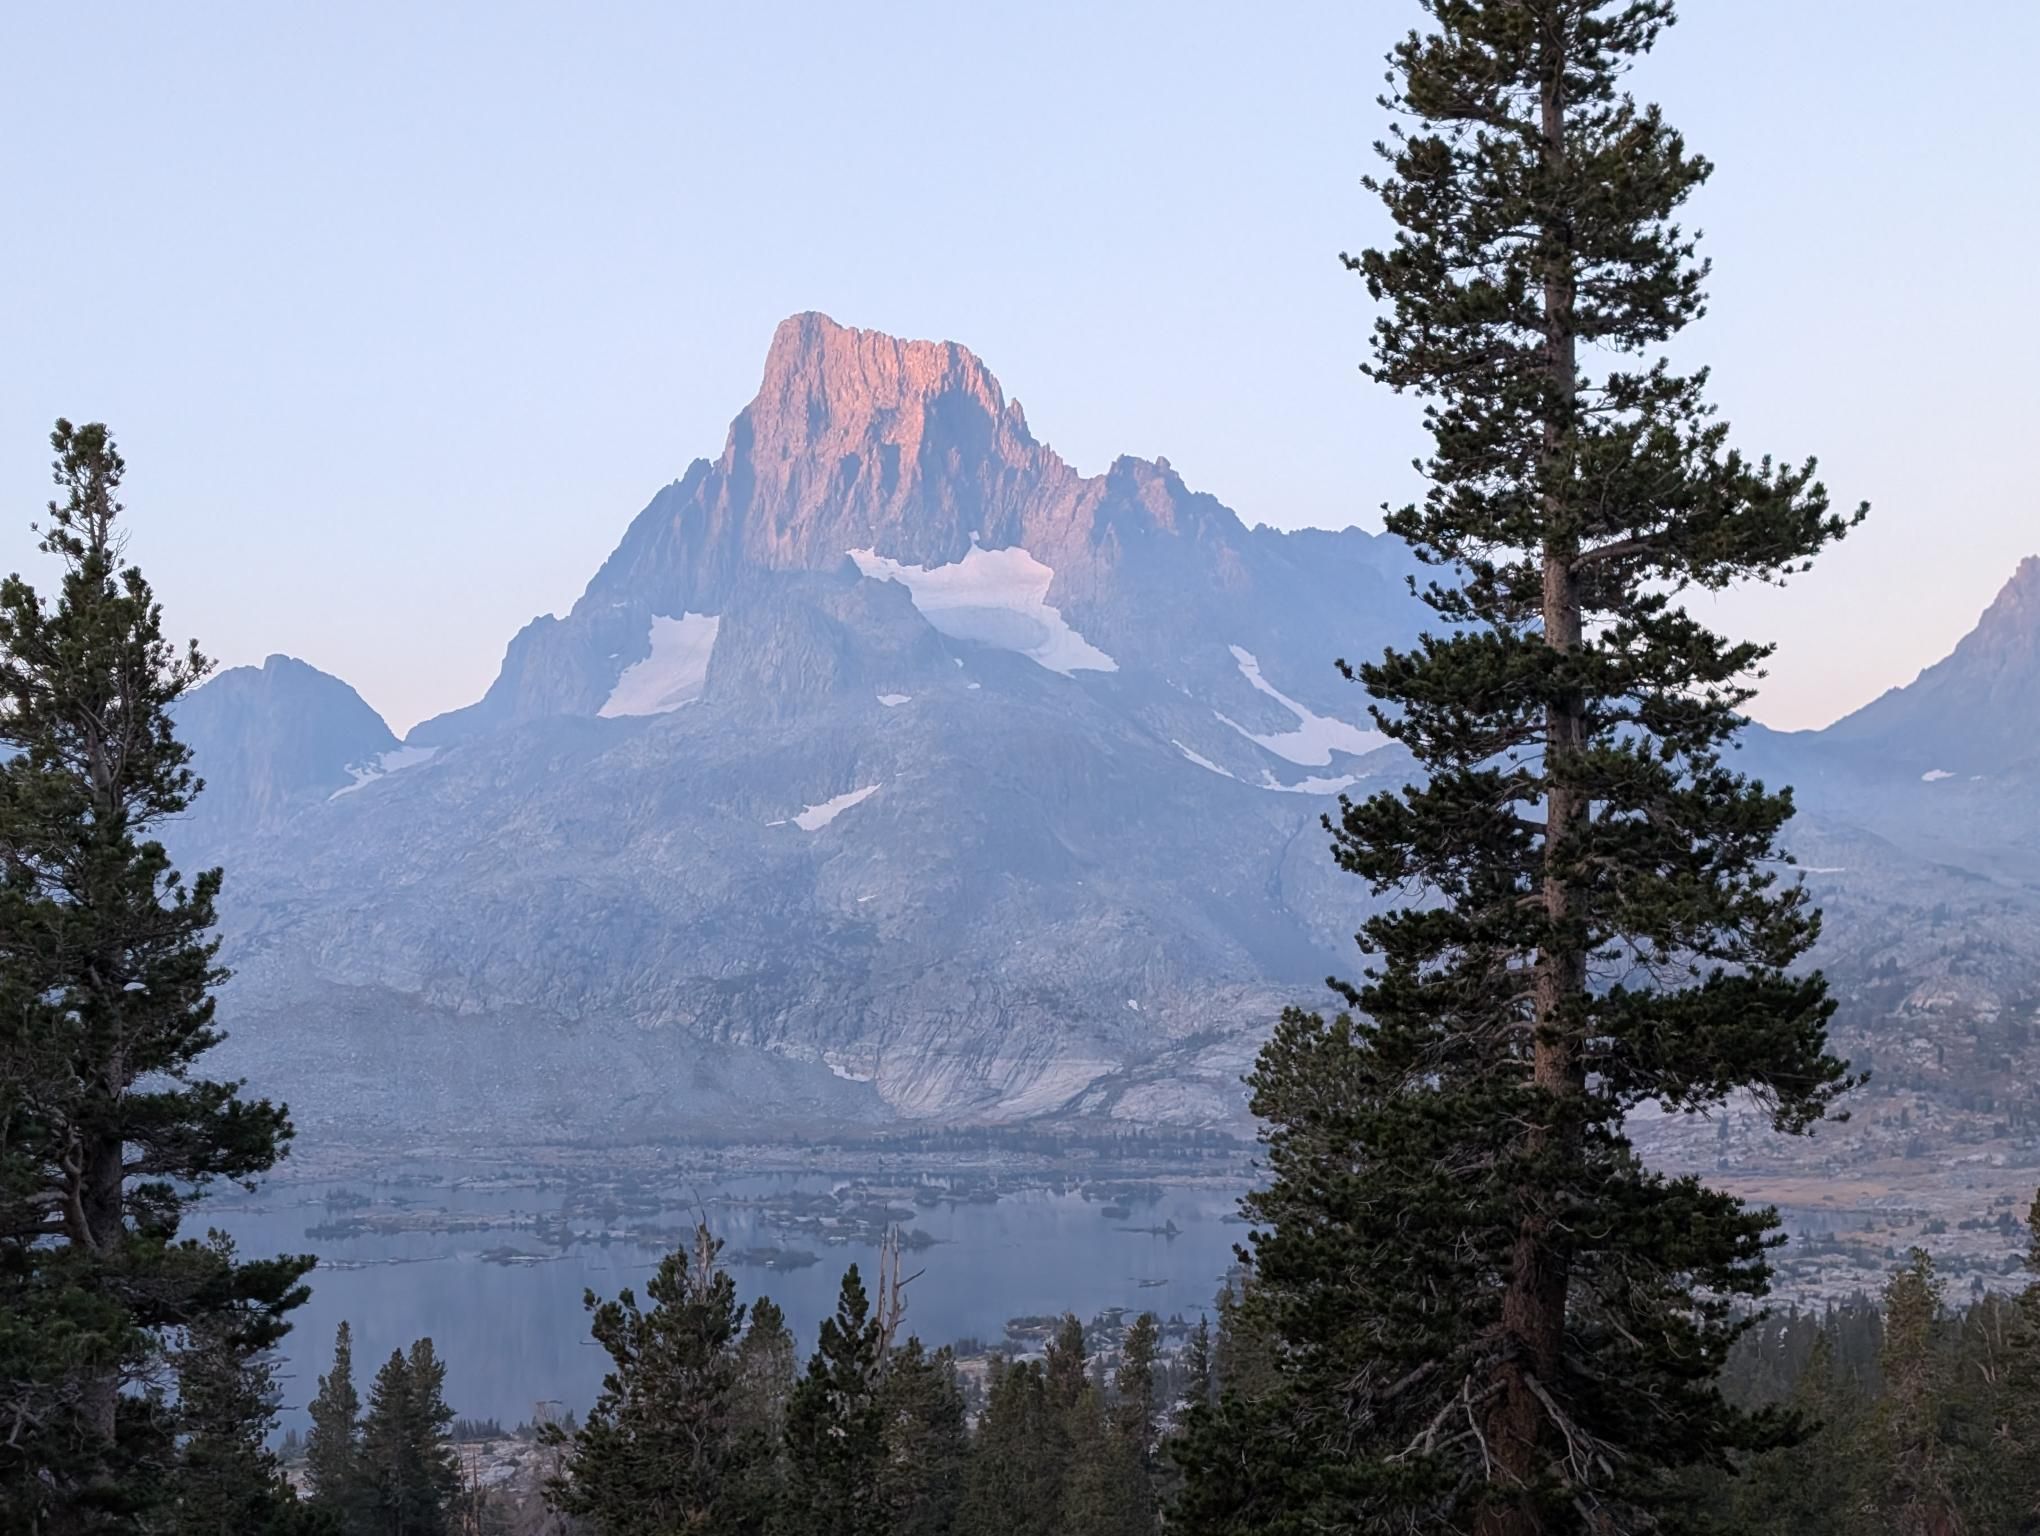
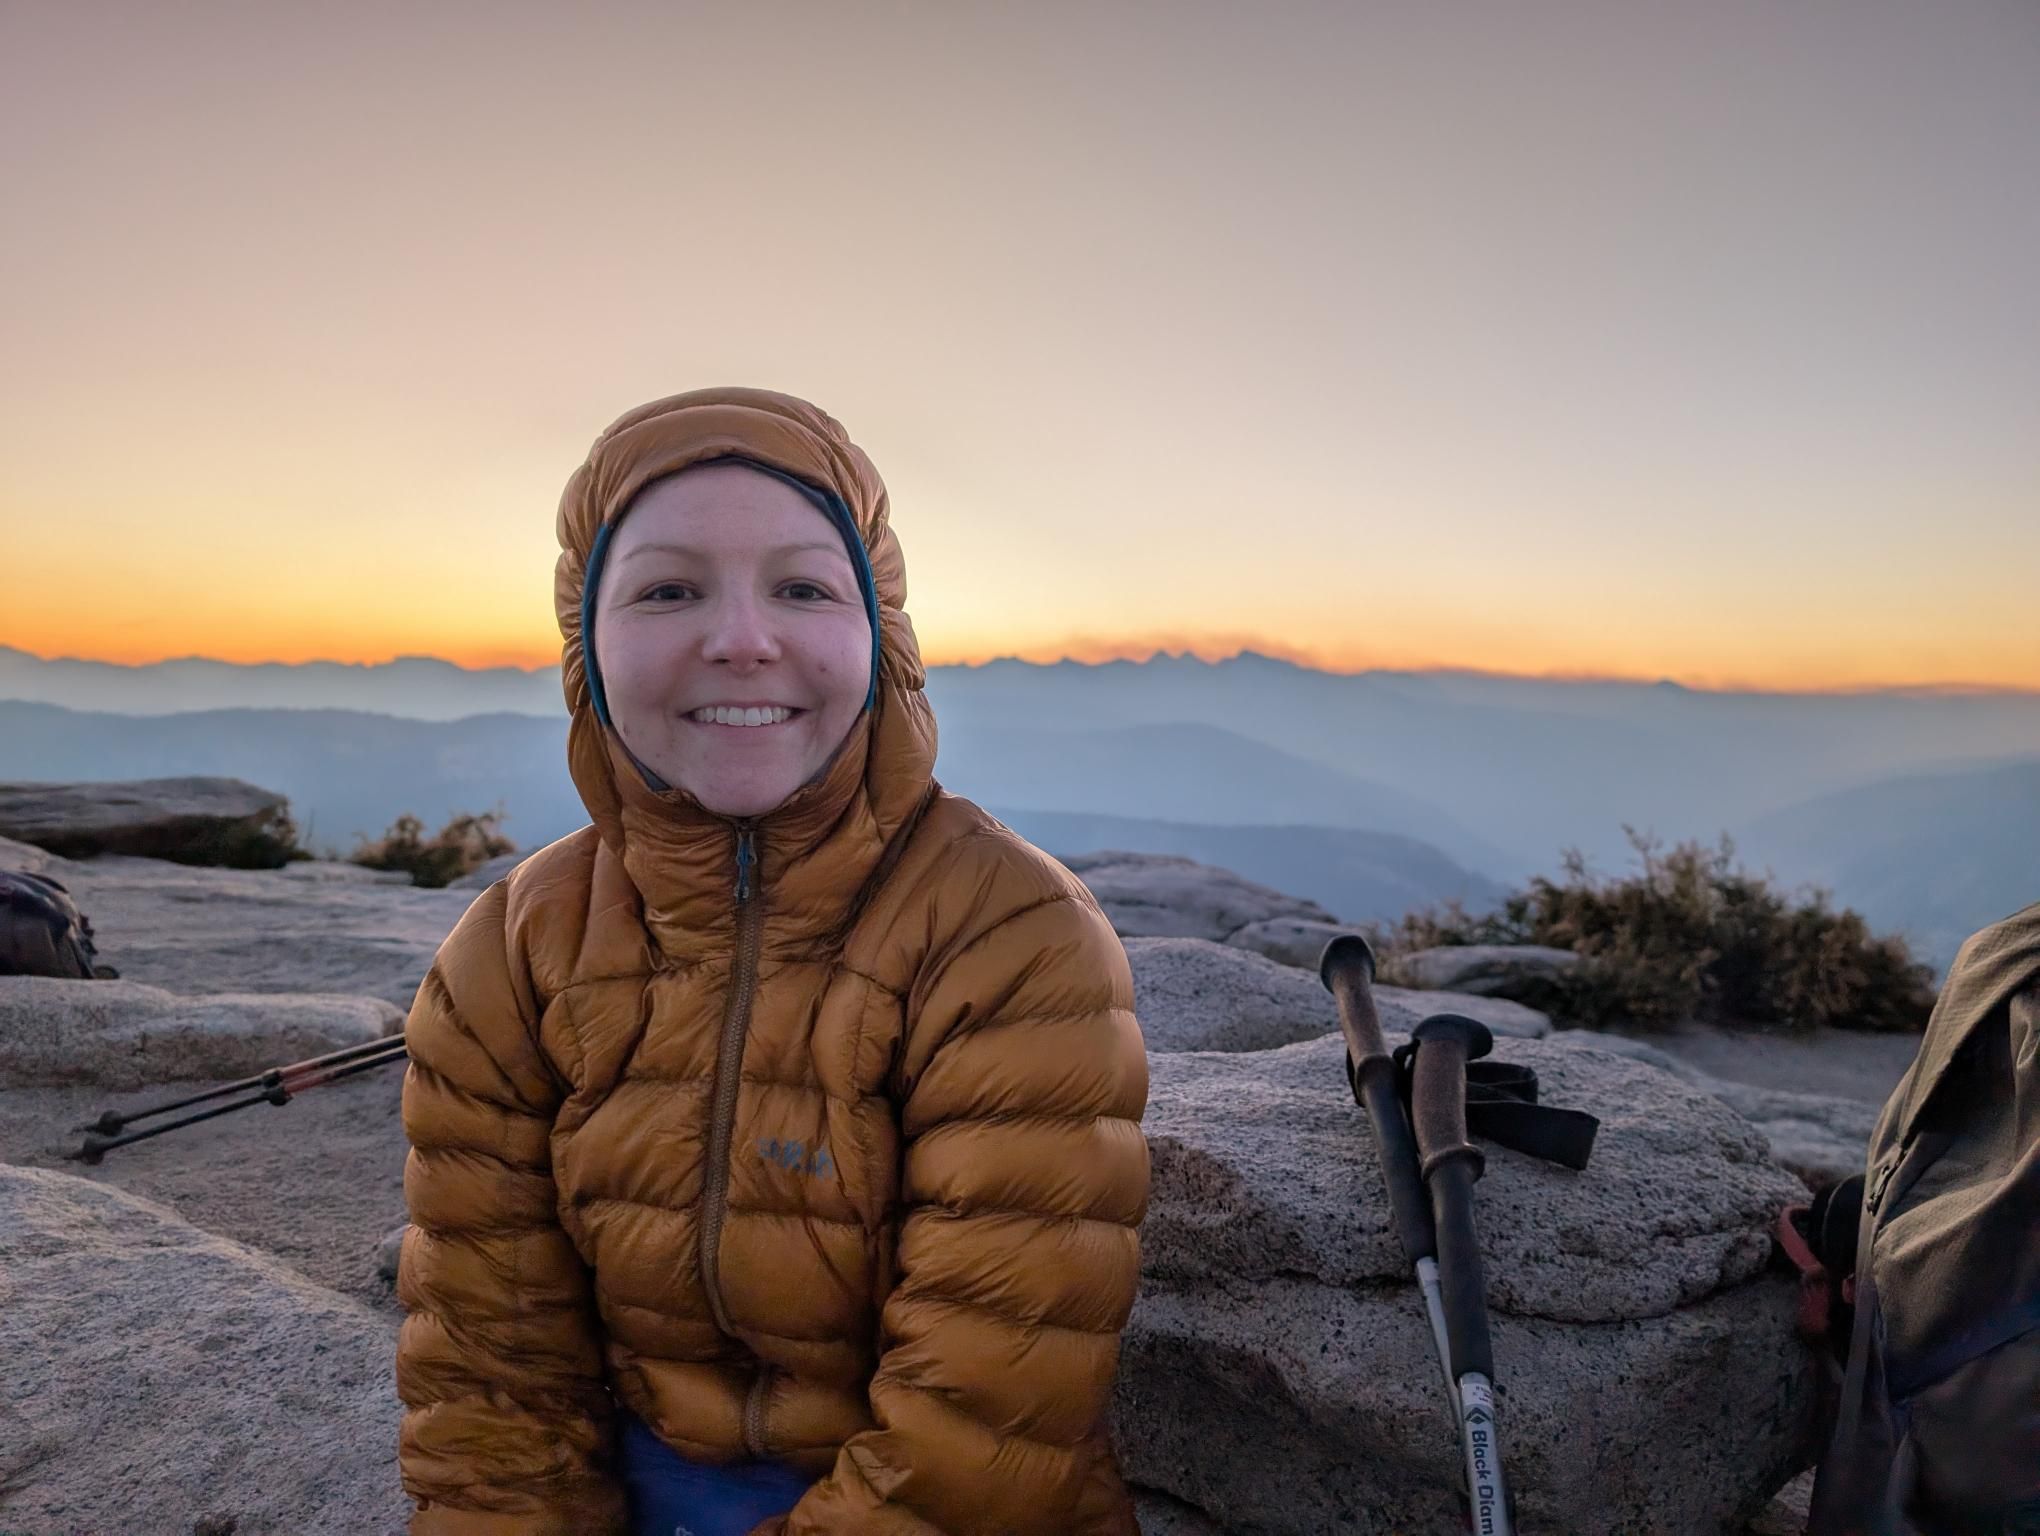
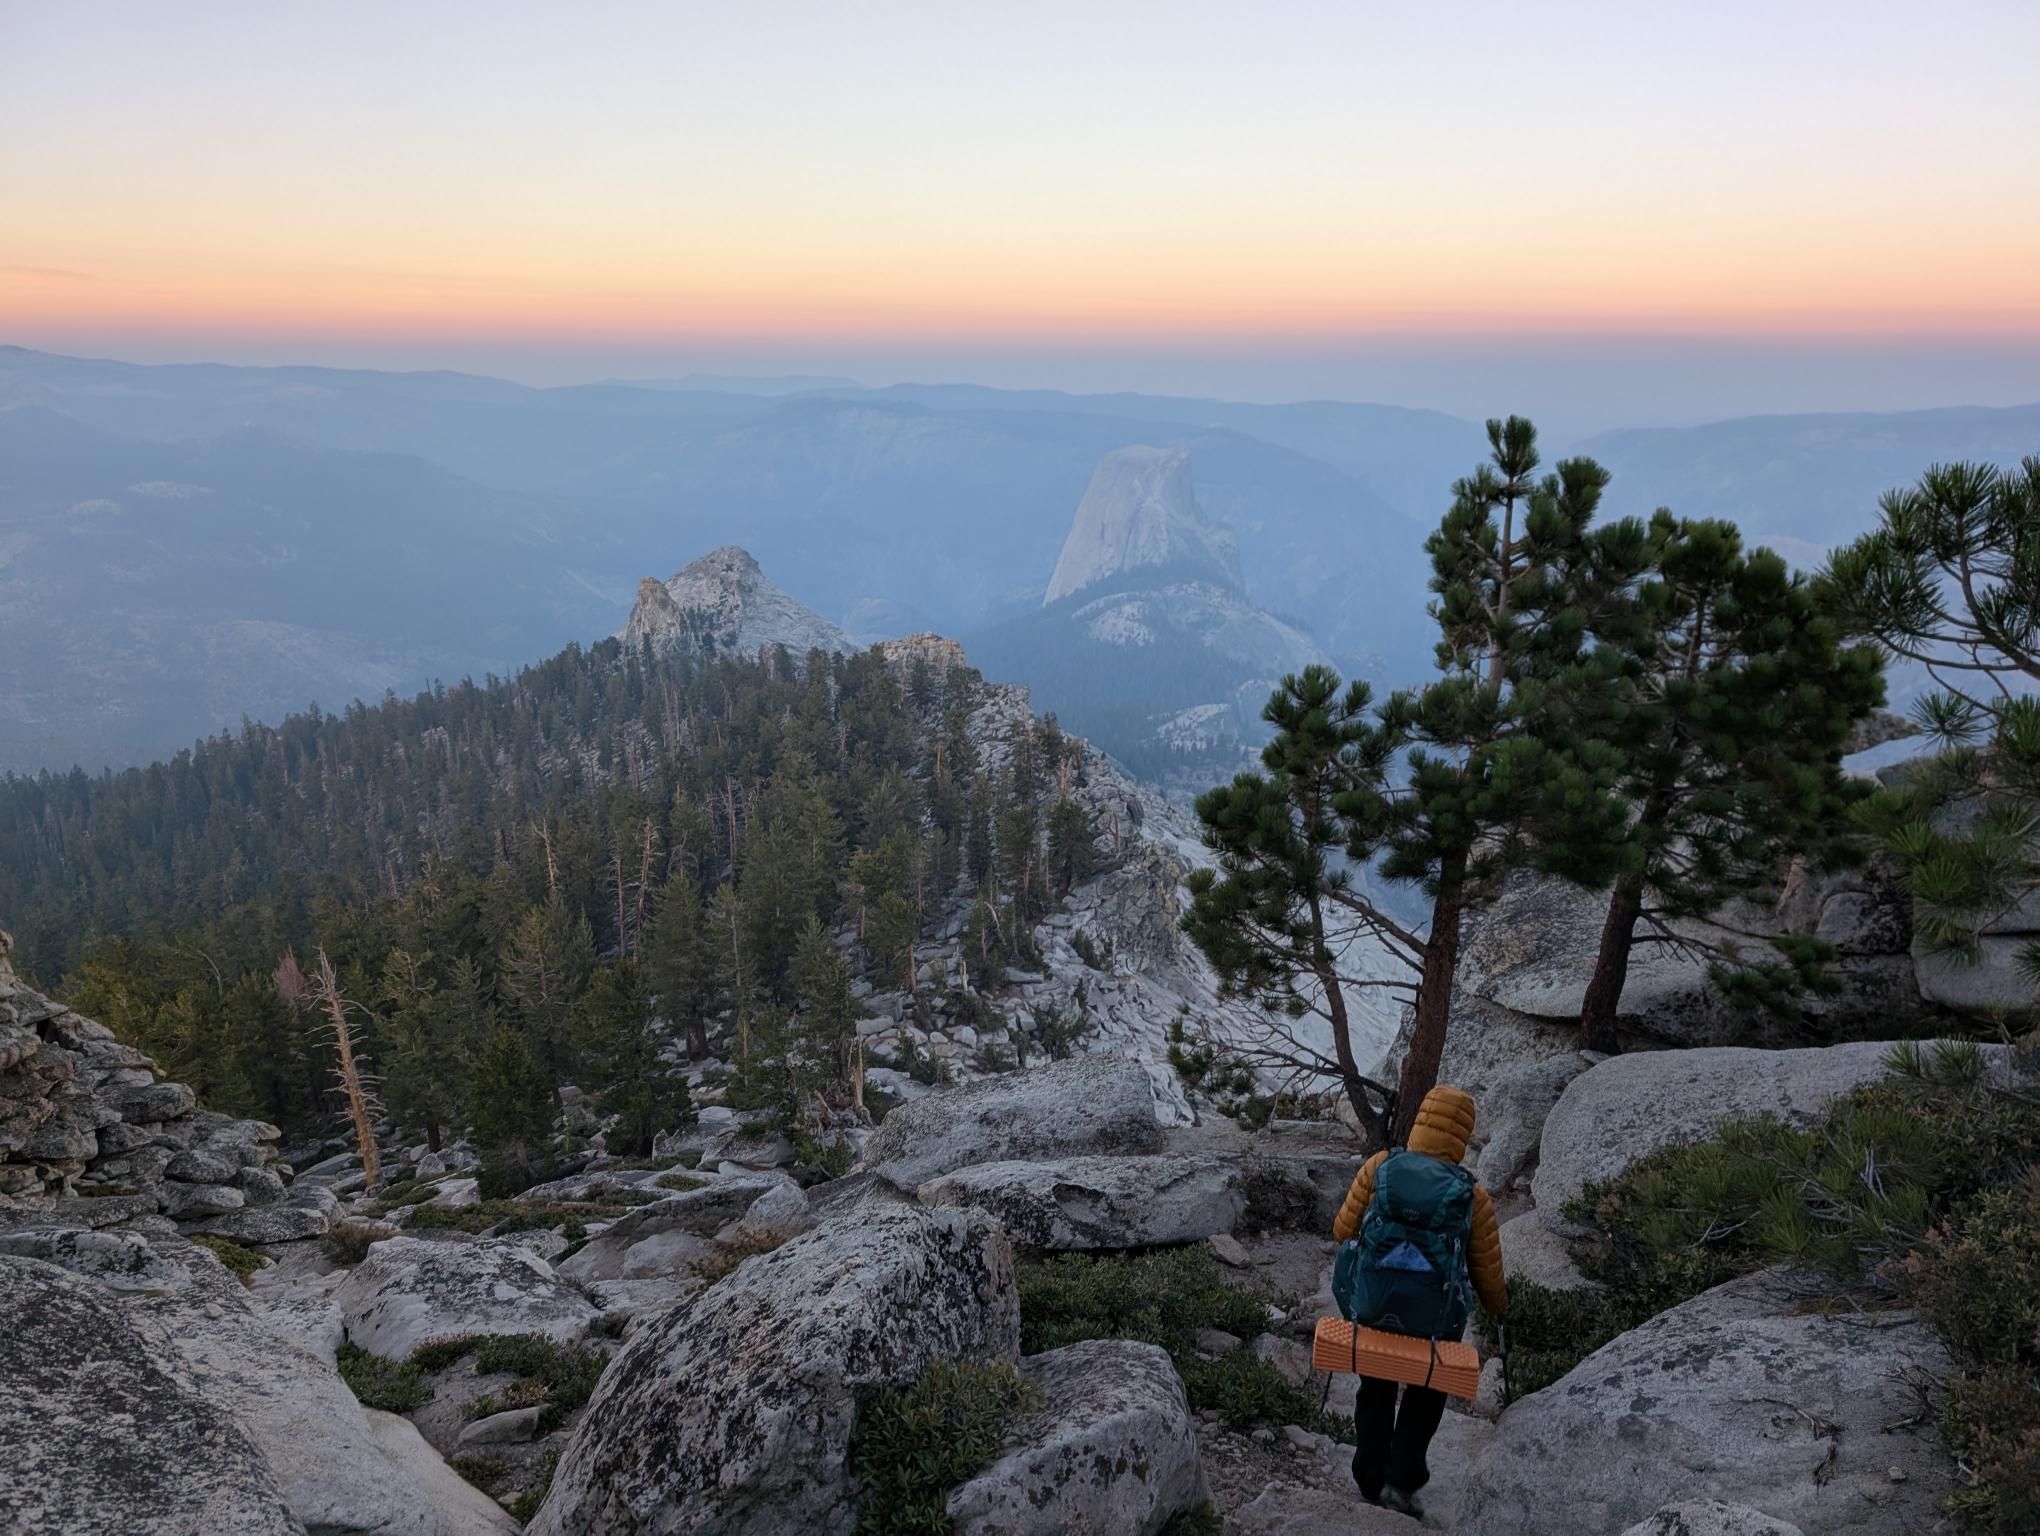
The final stretch had its own rhythm. We left Reds Meadow after pancakes, climbed toward Thousand Island Lake, and got one of the best evenings of the trip with a swim and a strong sunset. Then we crossed Donahue Pass, entered Yosemite National Park, pushed on to Tuolumne Meadows, and spent our last full day heading to Clouds Rest. We finished the whole trip the way you’d hope to: sunrise on Clouds Rest, then down to Happy Isles for a shower and pizza.
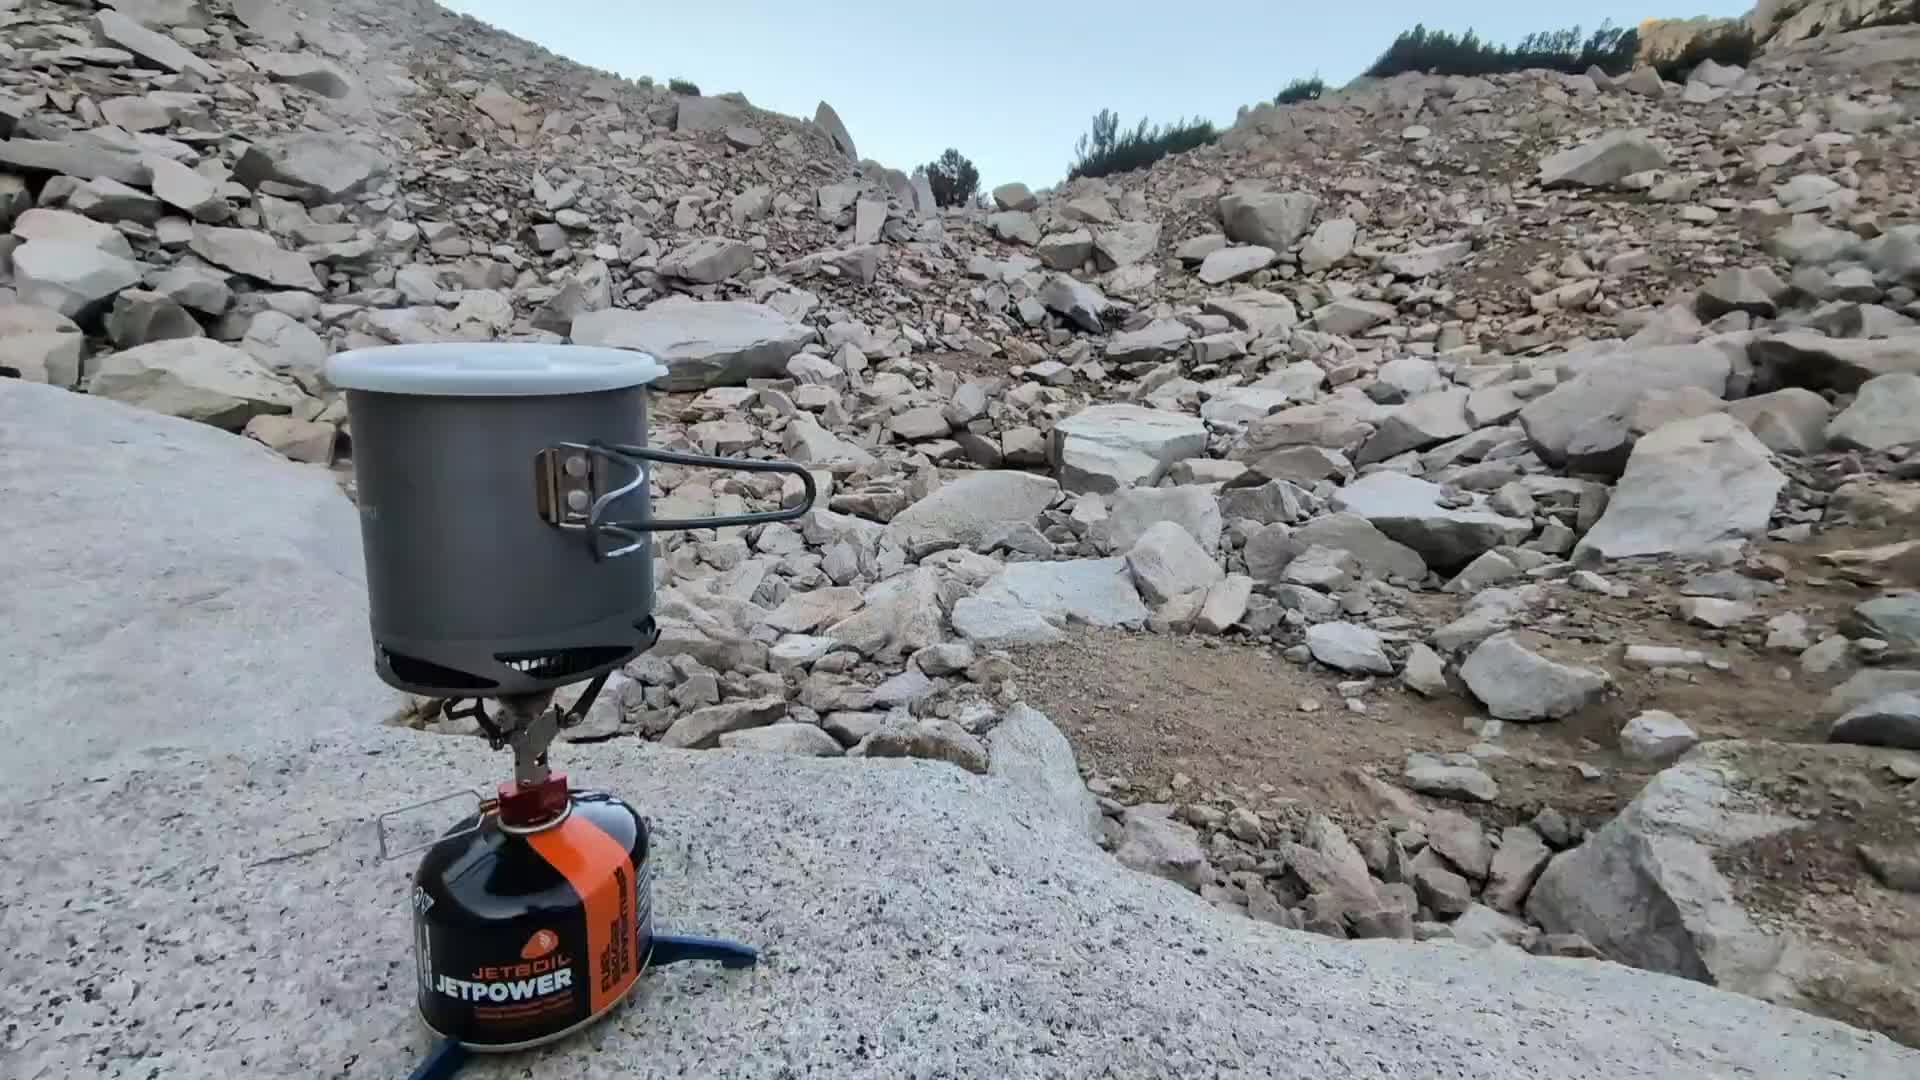


Conditions and Gear
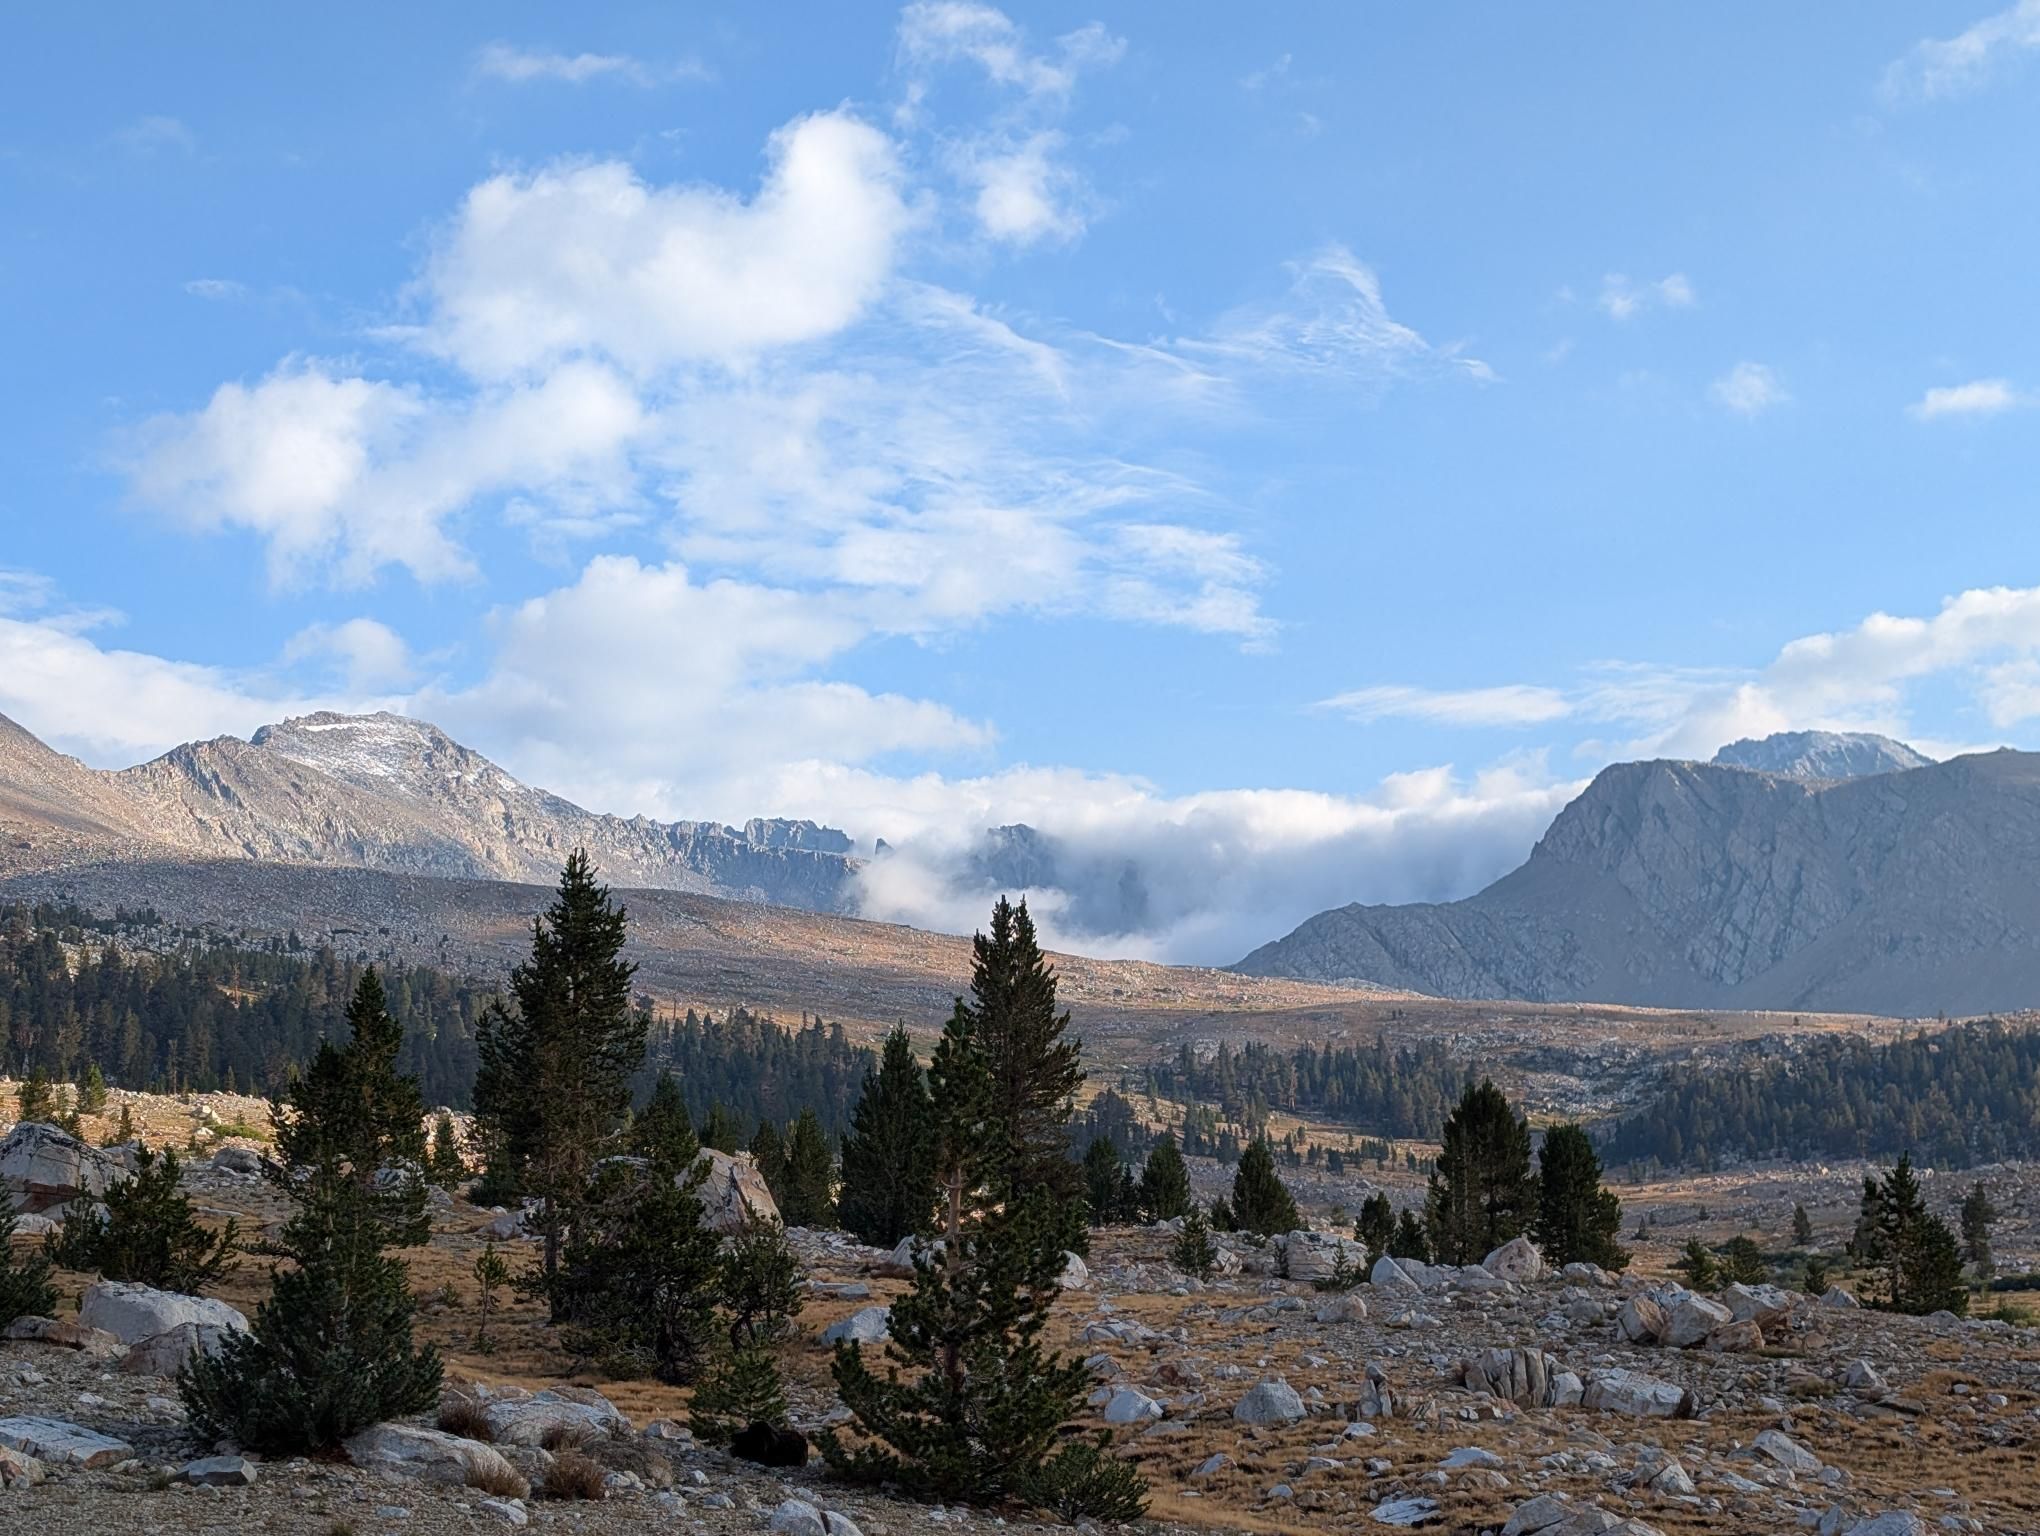
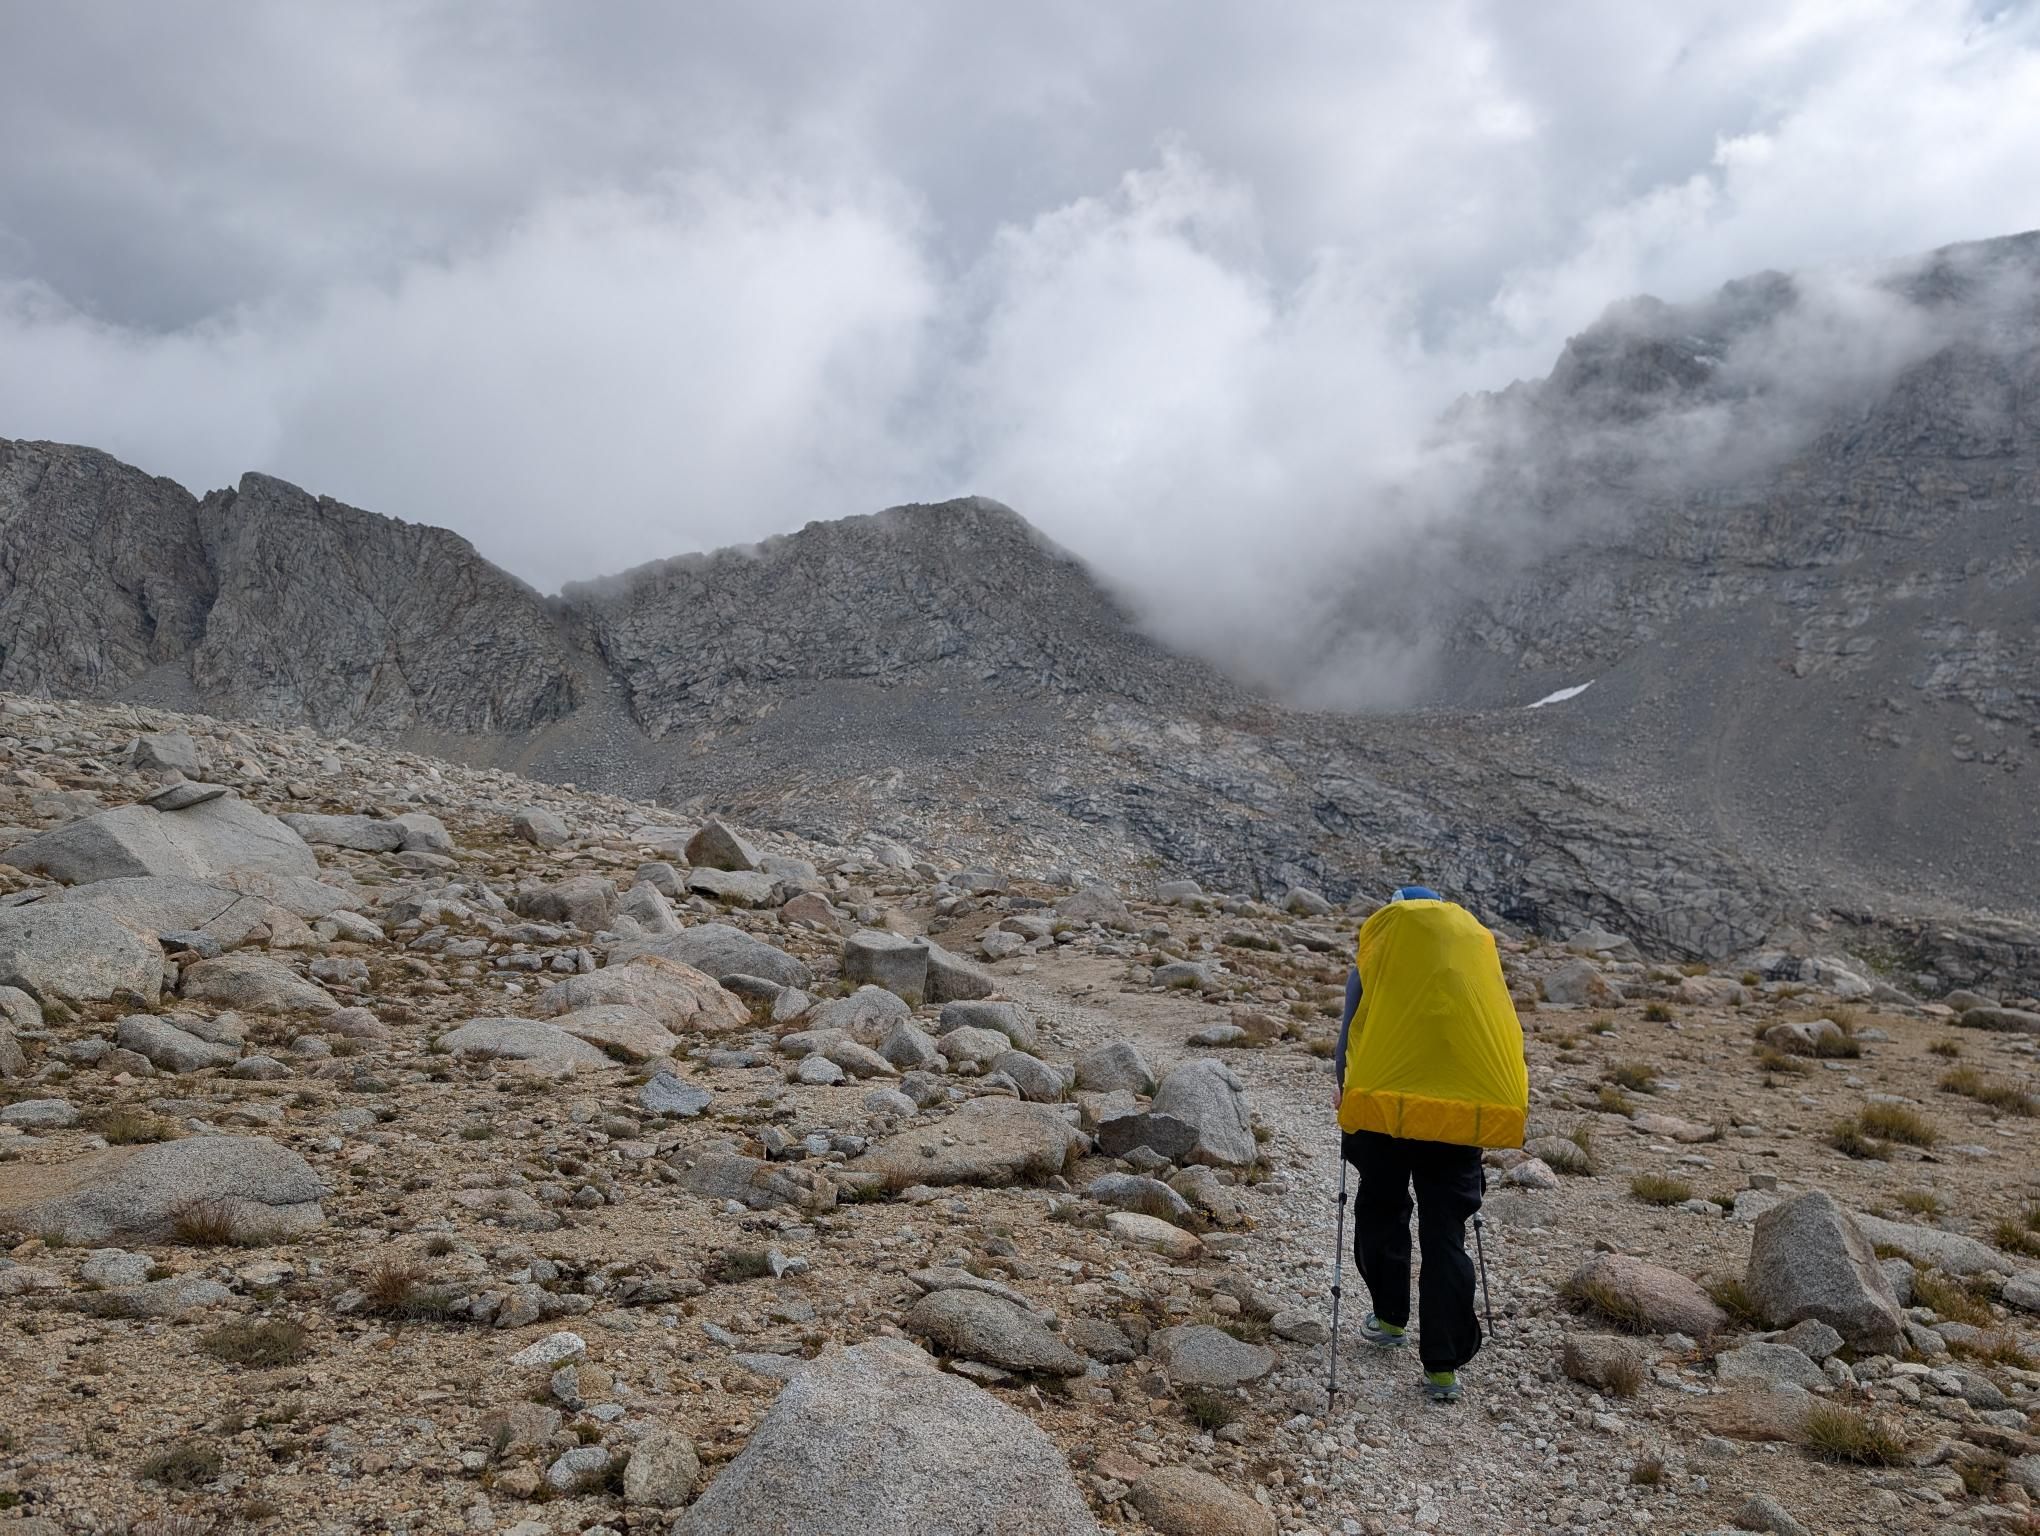
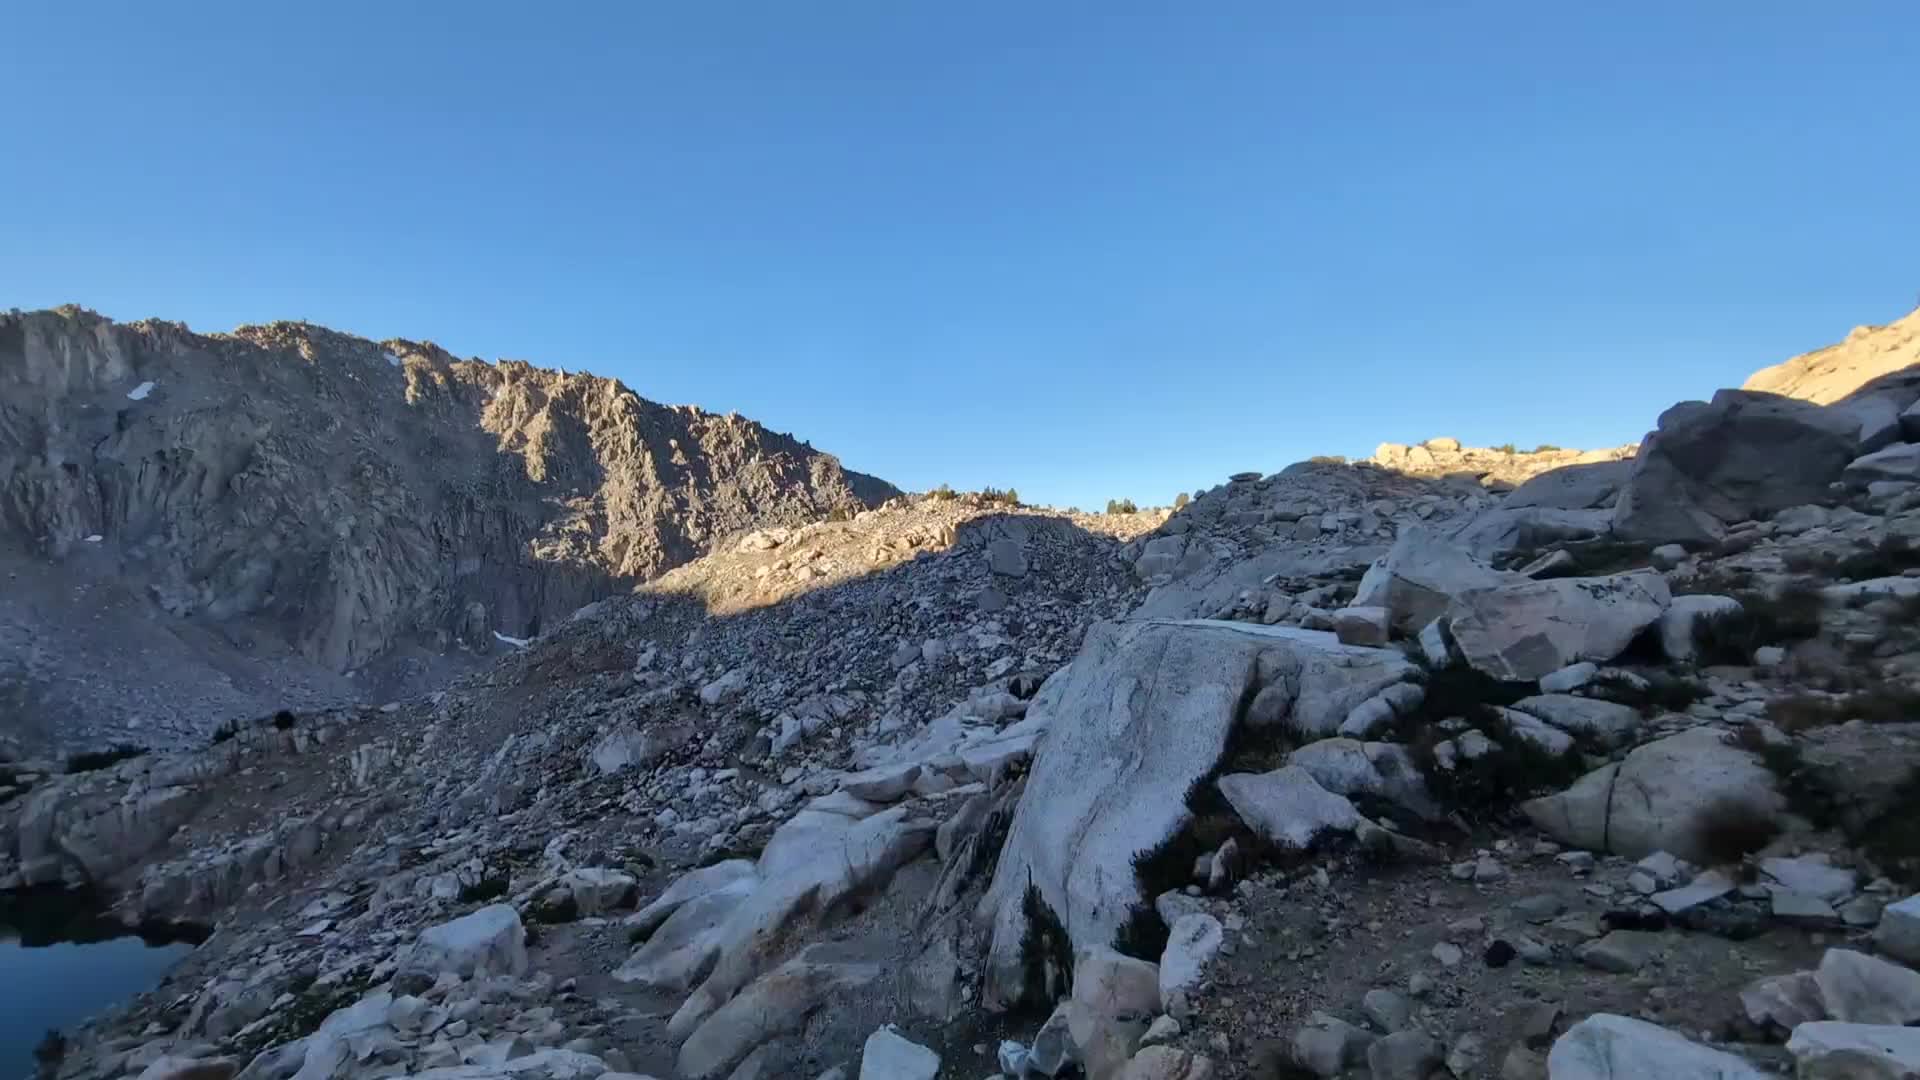
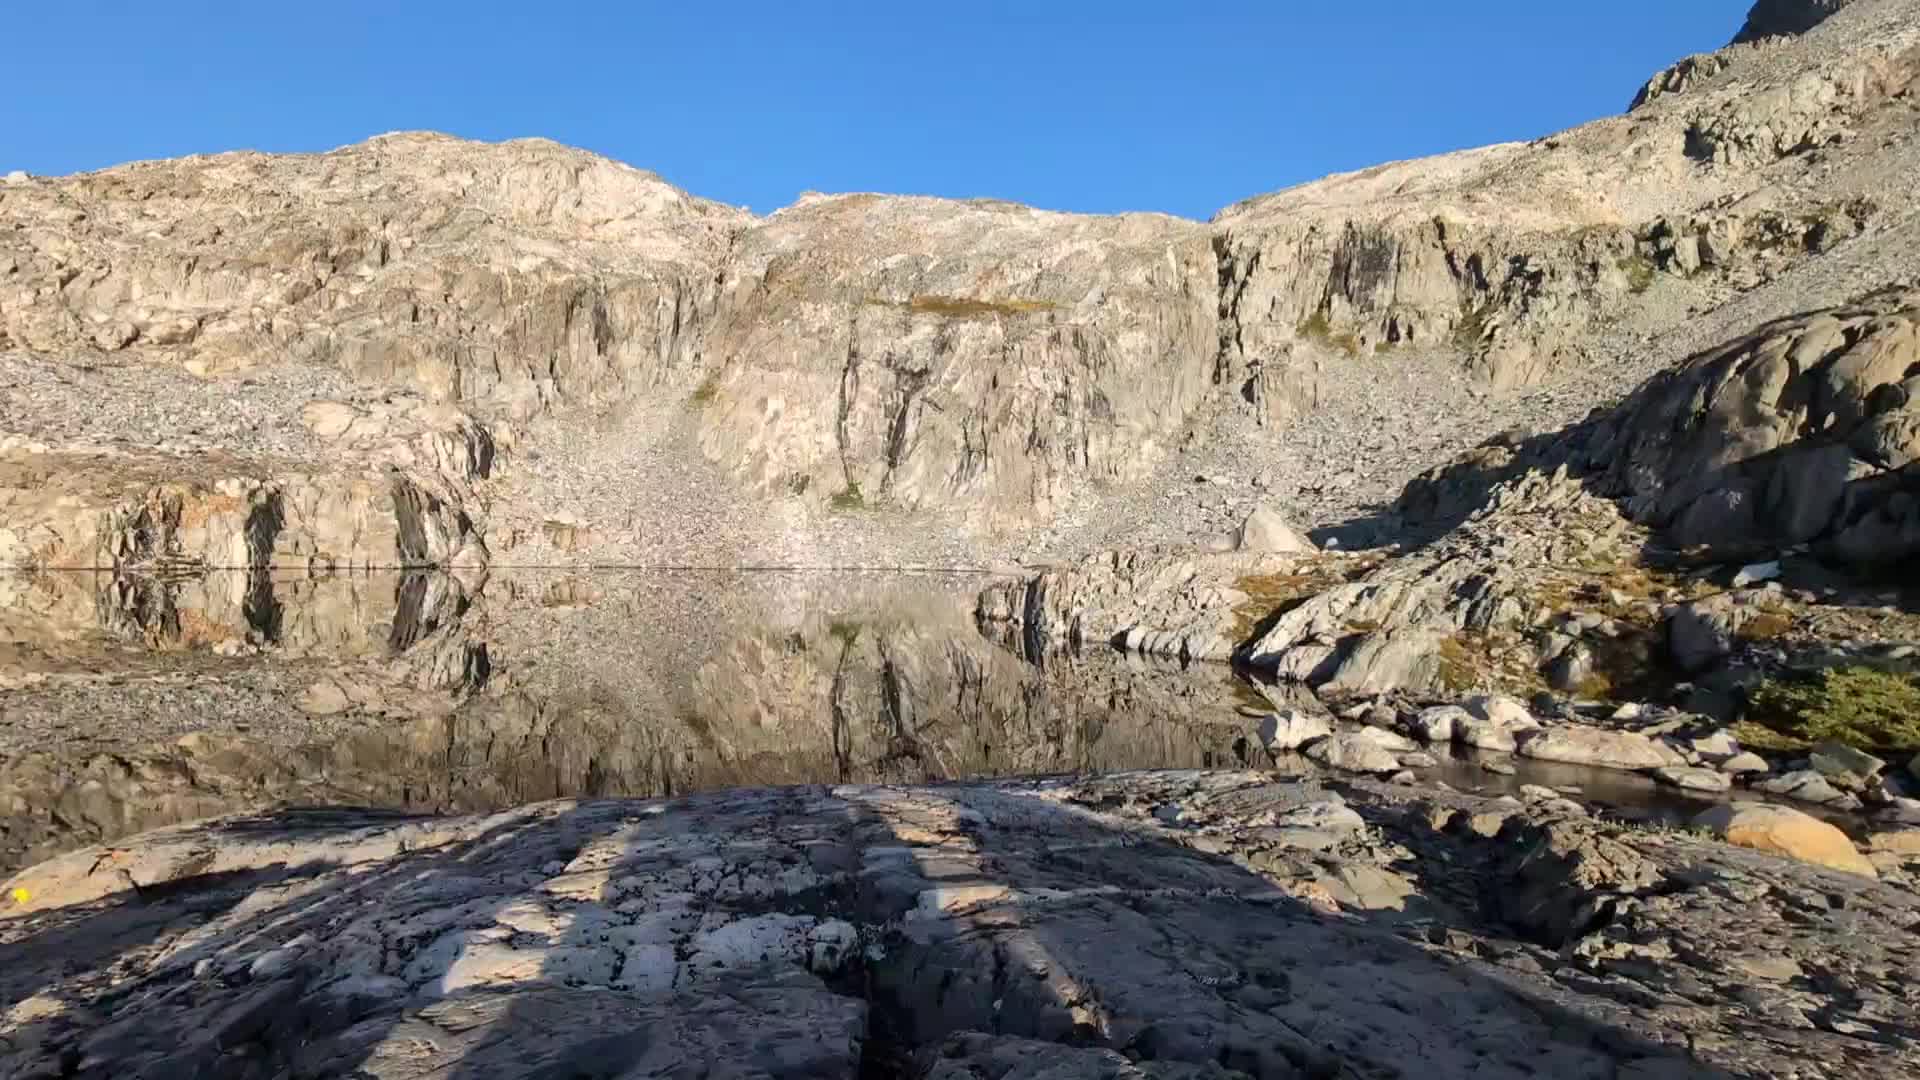
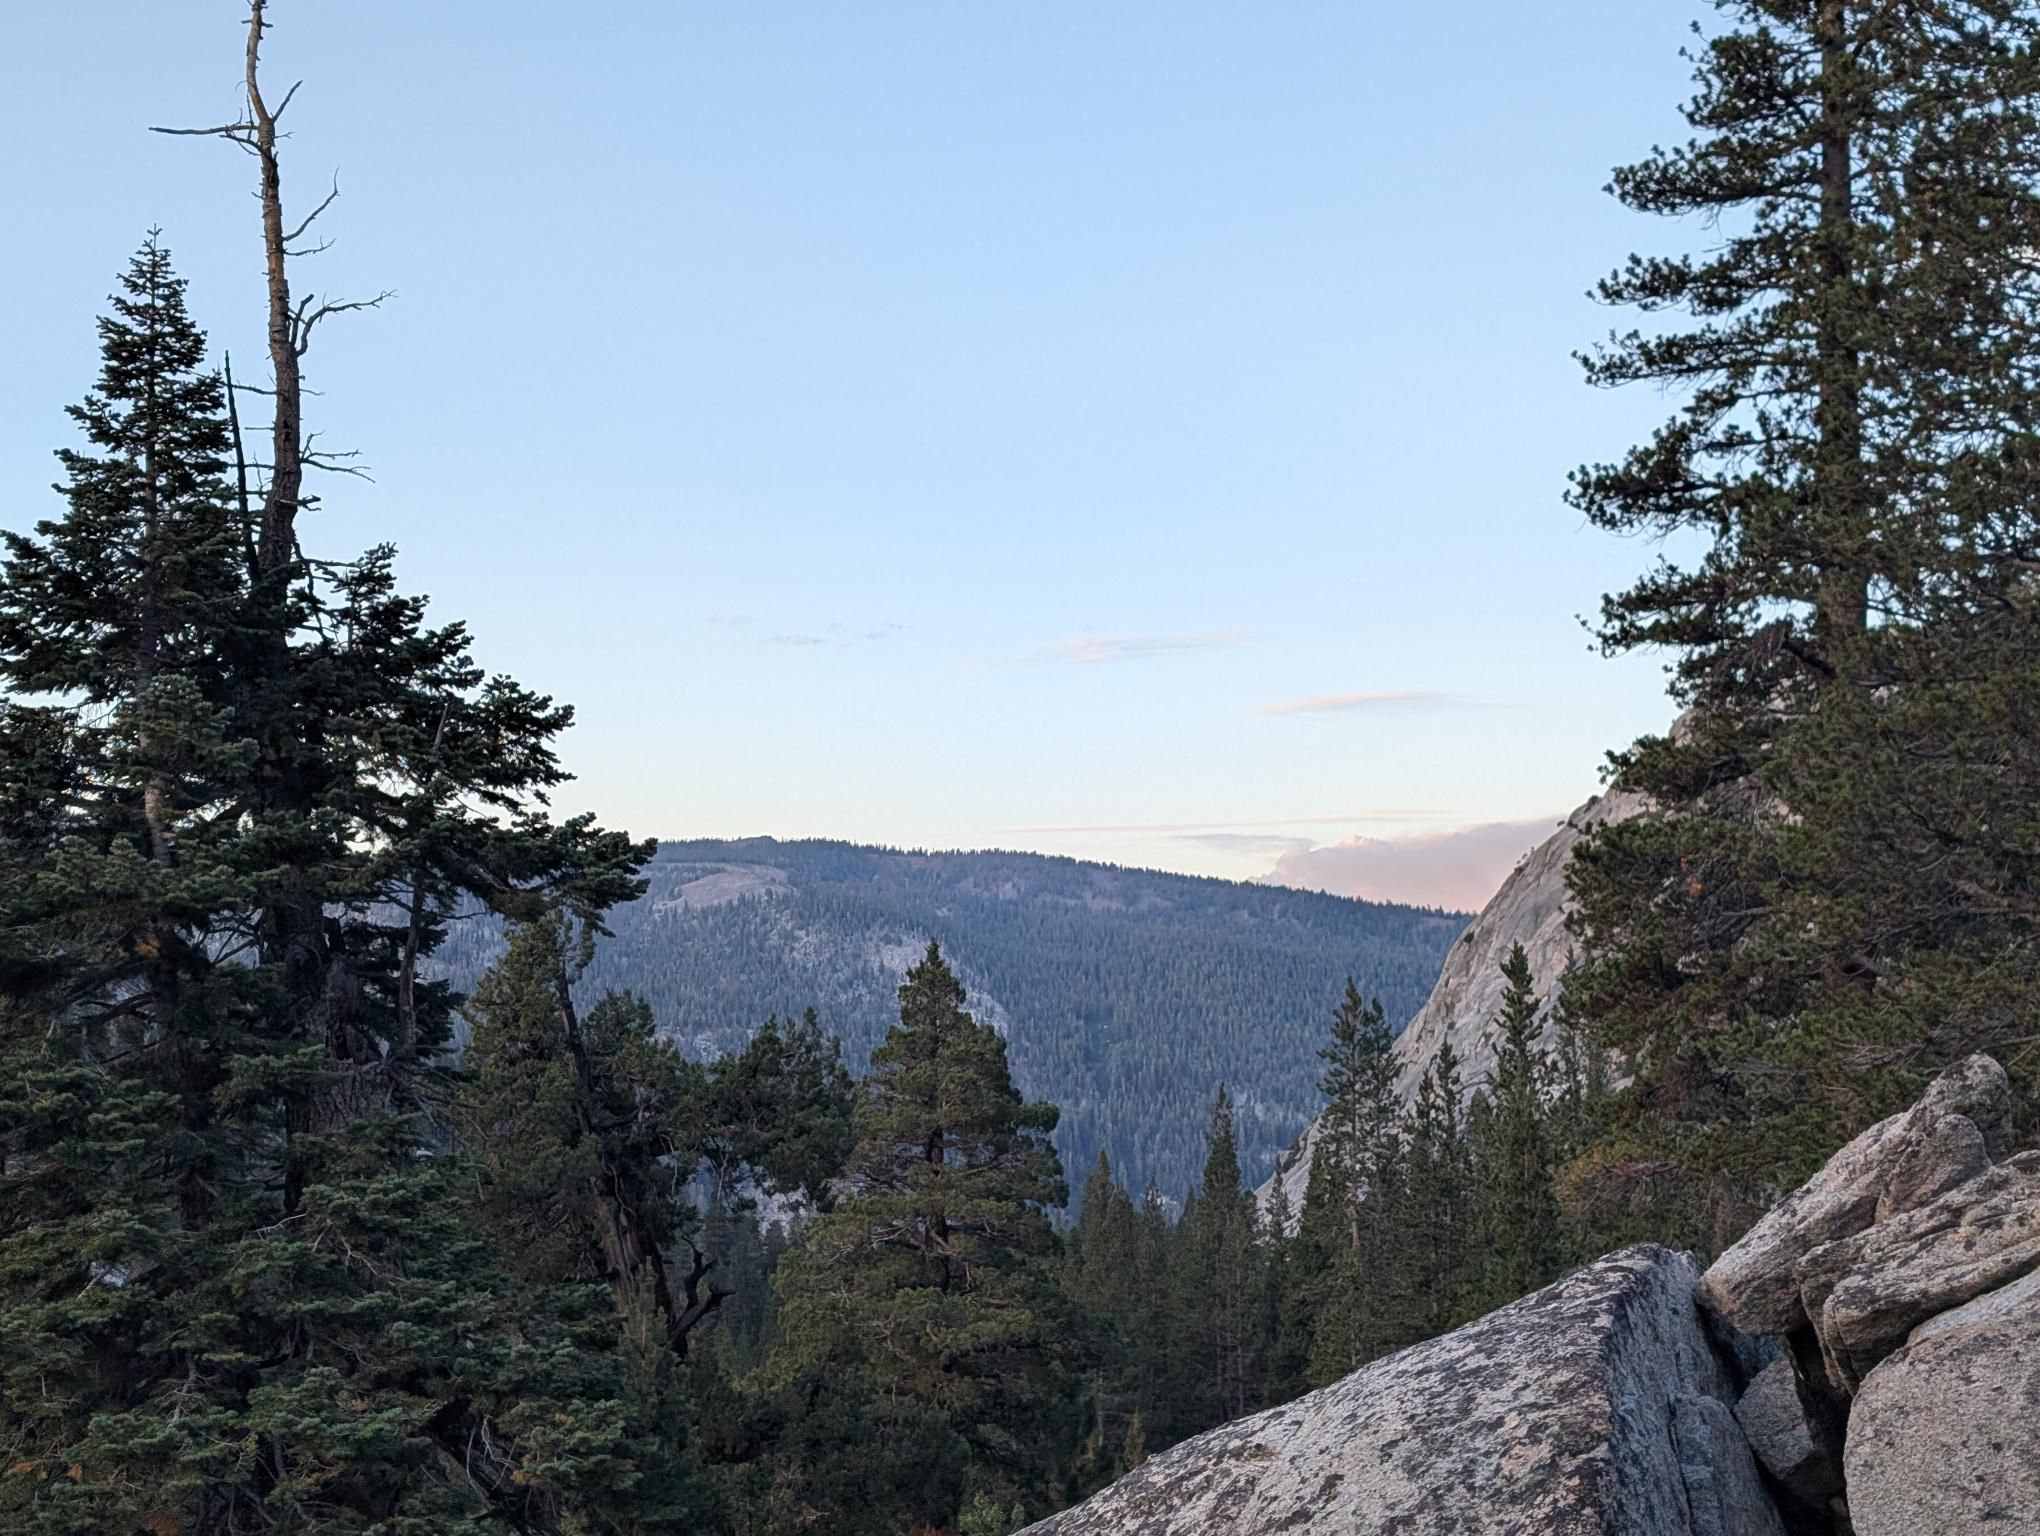
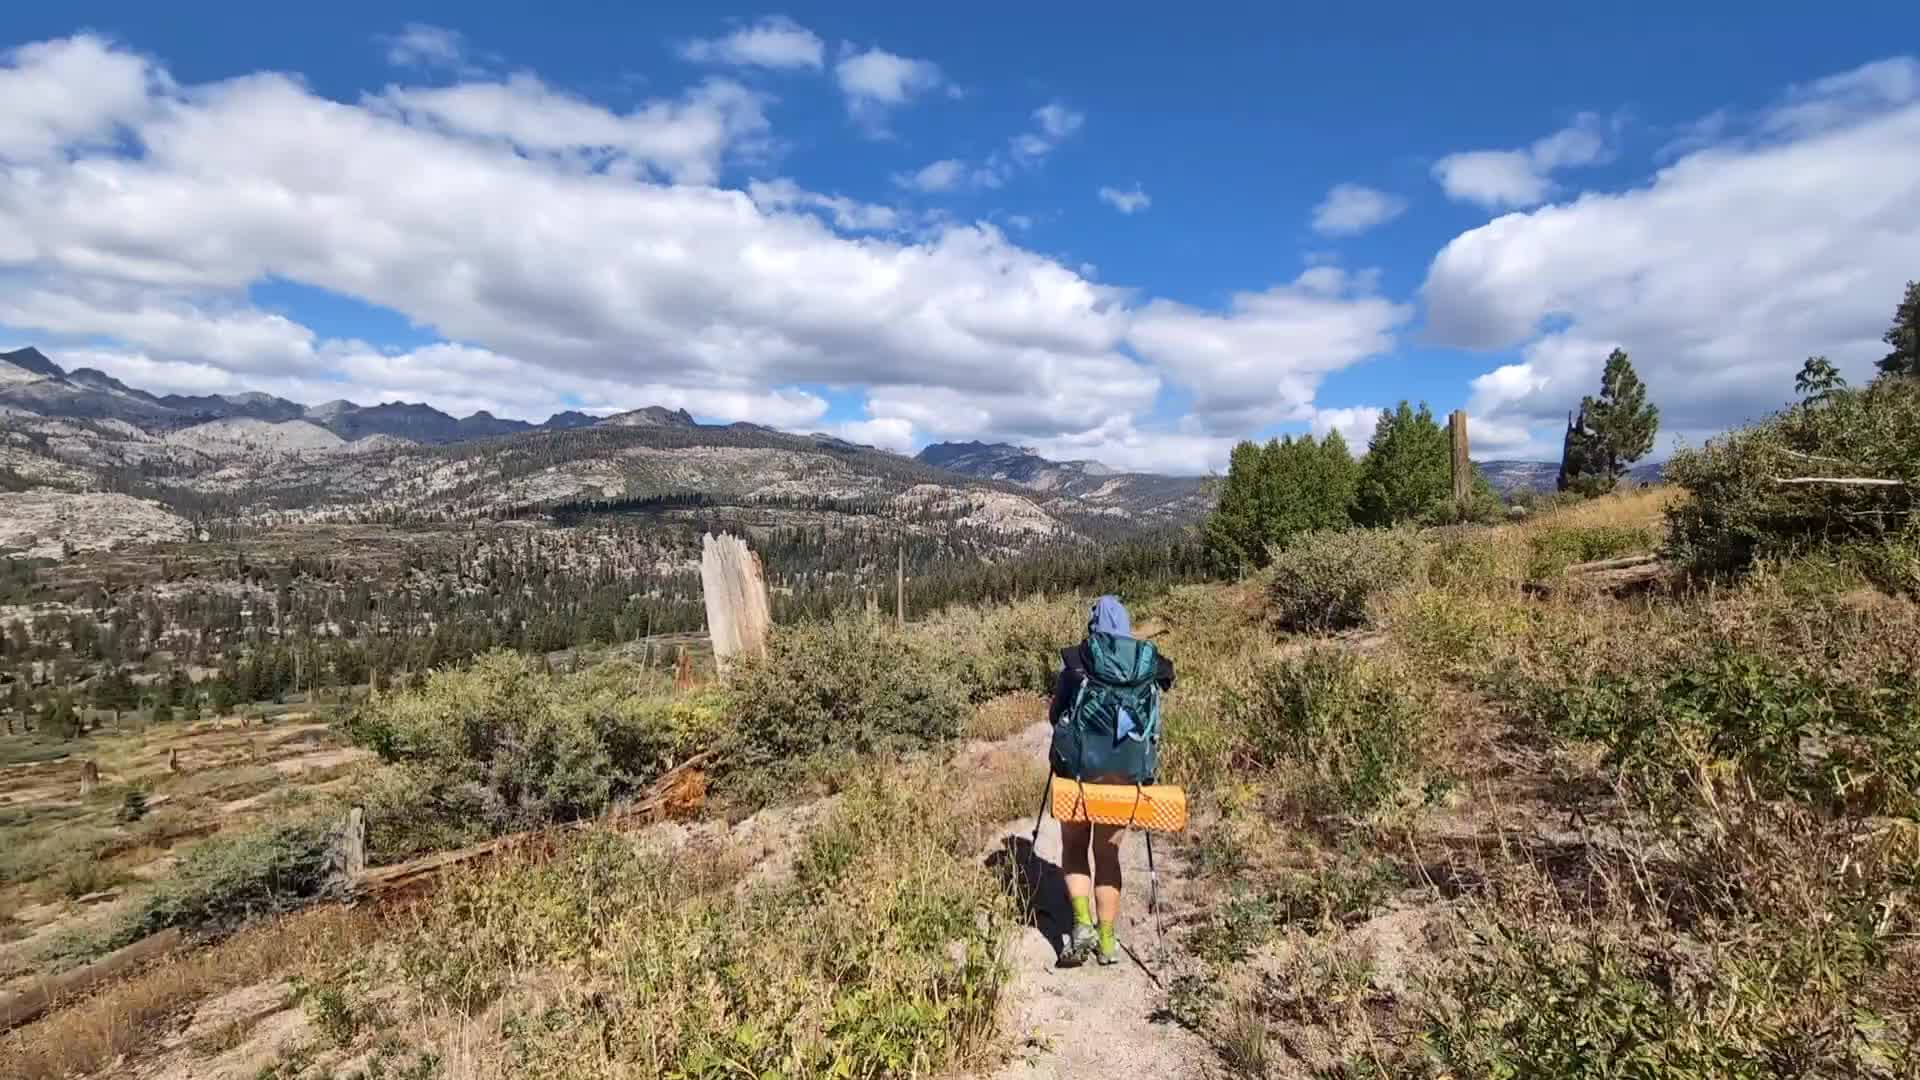
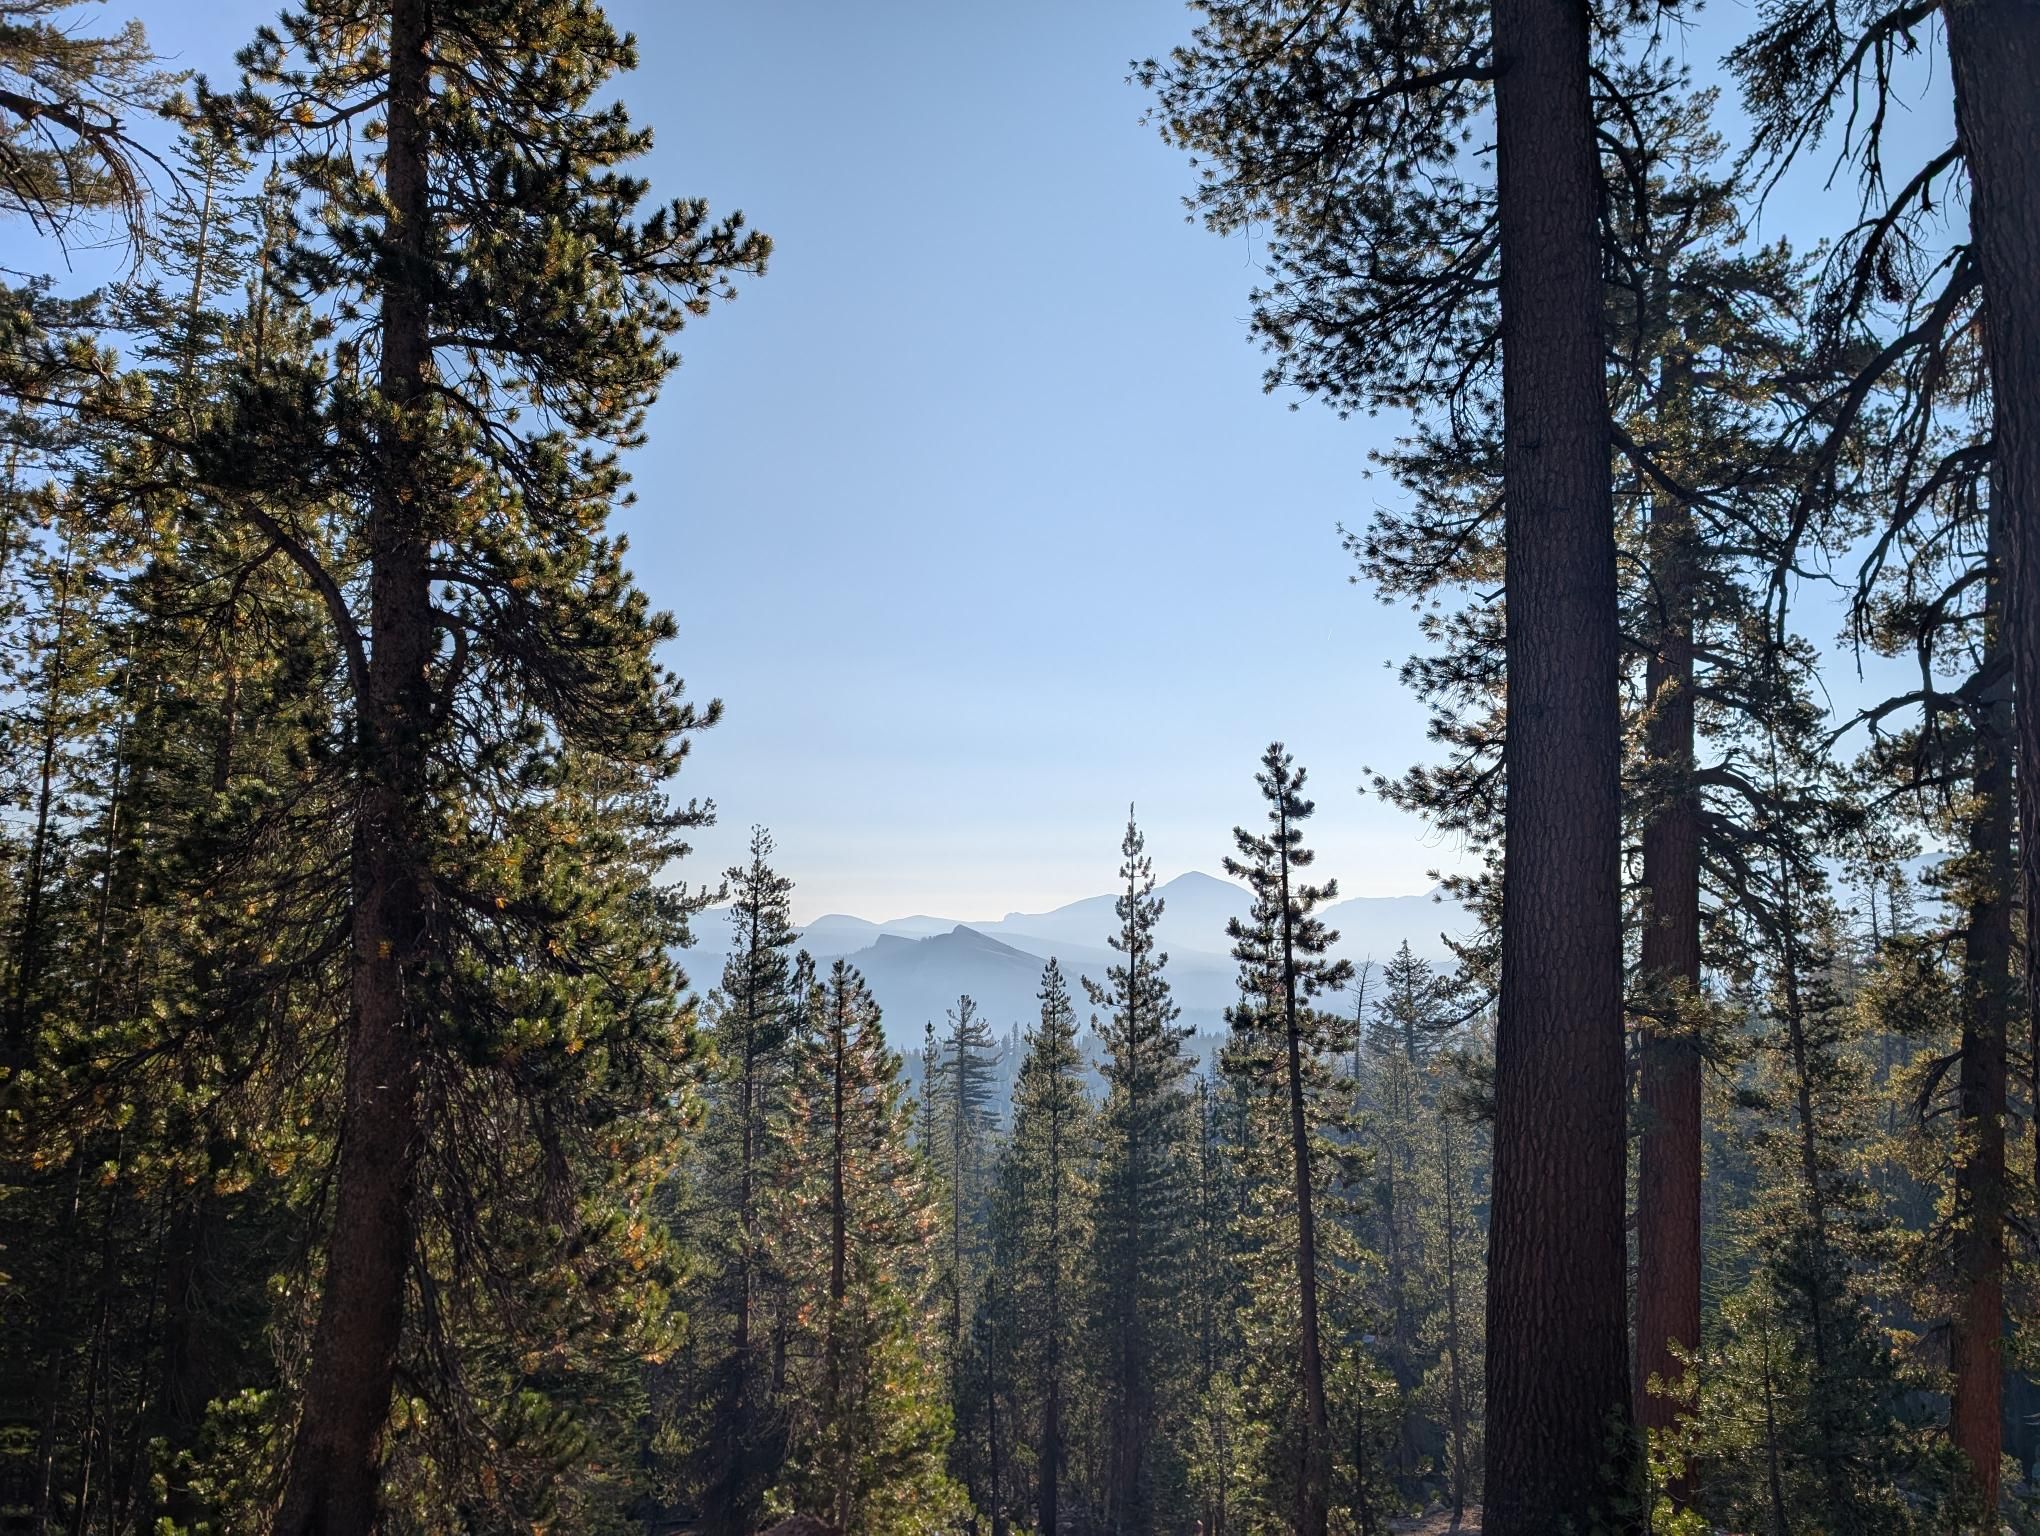
Conditions changed a lot across the 15 days. We had cool enough weather to extend some days, a night of snow around the Forester Pass section, a stretch of stable sunshine around Glen Pass and Rae Lakes, smoke from a wildfire, and then a serious thunderstorm near Silver Pass with close lightning. By the end, Yosemite gave us the kind of clear, high-country finish that made the last days feel special.
A few things clearly helped:
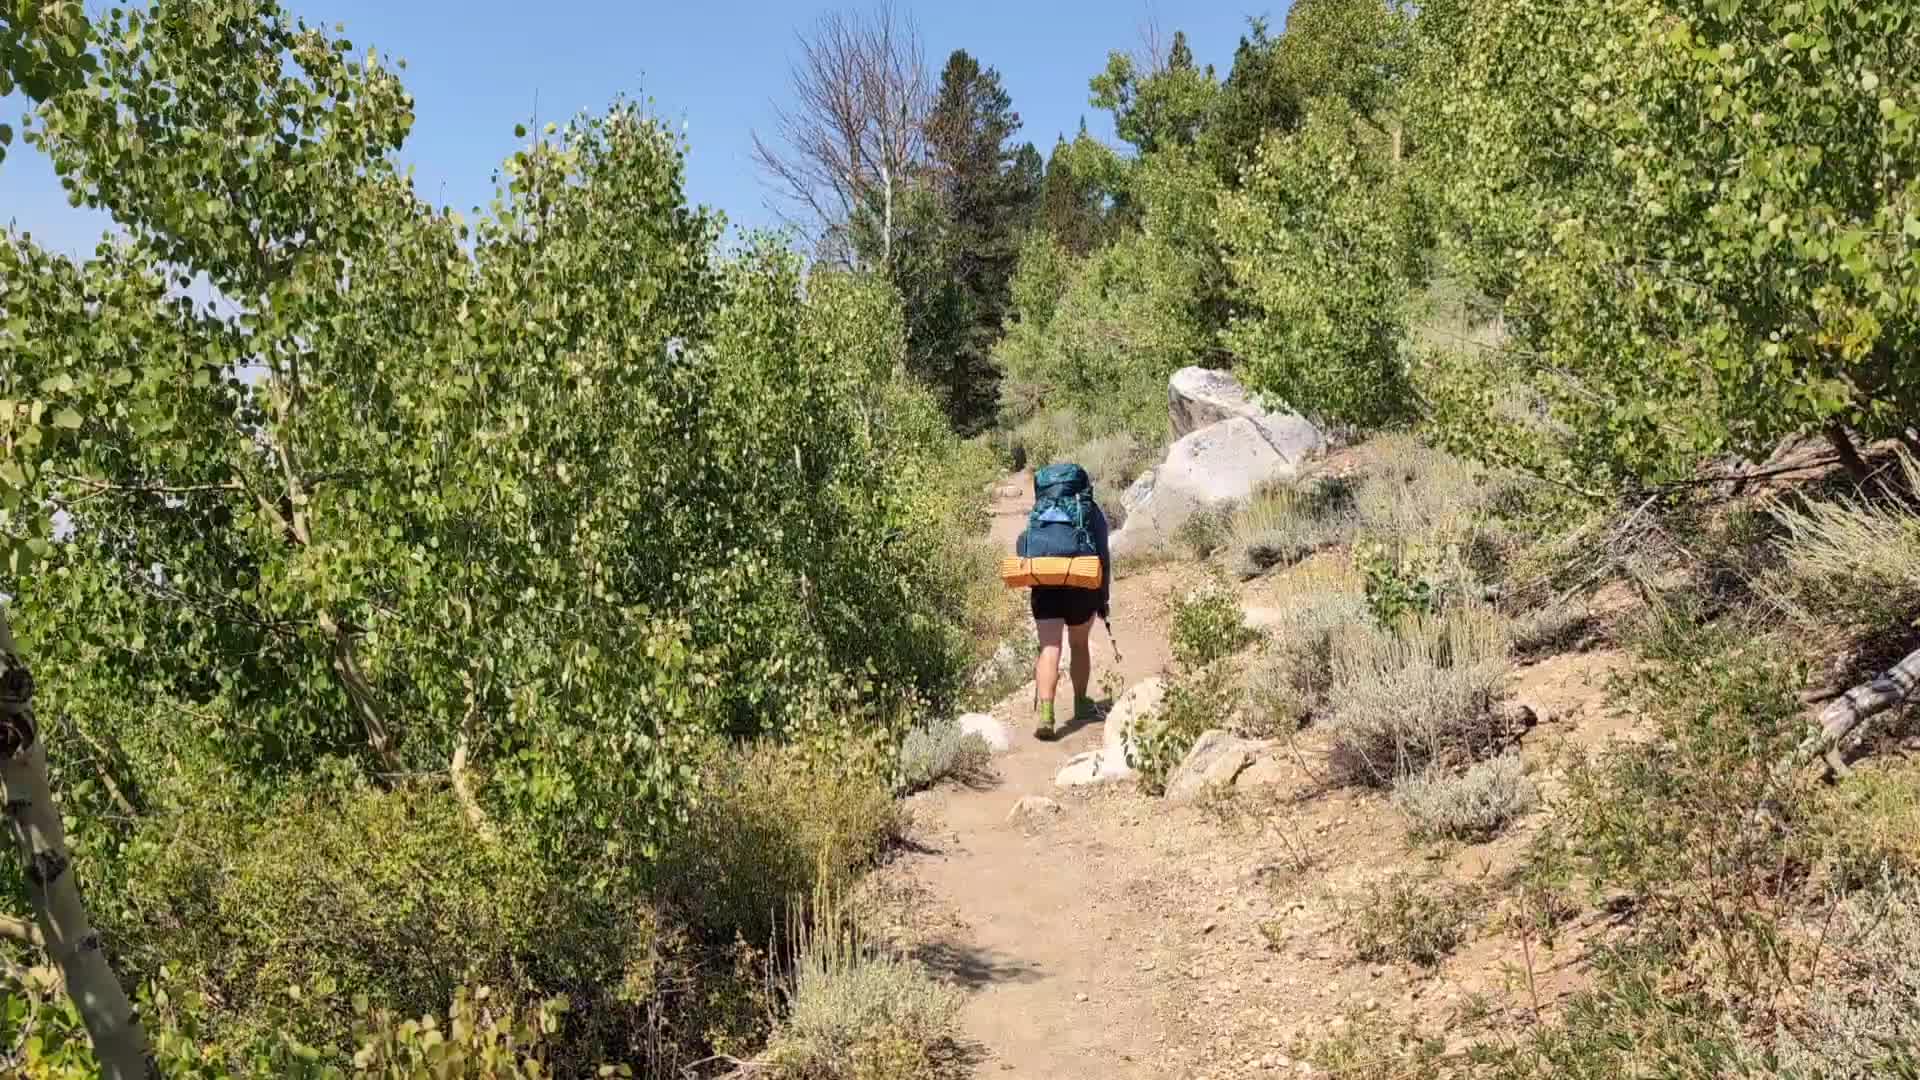
- Smooth, well-graded trail made steady pacing more useful than forcing speed.
- Resupplies at Muir Trail Ranch and Reds Meadow broke the route up well.
- Cabin time at Reds Meadow was a real reset after the storm.
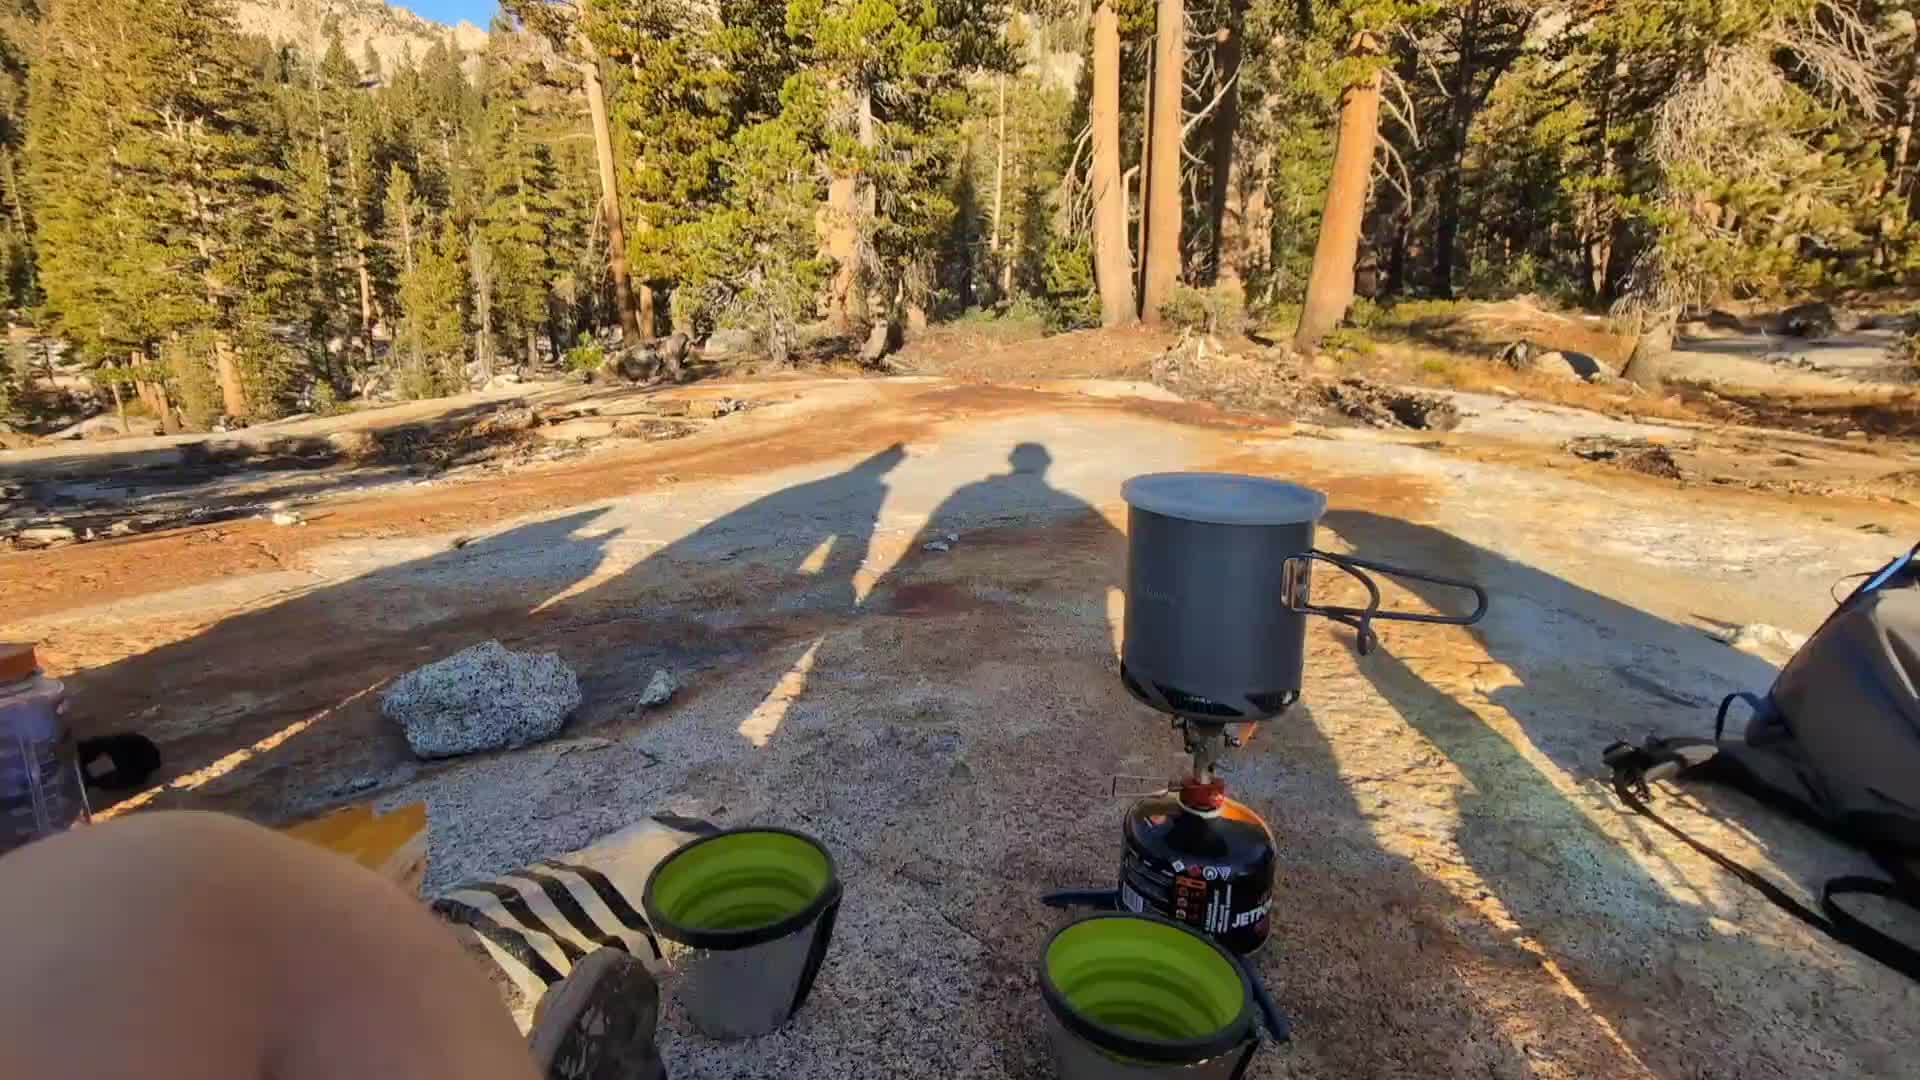
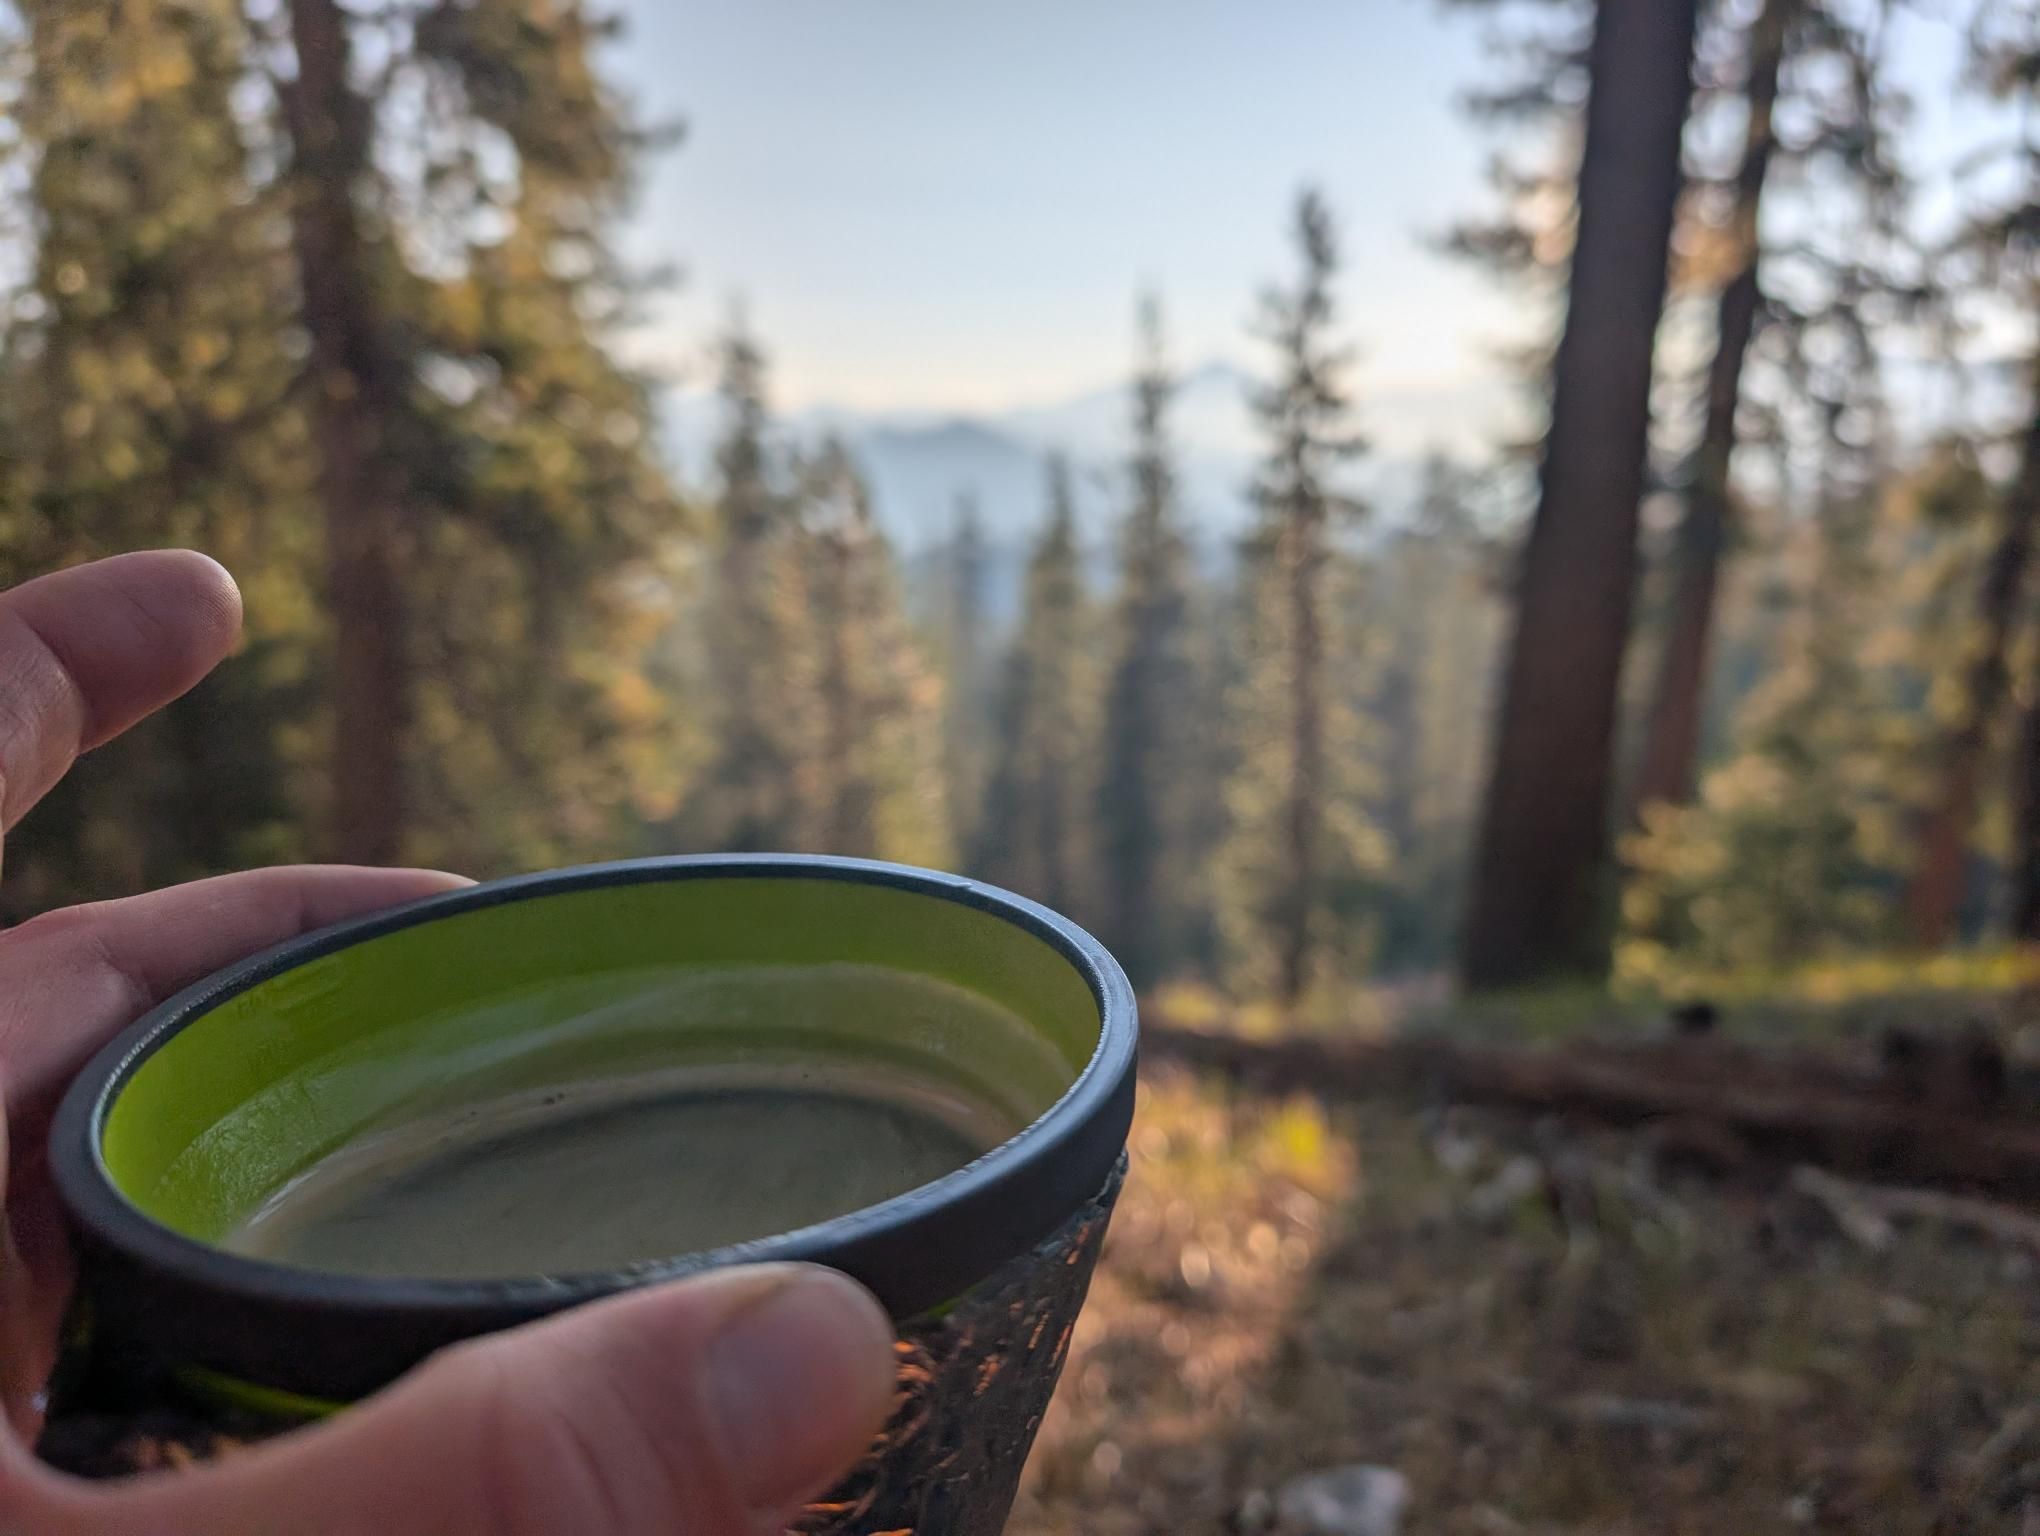
- Opportunities to swim, wash clothes, and recover made a noticeable difference to morale.
Highlights and Learnings
A few moments have stayed with me more than the rest:
- Forester Pass being the highest point, yet feeling surprisingly manageable because of the trail.
- Glen Pass and Rae Lakes as a favorite section of the trip.
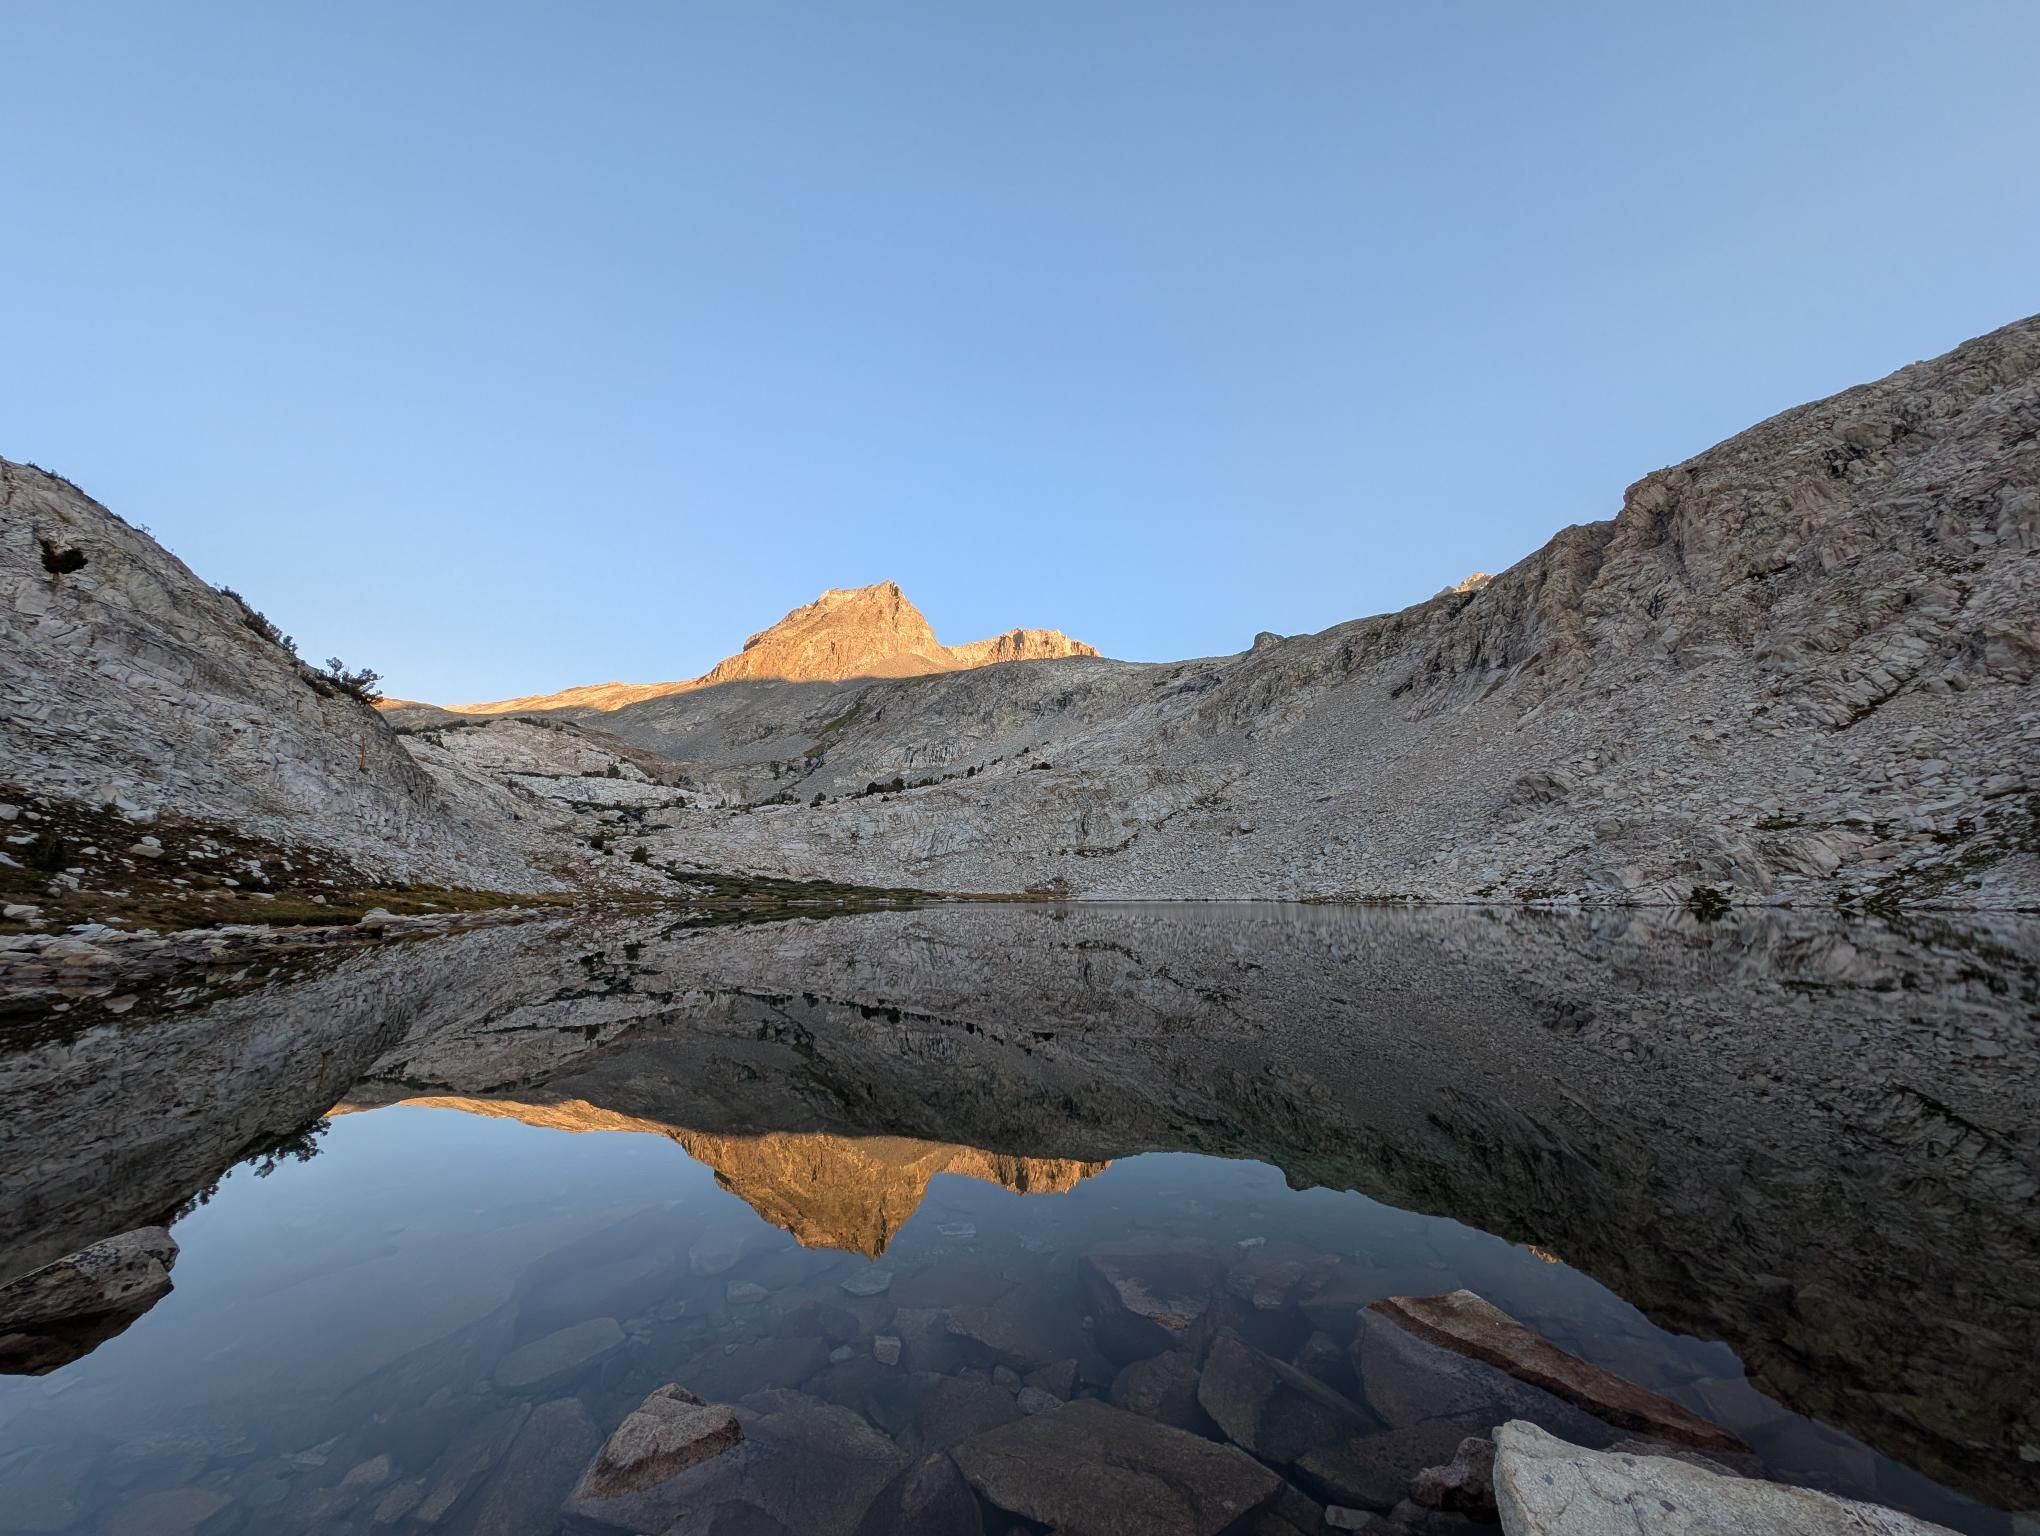
- Evolution Lake and Evolution Creek for one of the most enjoyable days on trail.
- The swim near Thousand Island Lake and the sunset that followed.
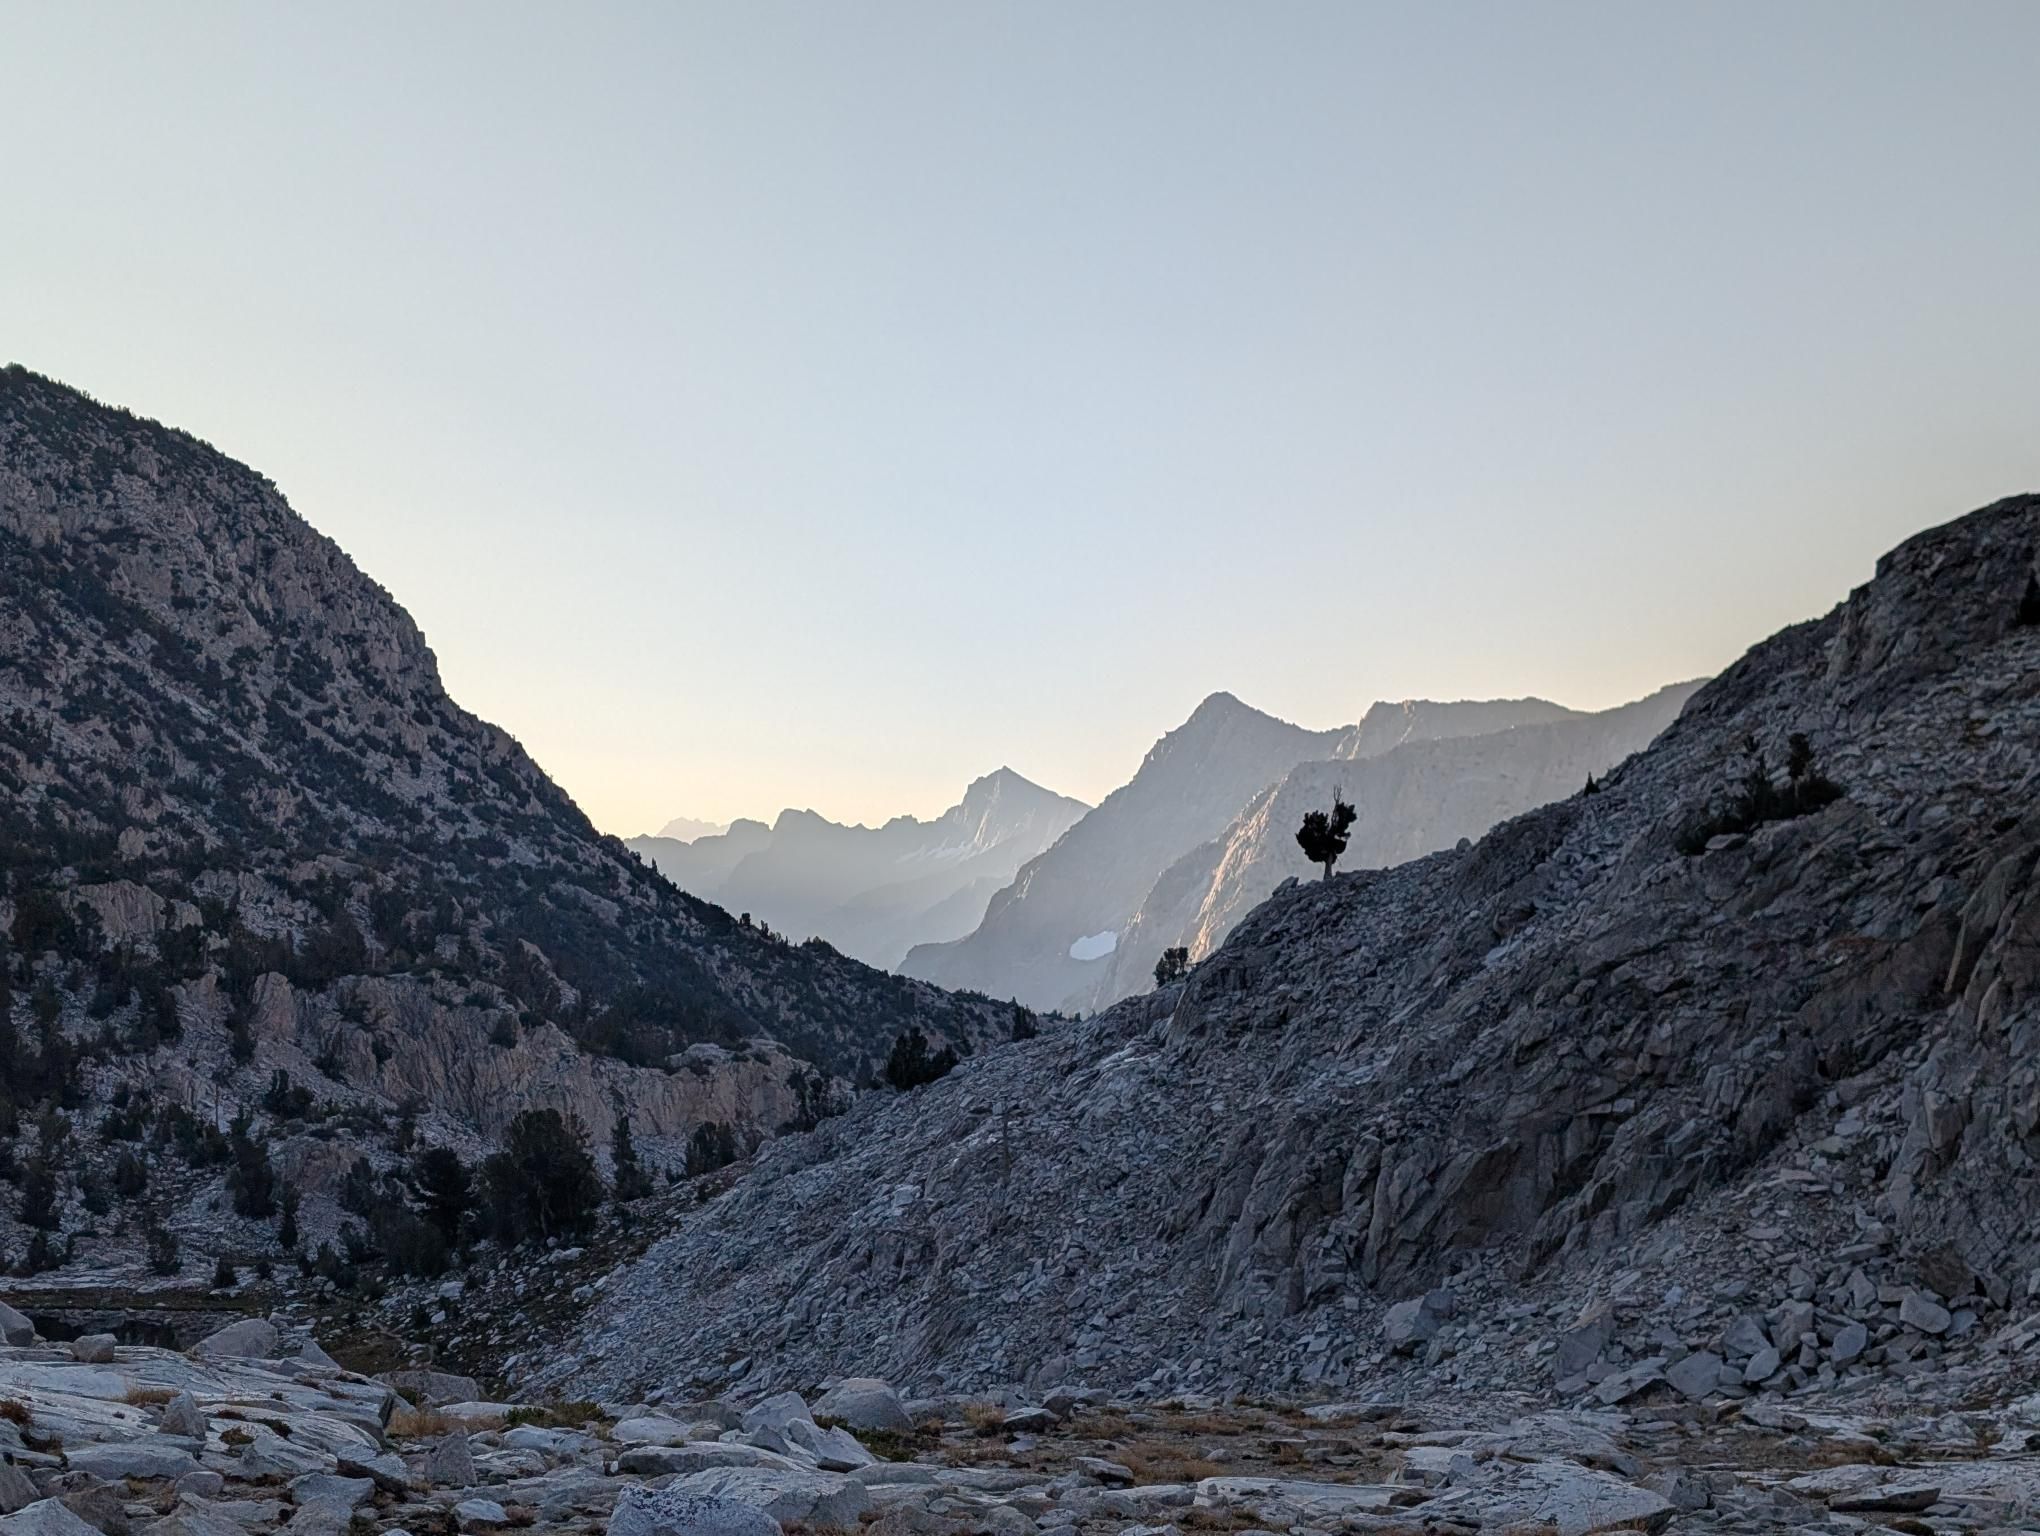
- Sunrise on Clouds Rest before the final descent.
The main lesson was that this route rewards patience and consistency. On the good days, it made sense to keep going. On the rougher ones, especially with smoke or thunderstorms around, it was better to stay measured and adapt. By the end, what stood out most was not one single dramatic moment, but how many different moods the trail held from Cottonwood to Yosemite.